
Cherries in the Snow
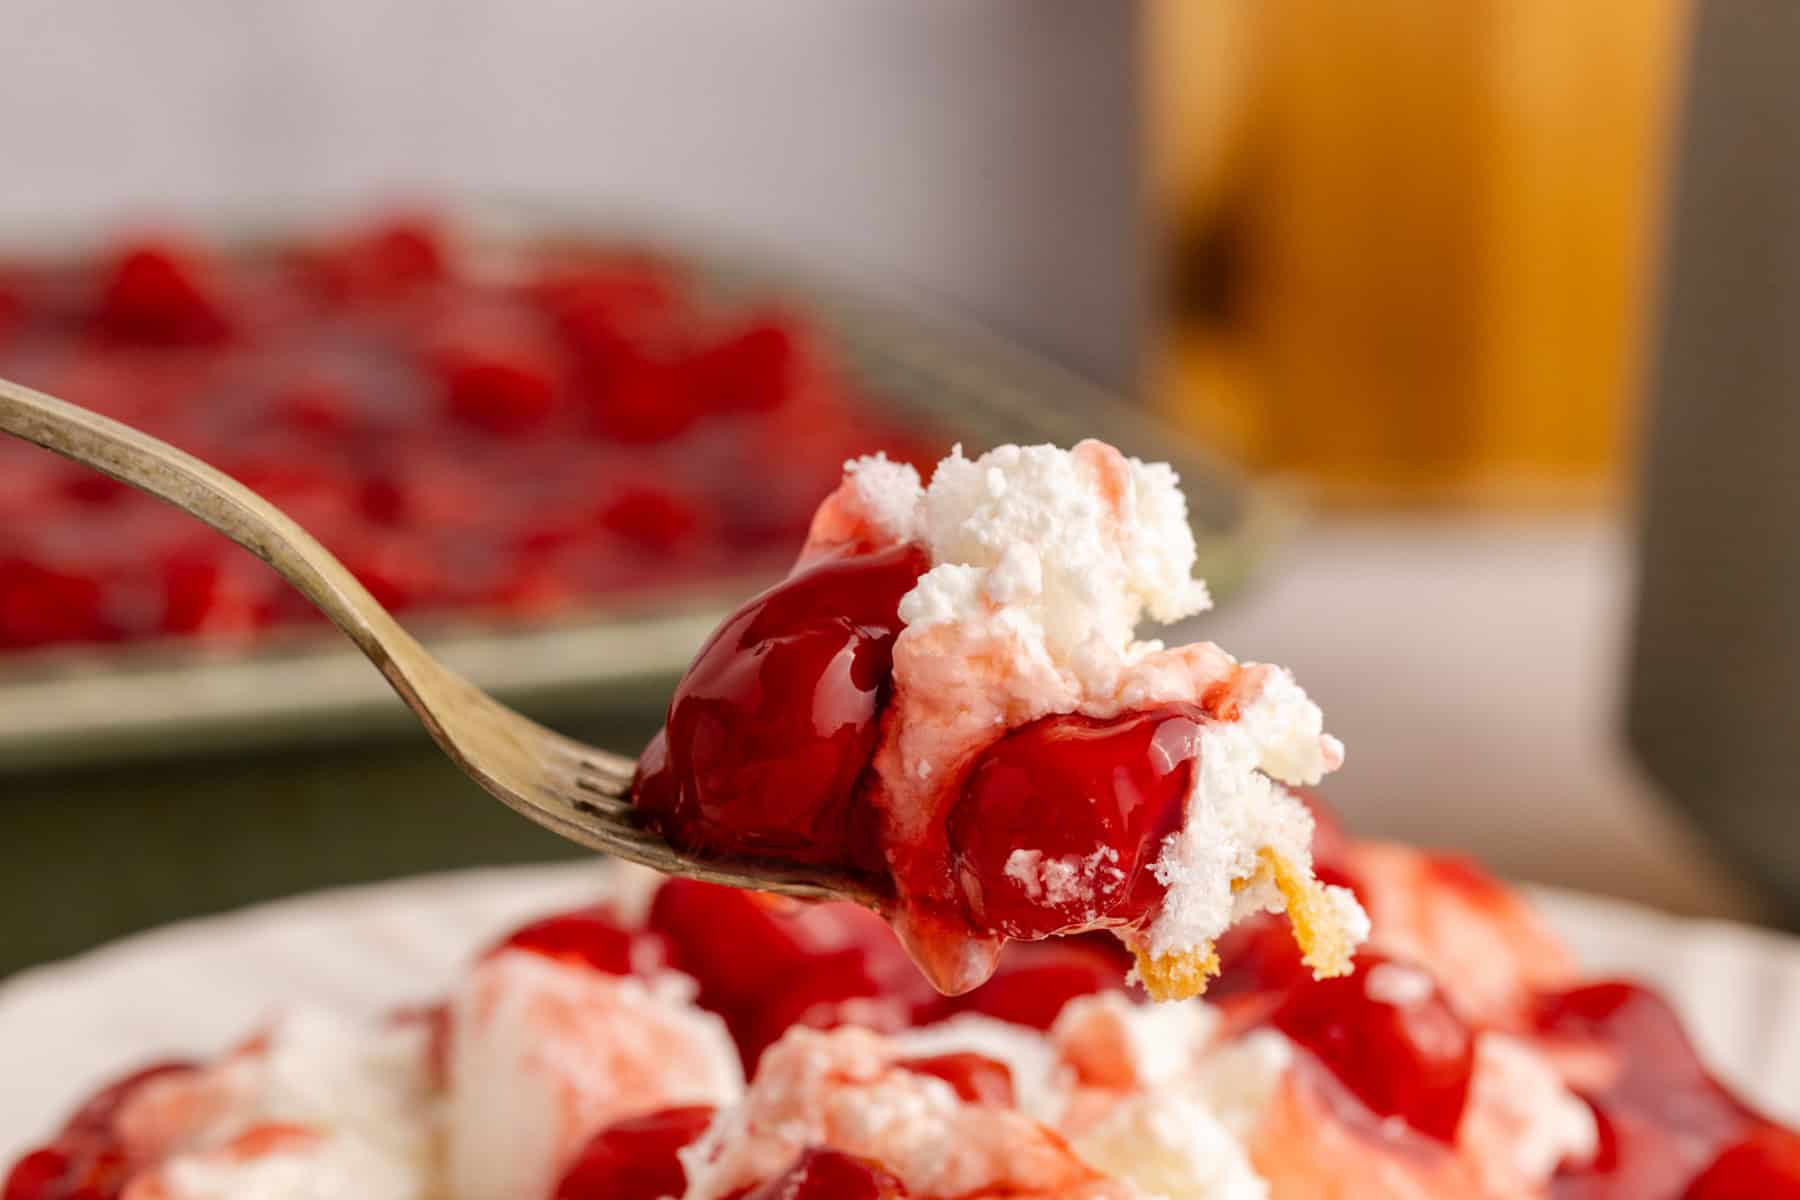
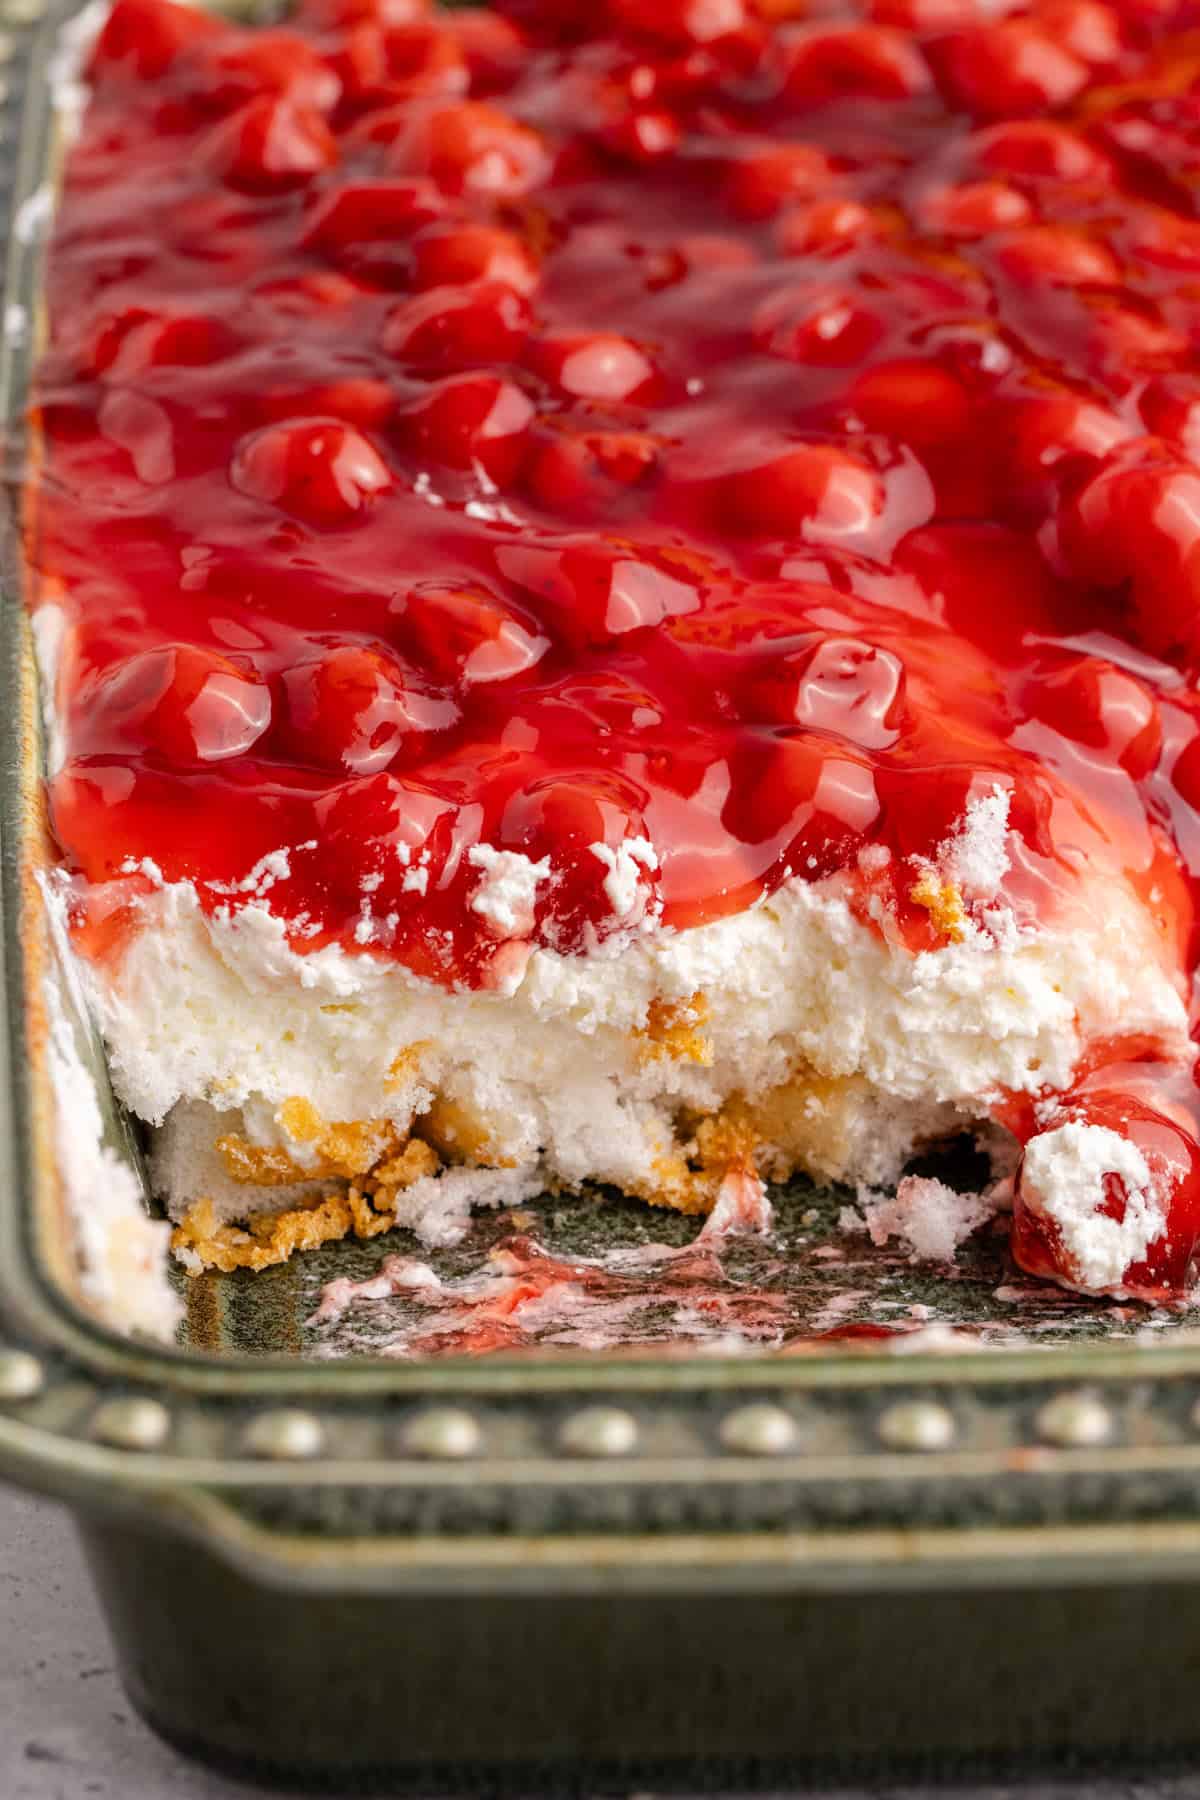
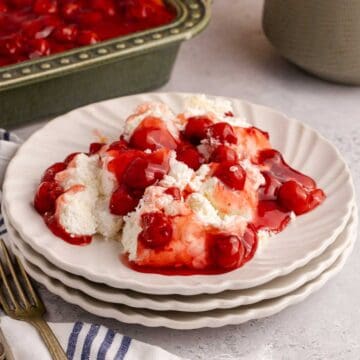
This Cherries in the Snow dessert layers fluffy angel food cake with a creamy cheesecake-style filling and plenty of sweet cherry pie filling. It's an easy no-bake dessert with the prettiest layers of red cherries and creamy white filling.
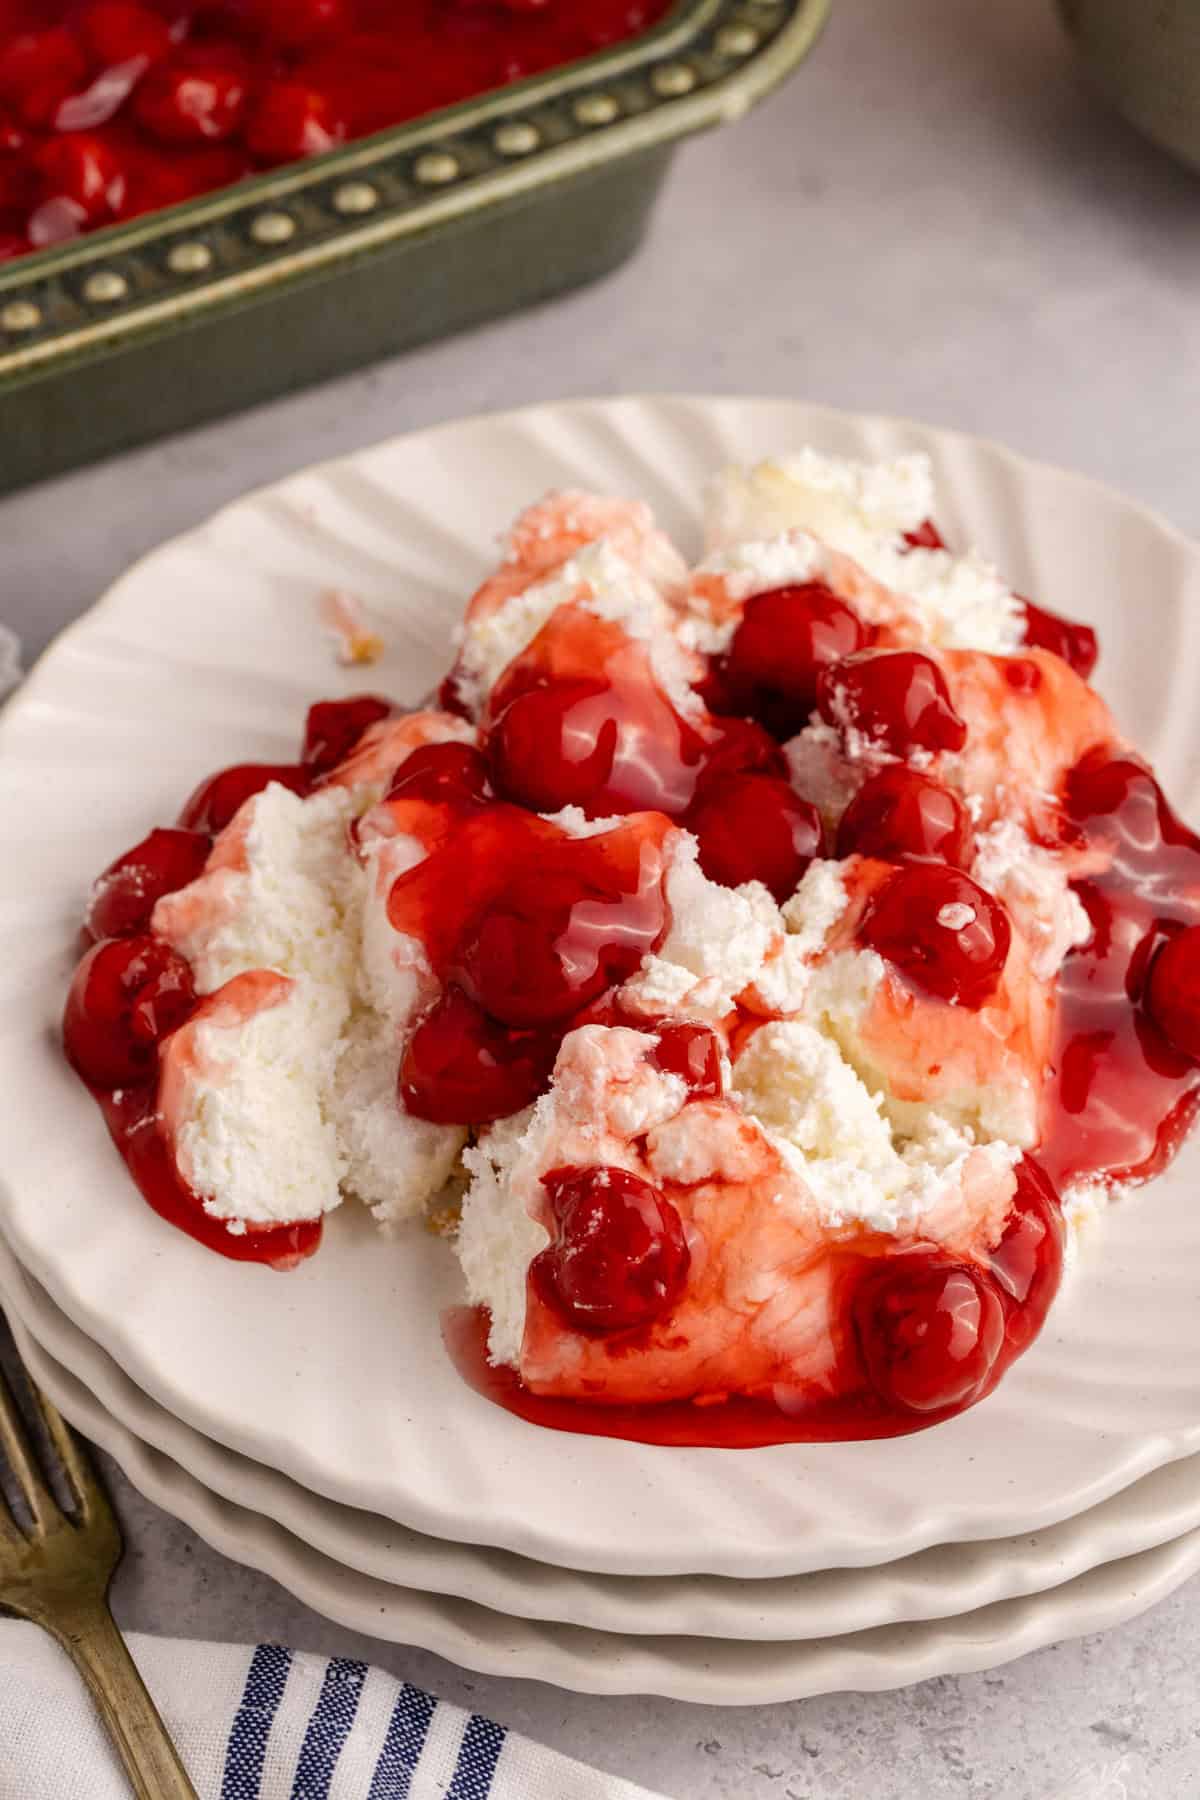
This is one of those old-fashioned desserts that feels right at home at family dinners, potlucks, and holiday tables. Using a store-bought angel food cake and canned cherry pie filling keeps it incredibly simple, and it's even better after it has had some time to chill in the fridge.
If you love the shortcut that comes from using canned pie filling, Strawberry Dump Cake or Blueberry Lemon Dump Cake for two more crowd-friendly favorites.
Jump to:
Ingredients
This easy layered dessert comes together with just a handful of ingredients and very little prep.
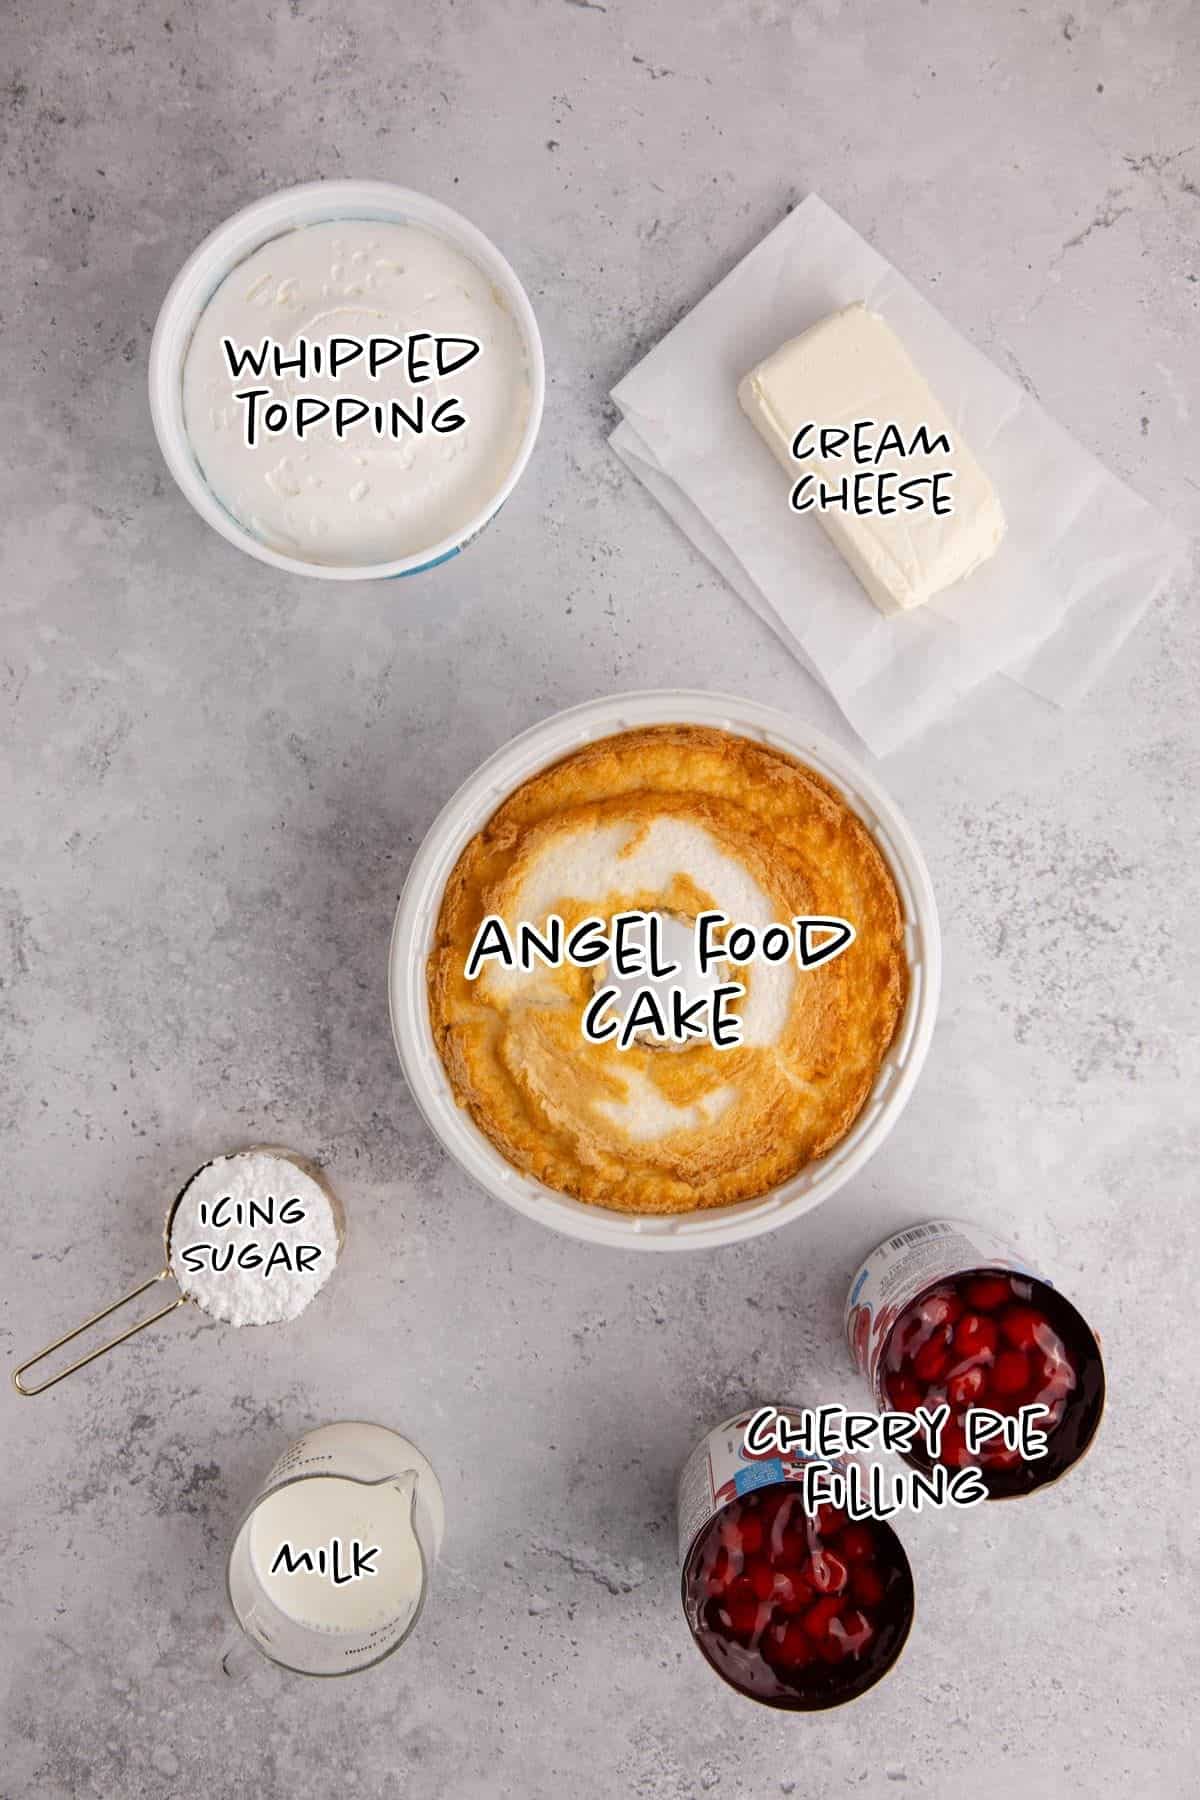
See the recipe card below for the exact quantities of each ingredient.
- Angel Food Cake: I use a store-bought angel food cake to keep this recipe quick and easy, but you can make it fresh. Its light, airy texture works perfectly with the creamy filling.
- Cream Cheese: Let it soften to room temperature so it blends smoothly without any lumps.
- Icing Sugar: Sweetens the cream cheese mixture while keeping the filling smooth.
- Milk: Thins the cream cheese mixture just enough into a softer, creamier consistency.
- Whipped Topping: Fold this in gently to keep the filling light and fluffy.
- Cherry Pie Filling: Two cans give you plenty of bright cherries and sweet sauce for a generous topping.
All you need is a 9x13 baking dish, hand mixer and mixing bowl for this easy no bake dessert.
Variations
- Change the Pie Filling: Try strawberry or blueberry pie filling for an easy twist on the original.
- Lighten It Up: I like to use light cream cheese, whipped topping and pie filling to make it a lighter dessert, and noone ever notices!
- Add Vanilla: Mix a little pure vanilla extract into the cream cheese filling for extra flavor.
- Add Almond Extract: A small amount of almond extract works especially well with cherries.
- Make It Gluten-Free: Use a gluten-free angel food cake and check the labels on your remaining ingredients.
- Make a Trifle: Layer the cake, cream cheese filling, and cherries in a trifle dish or individual glasses instead of a 9x13-inch baking dish.
How to Make Cherries in the Snow
With a store-bought angel food cake and a few simple ingredients, this layered dessert comes together quickly before chilling in the fridge.
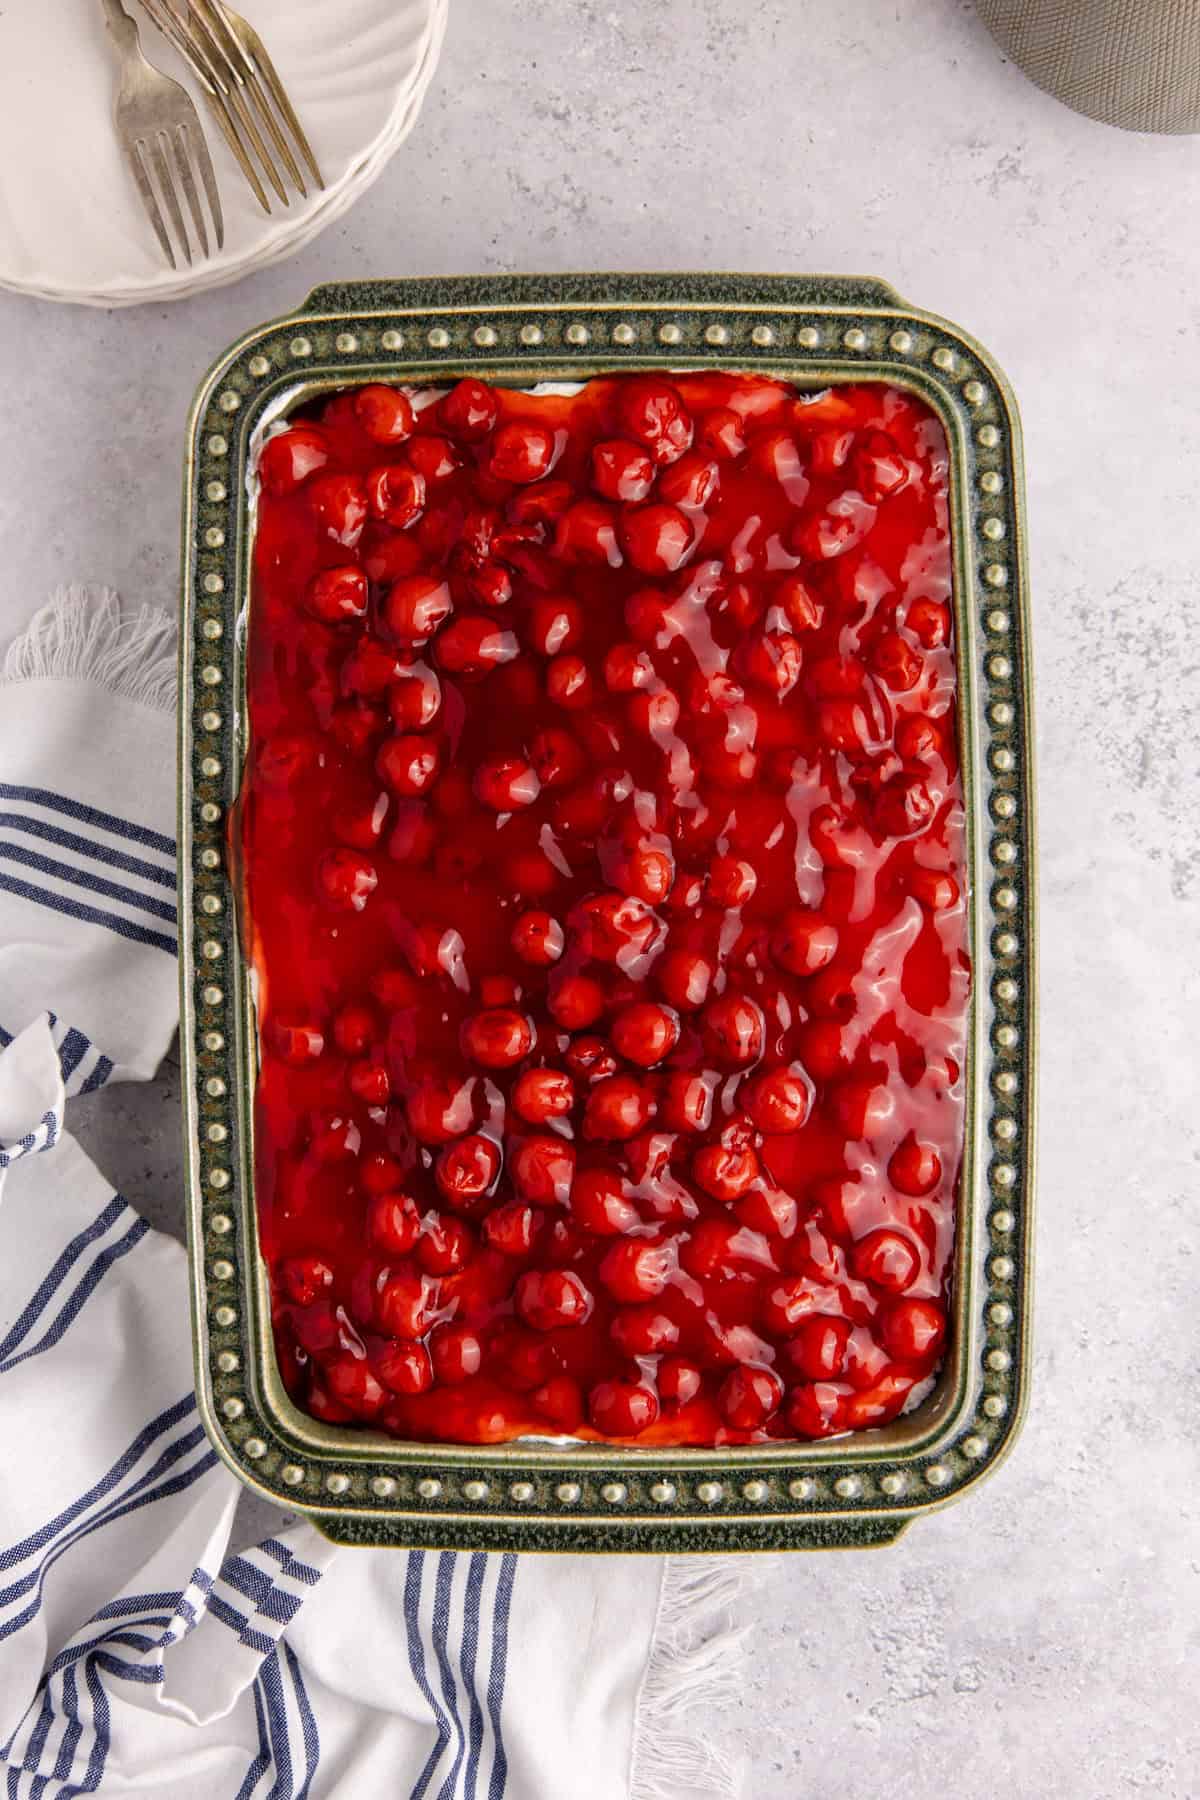
Cut the cake into small pieces, and arrange evenly in a 9x13 baking dish.
In a large mixing bowl, add cream cheese and icing sugar (I like to do half at a time), mix until smooth with a hand mixer.
Pour in milk and mix again until smooth, scraping down the sides as needed to ensure it is all incorporated.
Fold in whipped topping, then transfer to the baking dish and spread evenly over the cake pieces.
Spoon pie filling on top of the cream cheese mixture. Enjoy immediately or place in the fridge to chill before serving.
Hint: Room-temperature cream cheese is much easier to mix, and allows the filling to be extra smooth.
Recipe Tips
- Add the Icing Sugar Gradually: I like adding half at a time so it's easier to incorporate without making a mess.
- Fold in the Whipped Topping: Gently folding rather than beating keeps the filling light and fluffy.
- Spread the Cake Evenly: An even layer of angel food cake makes it easier to get a little of everything in each serving.
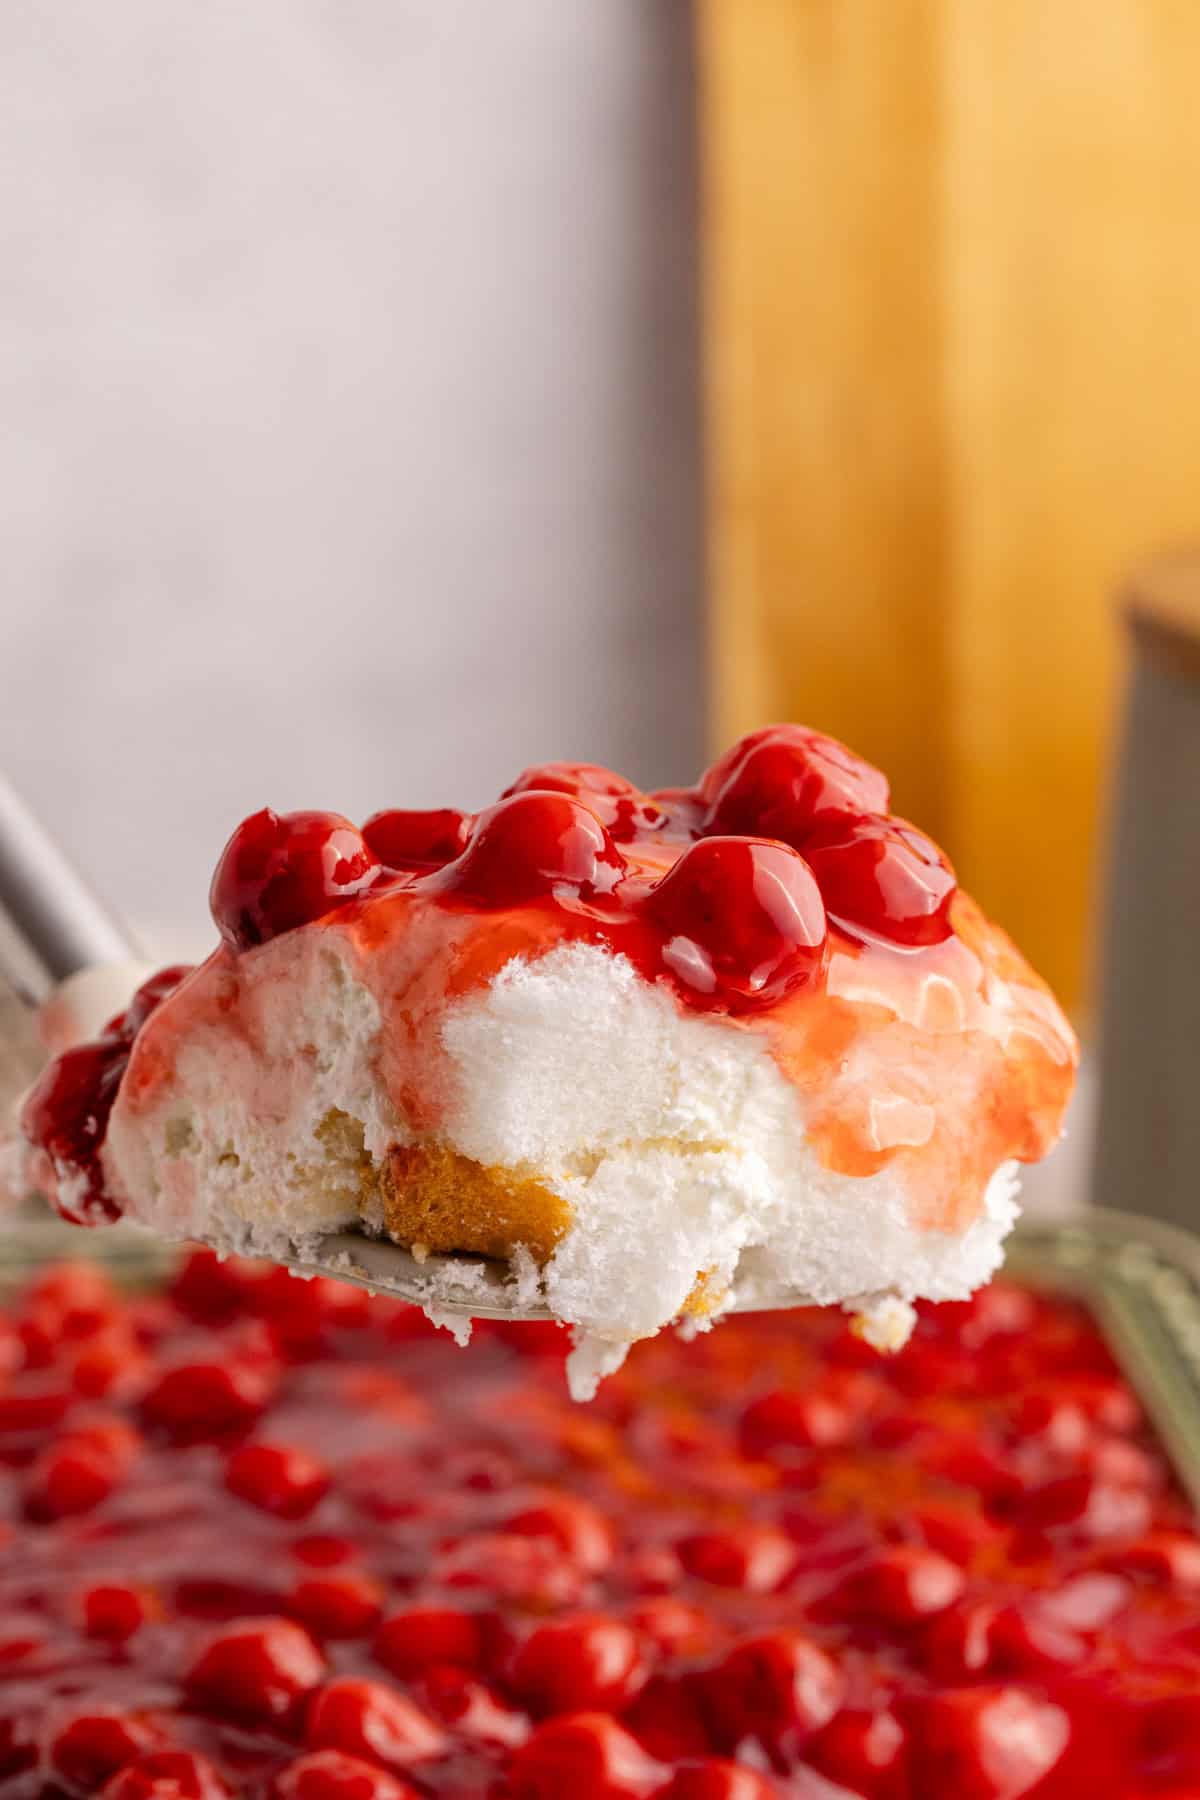
- Give It Time to Chill: Refrigerating before serving gives the layers time to settle and allows the cake to soften slightly.
For another nostalgic fruit dessert, our Strawberry Rhubarb Bars are layered with a sweet and tangy filling and buttery crumble topping.
More Desserts


Storage Instructions
- Refrigerator: Cover the baking dish tightly with plastic wrap or transfer leftovers to an airtight container and refrigerate for up to 3-4 days.
- Freezer: I don't recommend freezing the assembled dessert because the creamy filling can change texture once thawed.
- Make Ahead: Prepare the dessert the day before, cover, and refrigerate until you're ready to serve.
Serving Suggestions
- Desserts for a Crowd: Mixed Berry Crisp, Strawberry Galette, Slow Cooker Cinnamon Bun Casserole, Blueberry Tart, and Strawberry Rhubarb Slab Pie.
Cherries in the Snow Recipe FAQs
An old-fashioned layered dessert made with angel food cake, a creamy whipped cream cheese filling, and cherry pie filling. The white cake and filling underneath the bright red cherries give the dessert its name.
Absolutely. I use store-bought to keep things simple, but homemade angel food cake will work too.
Yes. Cherry gives the dessert its classic look and flavor, but strawberry or blueberry pie filling would also work well.
More Recipes



Ready to get cooking? Save time by having a grocery list automatically generate for you by clicking the "Add to Shopping List" below.
Cherries in the Snow
Equipment
- 9x13 Baking Dish
- Mixing Bowl
- Hand Mixer
Ingredients
- 1 10- ounce pre-made angel food cake
- 1 8- ounce block cream cheese softened
- 1 cup icing sugar
- ½ cup milk
- 1 8- ounce tub whipped topping frozen and thawed
- 2 21- ounce cans cherry pie filling
Instructions
- Cut the cake into small pieces, and arrange evenly in a 9x13 baking dish.
- In a large mixing bowl, add cream cheese and icing sugar (I like to do half at a time), mix until smooth with a hand mixer.
- Pour in milk and mix again until smooth, scraping down the sides as needed to ensure it is all incorporated.
- Fold in whipped topping, then transfer to the baking dish and spread evenly over the cake pieces.
- Spoon pie filling on top of the cream cheese mixture. Enjoy immediately or place in the fridge to chill before serving.
Notes
- Add the Icing Sugar Gradually: I like adding half at a time so it's easier to incorporate without making a mess.
- Fold in the Whipped Topping: Gently folding rather than beating keeps the filling light and fluffy.
- Spread the Cake Evenly: An even layer of angel food cake makes it easier to get a little of everything in each serving.
- Give It Time to Chill: Refrigerating before serving gives the layers time to settle and allows the cake to soften slightly.
- Room Temperature: Allow the cream cheese to soften, it is much easier to mix, and allows the filling to be extra smooth.
- Refrigerator: Cover the baking dish tightly with plastic wrap or transfer leftovers to an airtight container and refrigerate for up to 3-4 days.
- Freezer: I don't recommend freezing the assembled dessert because the creamy filling can change texture once thawed.
- Make Ahead: Prepare the dessert the day before, cover, and refrigerate until you're ready to serve.
Nutrition
Tried this recipe? Leave a star rating and comment below, I'd love to hear how it turned out for you!

I love how simple this dessert is to make. We even make it by baking a fresh angel food cake, and after it cools we add on top in layers instead of mixing it within the cake!