
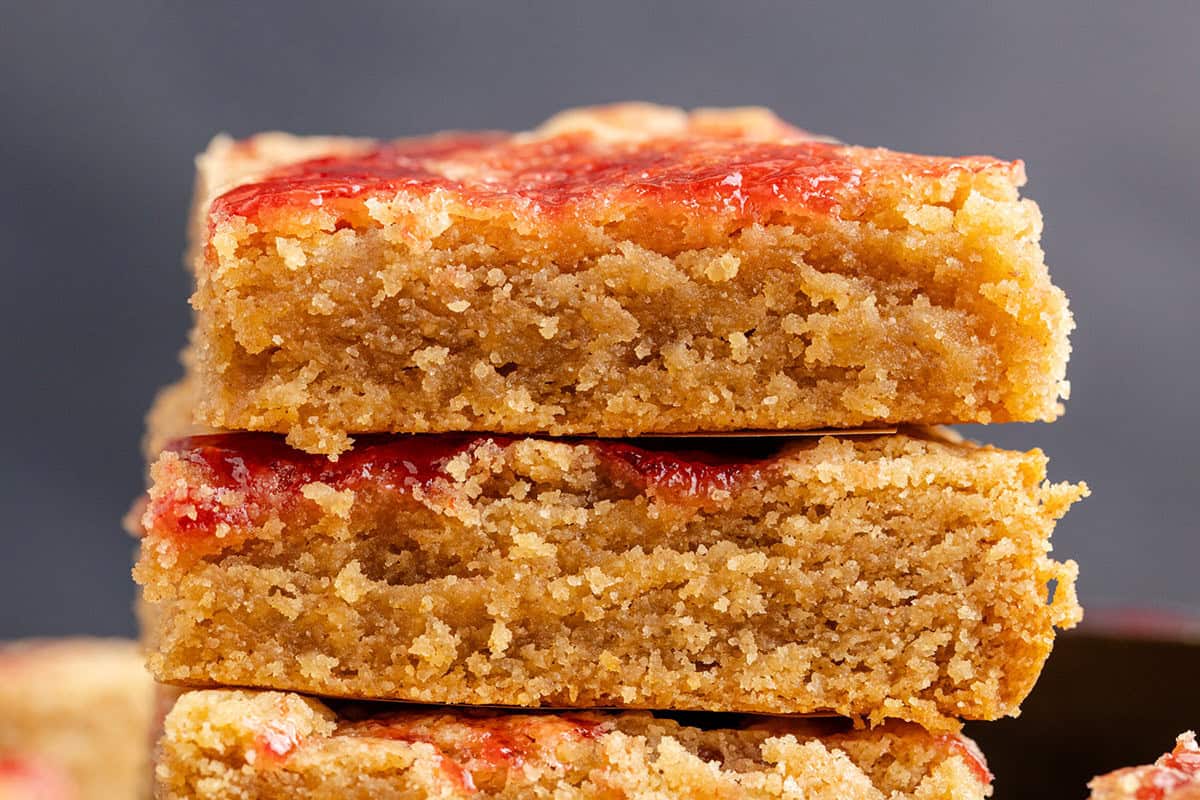
Peanut Butter and Jelly Bars
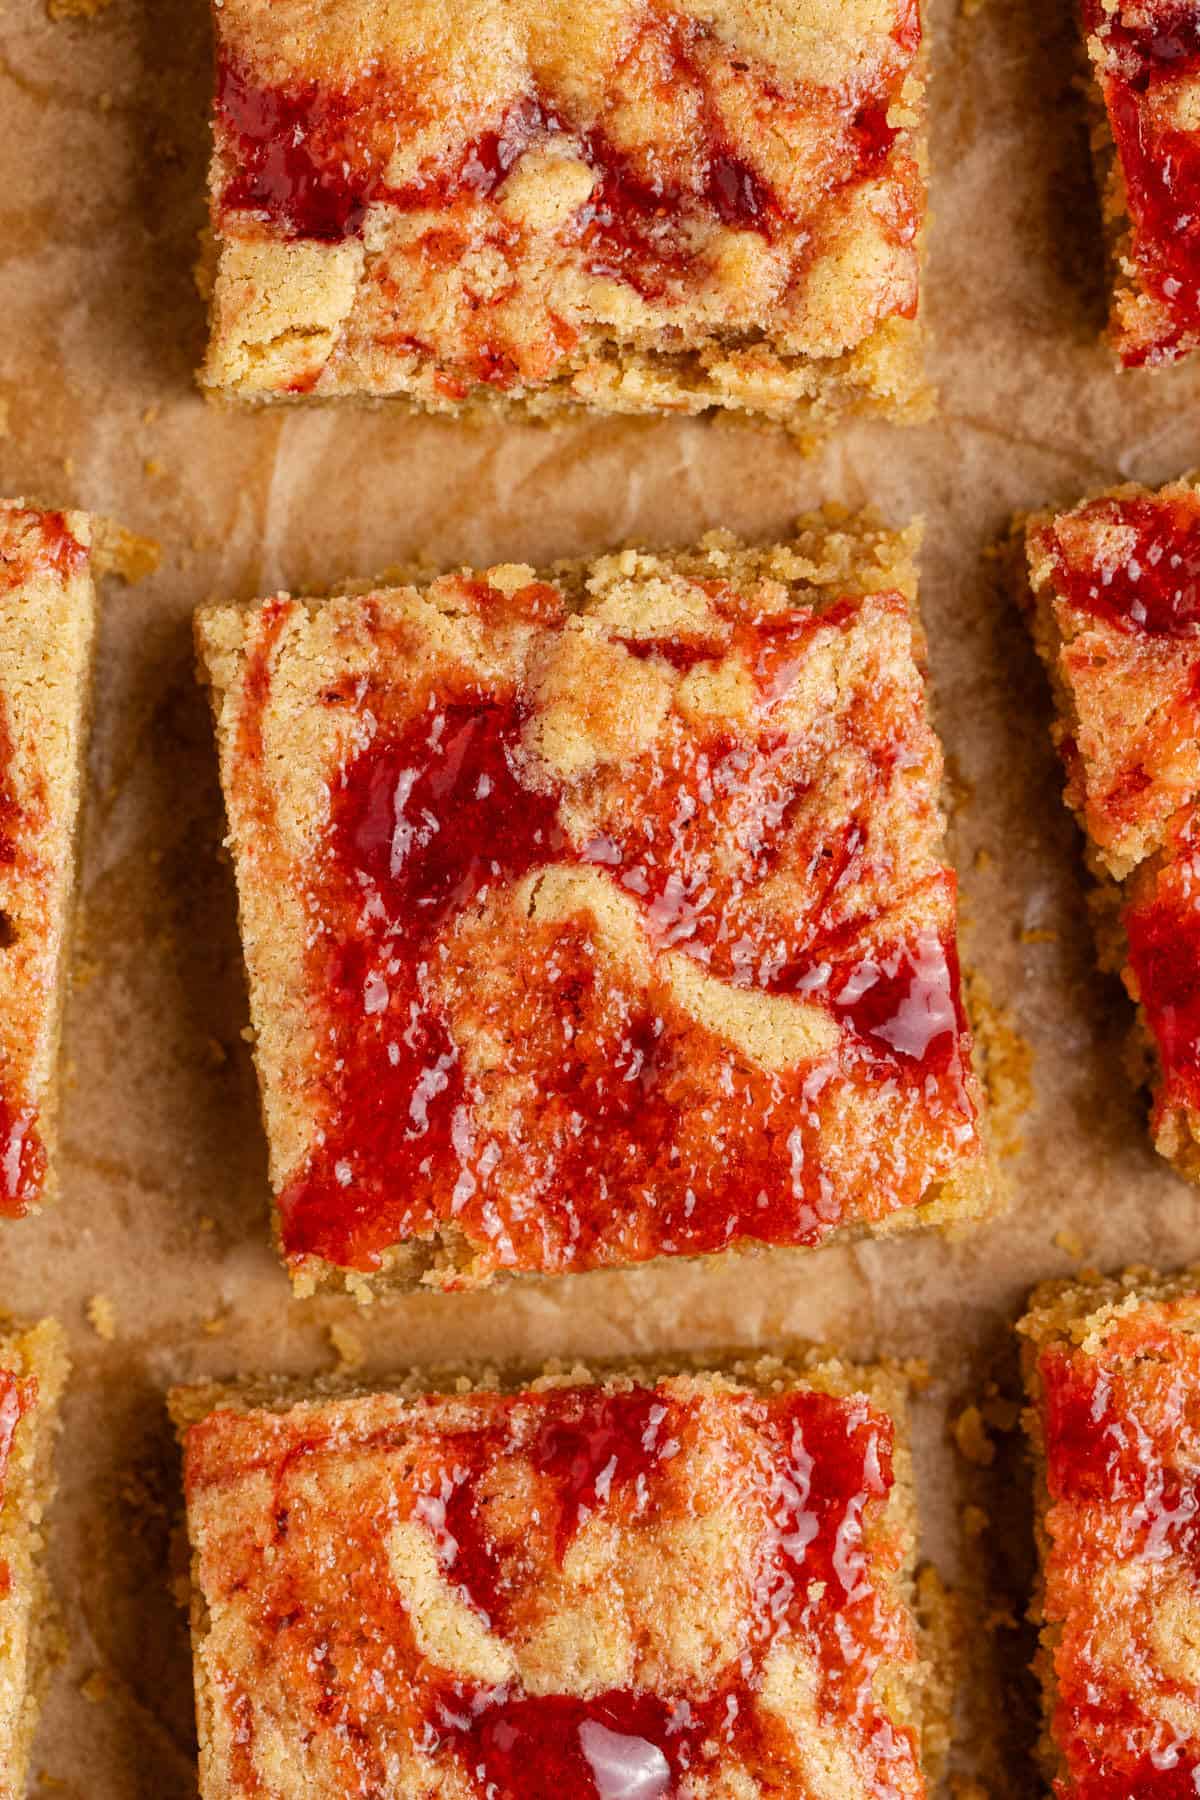
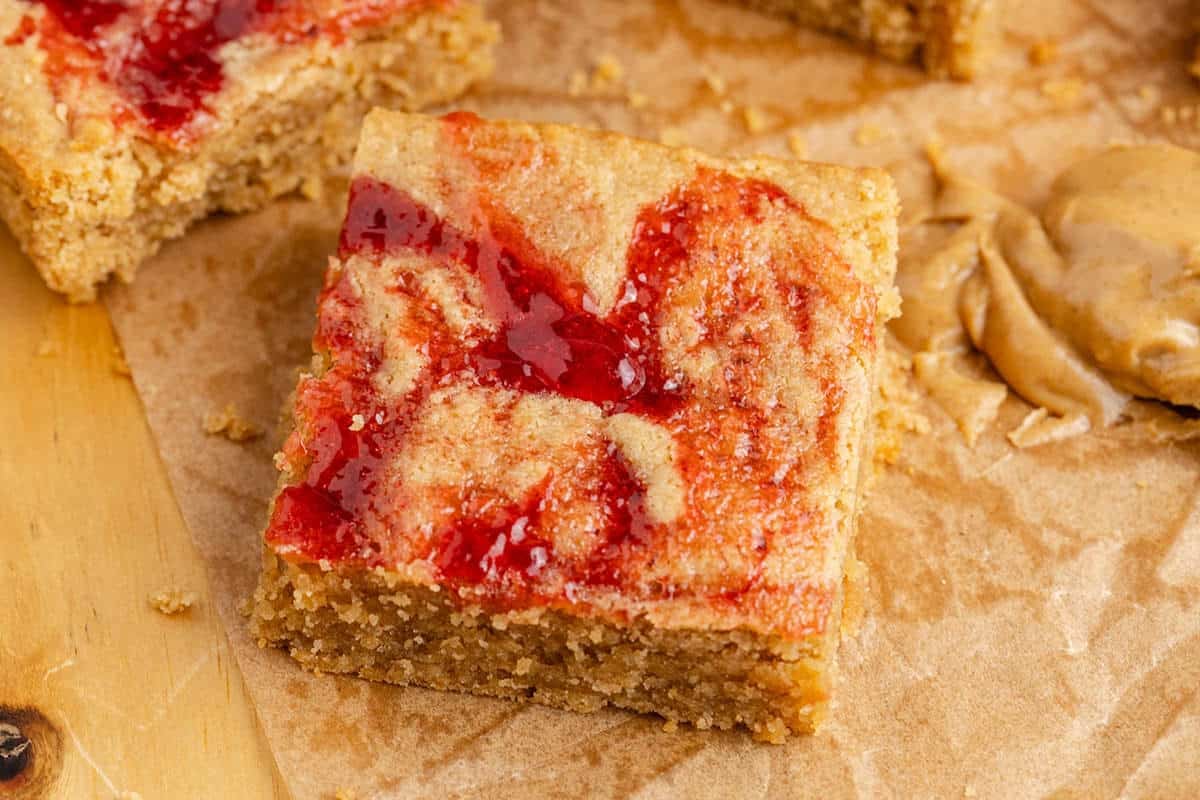
These Peanut Butter and Jelly Bars are soft, chewy and packed with rich peanut butter flavor, finished with sweet swirls of jam baked right on top. They taste like a classic PB&J sandwich turned into a cozy dessert bar.
Perfect for after-school snacks or casual weekend baking, these bars are simple to make and always feel nostalgic. They're just as welcome on a dessert table as they are tucked into a lunchbox (if you can bring peanut butter to school).
If you love nostalgic flavors, another fun option is our Peanut Butter Banana Muffins, or lean into the dessert-bar vibe with our Chocolate Chip Cookie Brownie Bars.
Jump to:
⭐️⭐️⭐️⭐️⭐️ Reader Review
"These bars turned out nice and chewy and made for a great snack. We used raspberry jam and they were great - kid approved!"
-Seija
Ingredients
Everything for these pb&j bars come together quickly with pantry staples.

See the recipe card below for the exact quantities of each ingredient.
- Unsalted Butter: Adds richness and helps create a soft, chewy base.
- Creamy Peanut Butter: The main flavor that keeps the bars moist and satisfying.
- Light Brown Sugar: Brings sweetness and a slight caramel note.
- Egg: Binds everything together and adds structure.
- Pure Vanilla Extract: Enhances the peanut butter flavor.
- Baking Powder: Provides just a bit of lift.
- Strawberry Jam: Adds that classic jelly swirl and fruity sweetness.
An 8x8 metal pan, parchment paper, measuring cups and spoons, a heat safe bowl and whisk is all you need for this childhood classic dessert.
Variations
- Different Jams: Swap strawberry for raspberry, grape, or mixed berry.
- Crunchy Texture: Use crunchy peanut butter for added bite.
- Nut-Free Option: Try sunflower seed butter if needed.
- Extra Sweetness: Add a few peanut butter chips to the dough.
- Breakfast-Style Bars: Use a low-sugar jam and enjoy them as a snacky breakfast.
How to Make Peanut Butter Bars
These bars come together quickly in one bowl.
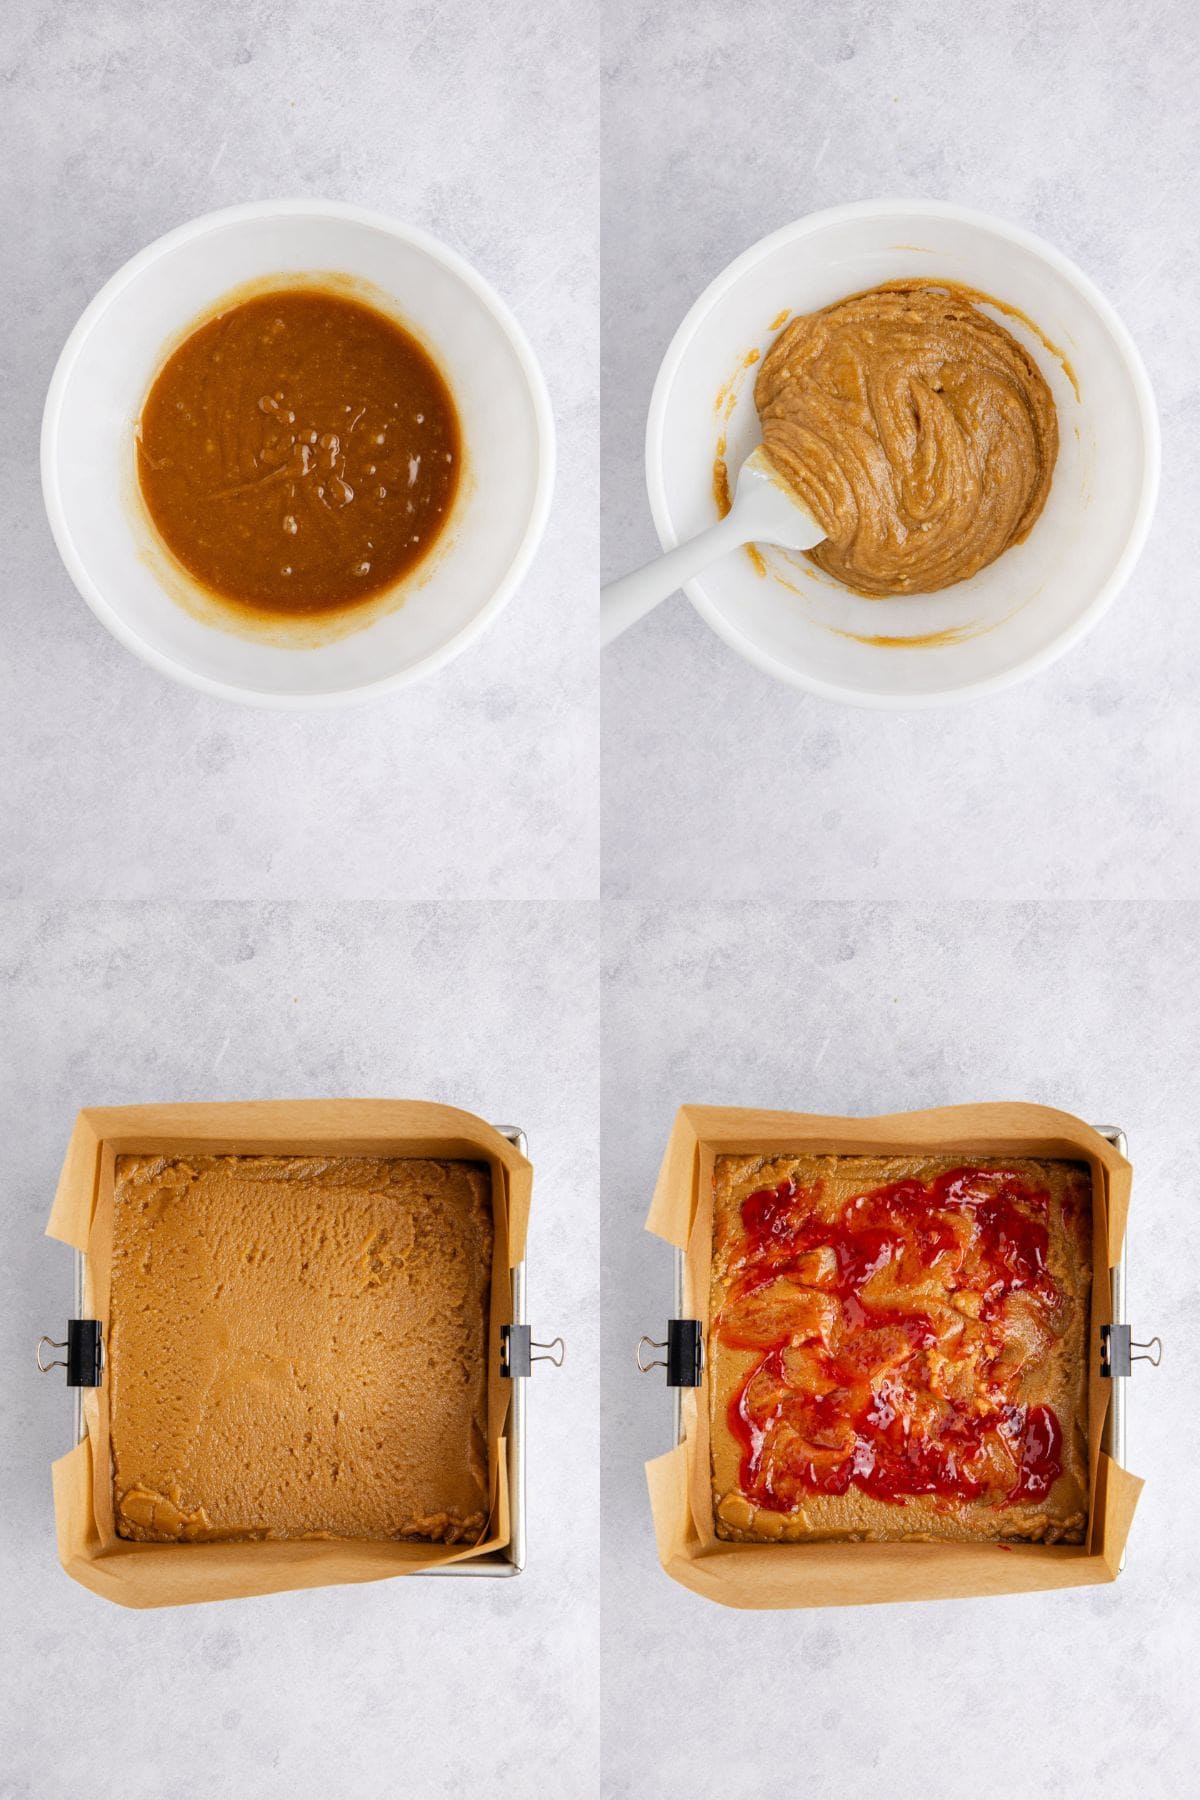
Preheat oven to 350F and prepare an 8x8 metal baking pan with parchment paper and set aside (if you leave the sides high it is easier to pull them out after).
In a large microwave safe bowl, melt together butter and peanut butter in 30-second intervals, whisking until smooth.
Add brown sugar, egg, pure vanilla extract and whisk until combined.
With a spatula mix in all purpose flour, salt and baking powder until a dough forms.
Transfer dough to your prepared pan, and press down evenly, then drop about 6 half tablespoon scoops of jam on top and swirl gently using an offset spatula or small spoon. Press down lightly but not disturb the dough layer too much.
Bake for about 25 minutes until edges are browned. Let cool fully and cut into bars.
Hint: A metal pan gives the best edges and even baking.
Recipe Tips
- Don't Over-Swirl: Lightly swirl the jam so it stays visible and doesn't sink.
- Cool Completely: Let the bars cool fully before slicing for clean edges.
- Jam Amount: Add more jam if you like a stronger jelly layer.
- Pan Lining: Leave parchment overhang for easy removal.
Another big favorite of our readers is our Frosted Sugar Cookie Bars.
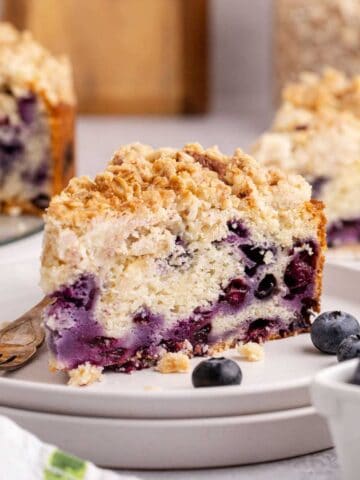
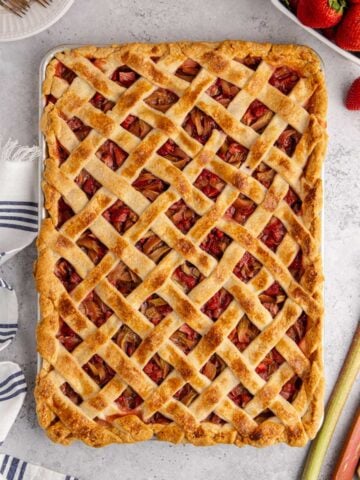
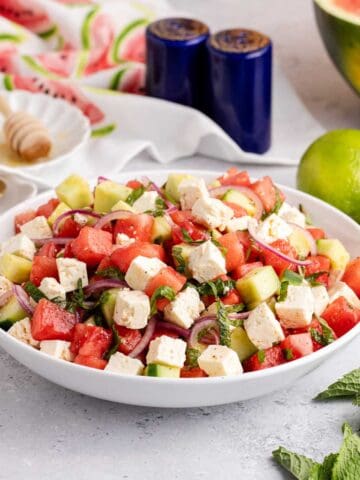
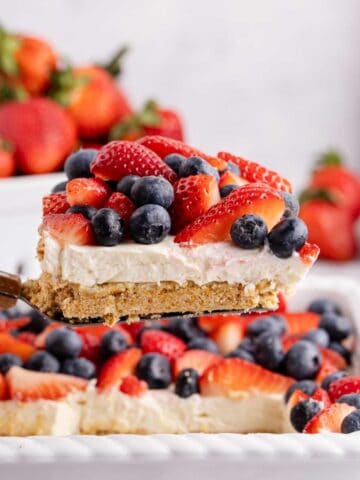
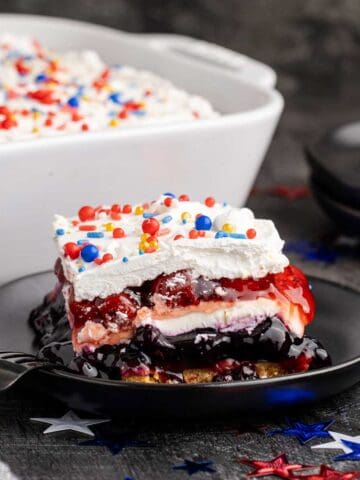
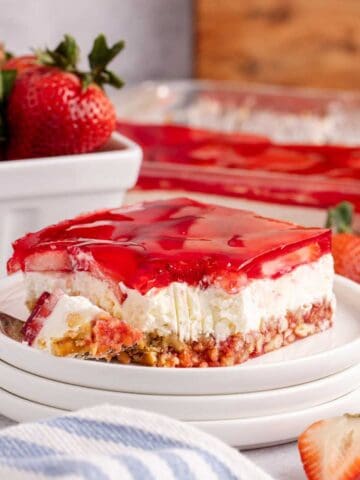
More Desserts

Storage Instructions
- Room Temperature: Store in an airtight container for up to 2 days out of direct sunlight.
- Refrigerator: Keeps well for up to 5 days; when stacking place parchment paper between each slice to prevent sticking.
- Freezer: Freeze sliced bars in a sealed container for up to 3 months.
Serving Suggestions
- Peanut Butter Treats: Reese's Peanut Butter Cookies, Peanut Butter Banana Muffins, Peanut Butter and Jelly Shots, 4 Ingredient Peanut Butter Cookies or Peanut Butter Banana Bread.

Peanut Butter and Jelly Bars Recipe FAQs
Yes, just stir it well so the oil is fully incorporated.
Absolutely. Bake it in a 9x13 pan and increase the bake time slightly.
Yes, the peanut butter keeps them soft and chewy for days.
More Recipes


Ready to get cooking? Save time by having a grocery list automatically generate for you by clicking the "Add to Shopping List" below.

Peanut Butter and Jelly Bars
Equipment
- Measuring Cups and Spoons
- 8x8 Metal Pan
- Microwave Safe Bowl Large
- Parchment Paper
- Whisk
- Offset Spatula optional
Ingredients
- 1 stick butter unsalted
- 180 grams peanut butter about ¾ cup (creamy or smooth)
- 100 grams light brown sugar about ½ cup, packed
- 1 large egg
- ½ tablespoon pure vanilla extract
- 156.5 grams all-purpose flour about 1 ¼ cup
- 1 teaspoon sea salt
- ½ teaspoon baking powder
- 3 tablespoon strawberry jam or more
Instructions
- Preheat oven to 350F and prepare an 8x8 metal baking pan with parchment paper and set aside (if you leave the sides high it is easier to pull them out after).
- In a large microwave safe bowl, melt together butter and peanut butter in 30-second intervals, whisking until smooth.
- Add brown sugar, egg, pure vanilla extract and whisk until combined.
- With a spatula mix in all purpose flour, salt and baking powder until a dough forms.
- Transfer dough to your prepared pan, and press down evenly, then drop about 6 half tablespoon scoops of jam on top and swirl gently using an offset spatula or small spoon. Press down lightly but not disturb the dough layer too much.
- Bake for about 25 minutes until edges are browned. Let cool fully and cut into bars.
Notes
- Don't Over-Swirl: Lightly swirl the jam so it stays visible and doesn't sink.
- Cool Completely: Let the bars cool fully before slicing for clean edges.
- Jam Amount: Add more jam if you like a stronger jelly layer.
- Pan Lining: Leave parchment overhang for easy removal.
- Metal Pan Matters: A metal pan gives the best edges and even baking.
- Room Temperature: Store in an airtight container for up to 2 days out of direct sunlight.
- Refrigerator: Keeps well for up to 5 days; when stacking place parchment paper between each slice to prevent sticking.
- Freezer: Freeze sliced bars in a sealed container for up to 3 months.
Nutrition
Made this recipe? Share your experience in the comments and don't forget to leave a star rating so others can find it too.
These bars turned out nice and chewy and made for a great snack. We used raspberry jam and they were great — kid approved!
Kid approved is the best! Raspberry is a nice twist, thanks for letting us know!
These are crazy addicting. The soft texture and the light crumb is perfect, and the flavors are the right balance!