
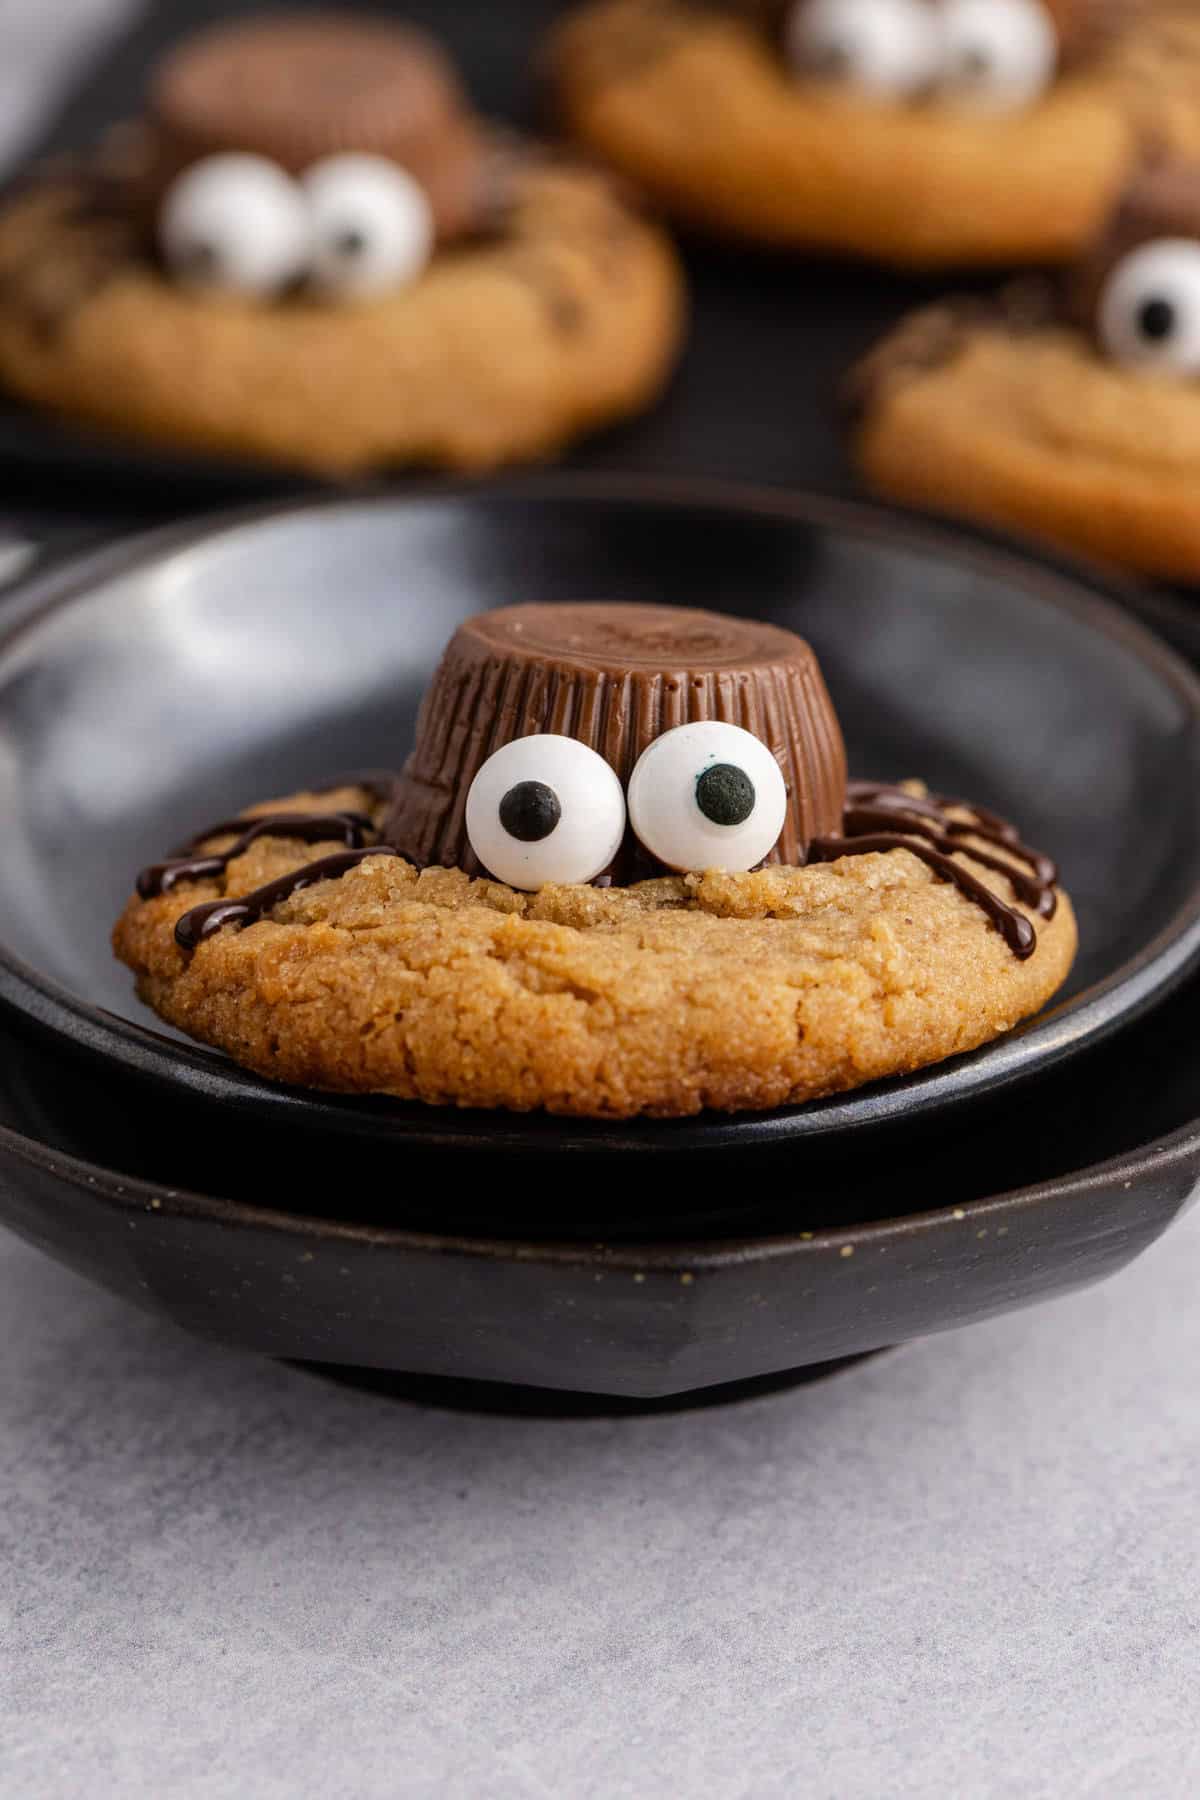
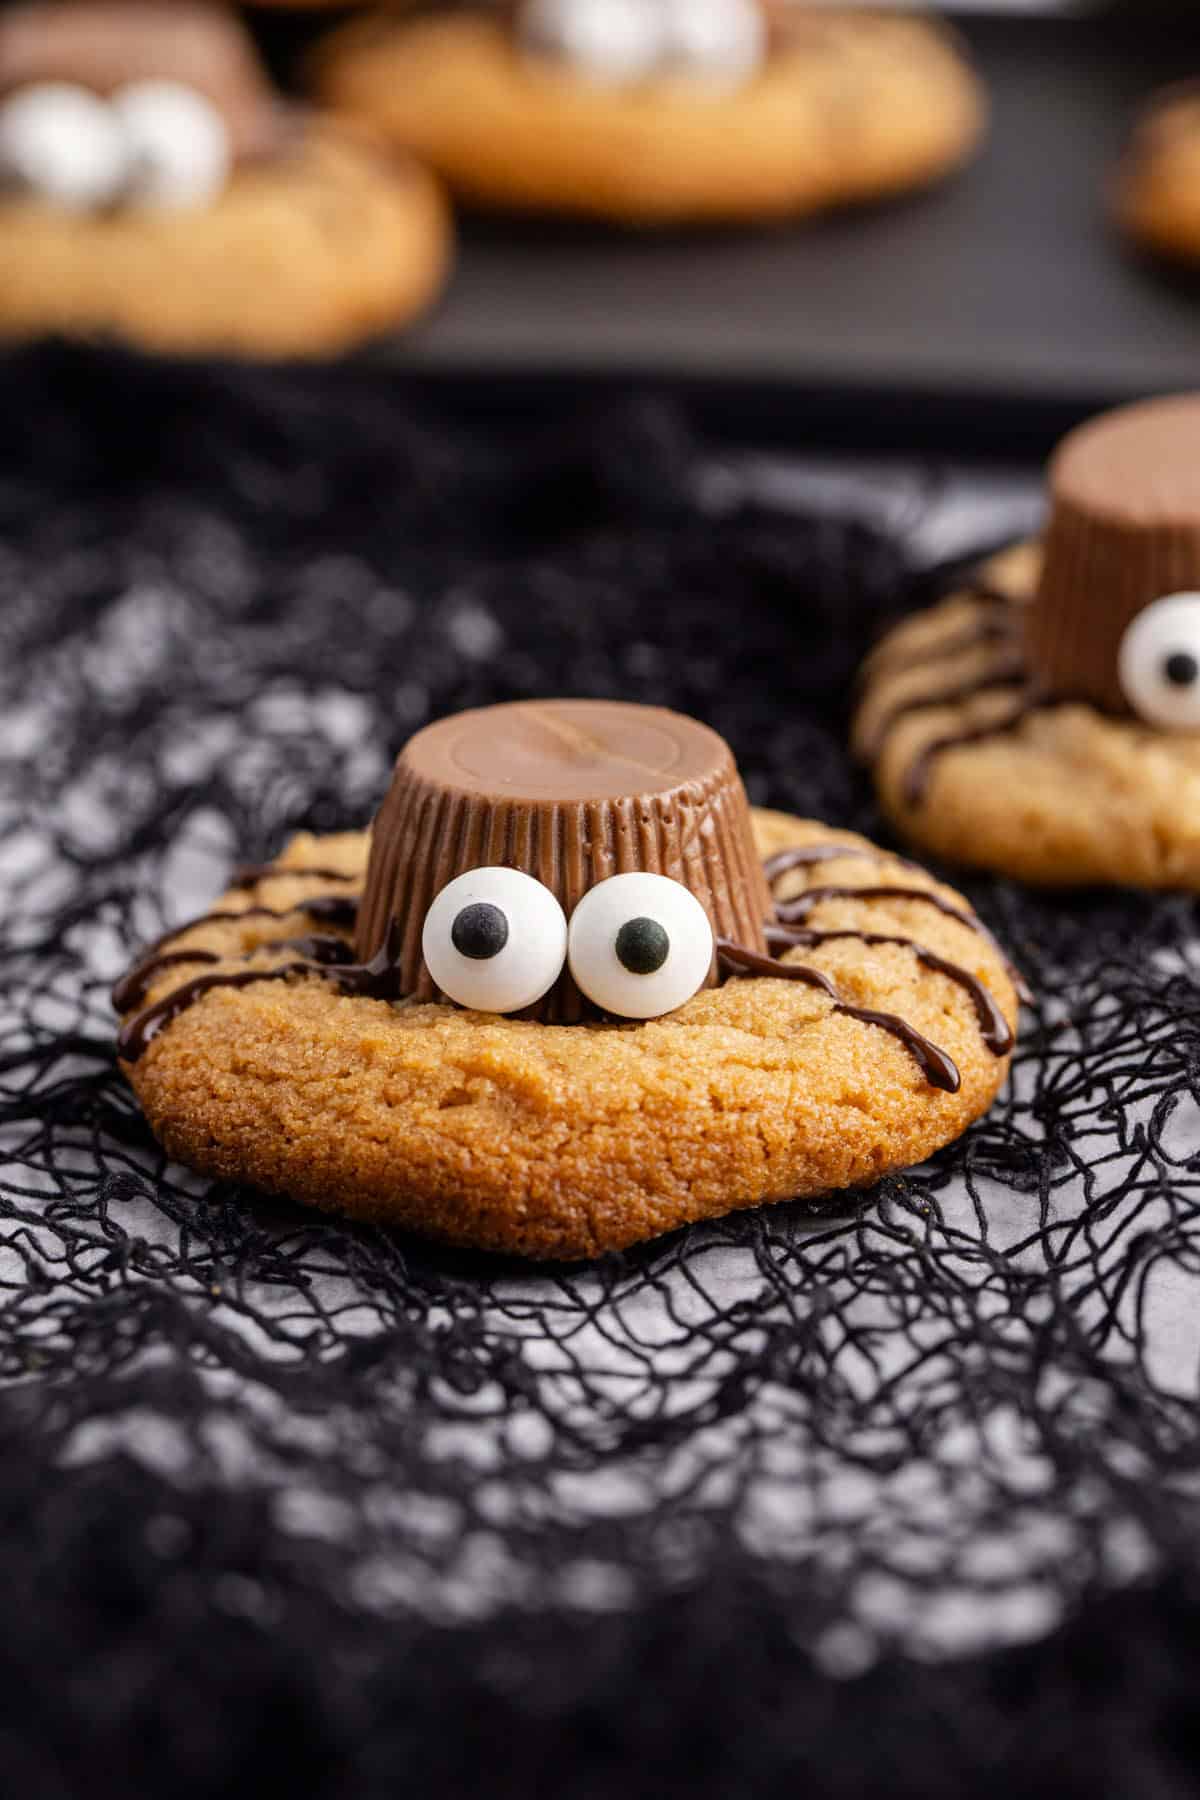
Spider Cookies
These Halloween Spider Cookies are chewy peanut butter cookies topped with mini Reese's cups, candy eyes and chocolate "legs." They're sweet, nutty and just spooky enough to be the cutest cookies on your table.
Perfect for Halloween parties, school events or a fun baking activity with kids, these peanut butter spider cookies come together easily with simple ingredients.
If you're looking for more easy and playful Halloween desserts, you'll want to try making a batch of our Mummy Rice Krispie Treats or Chocolate Cake Mix Cookies.
Jump to:
Why You Will Love This Recipe
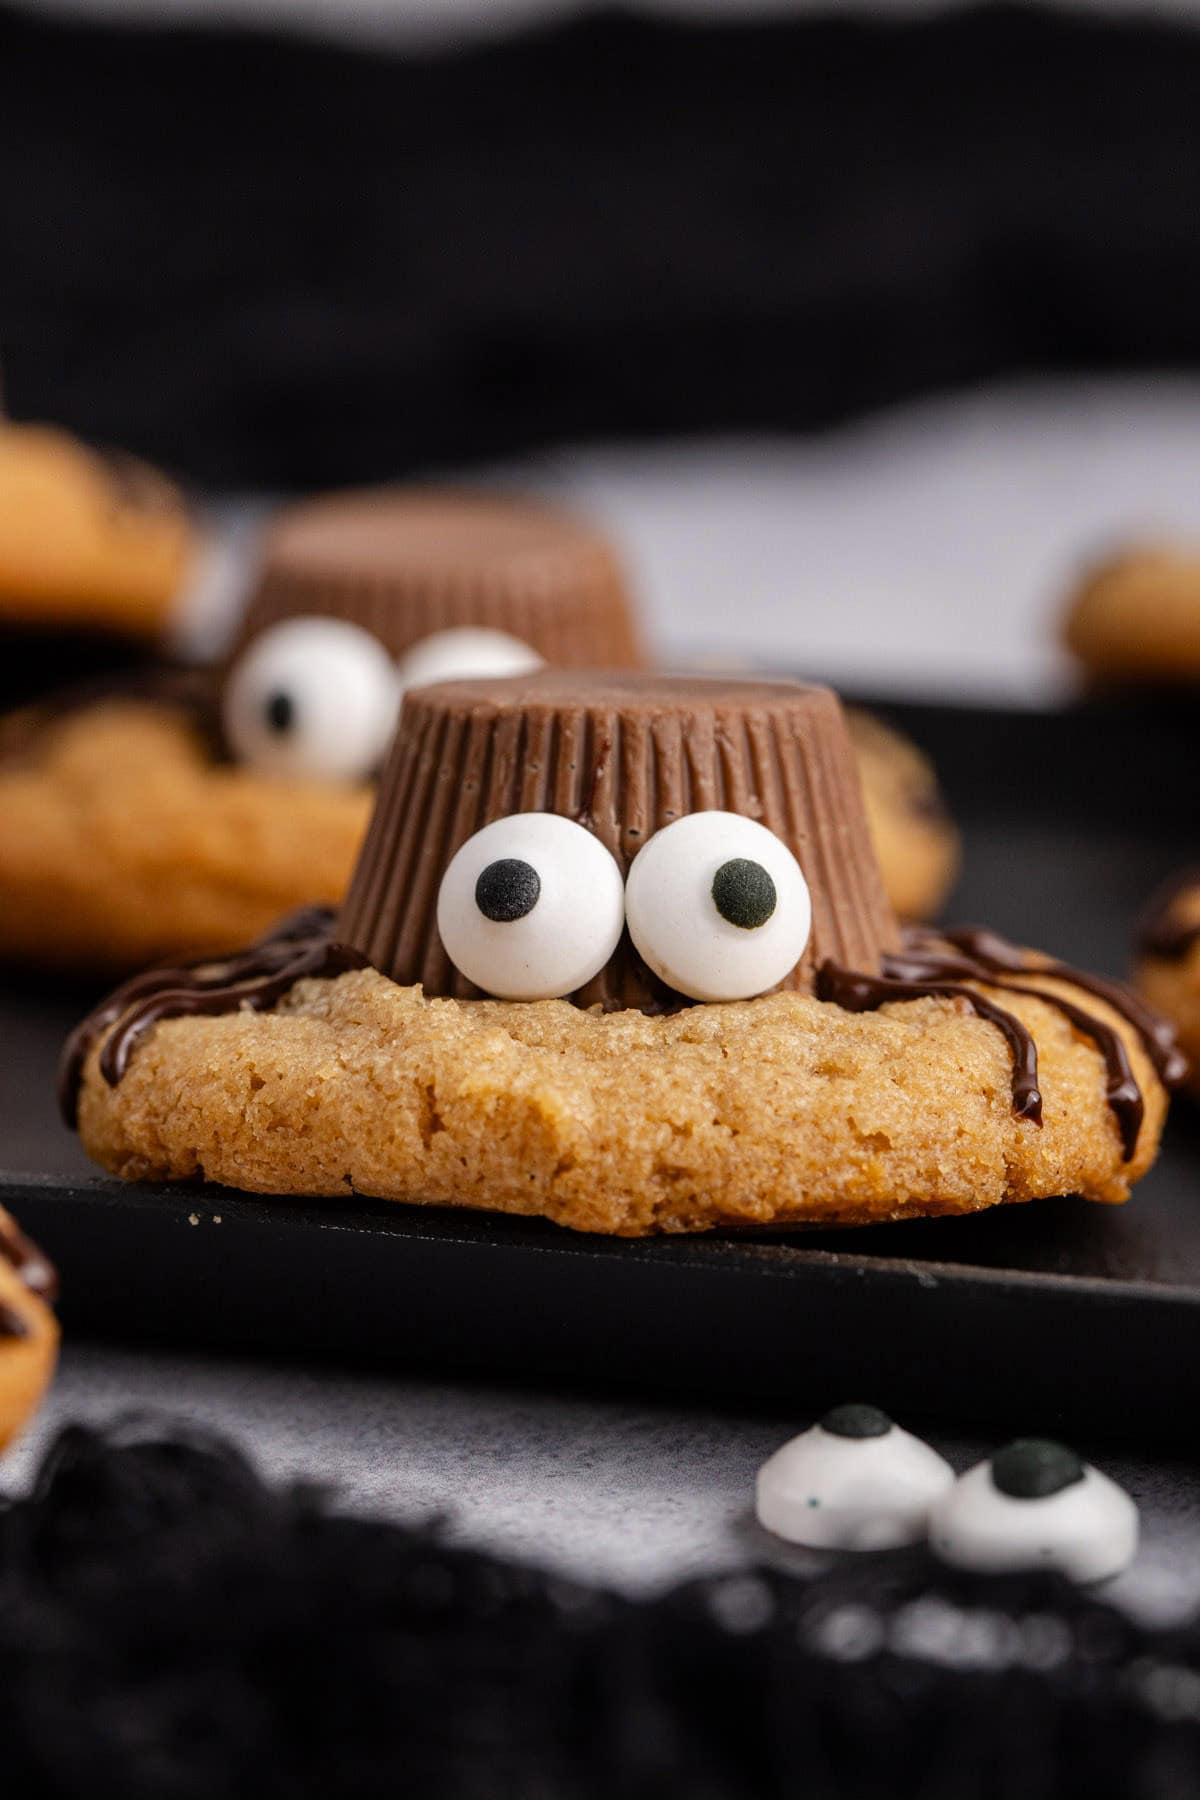
- Spooky and Fun: Candy eyes and chocolate legs transform cookies into crawly looking spiders.
- Chewy Base: Peanut butter cookies bake up soft with a lightly golden brown edge.
- Kid-Friendly: Decorating with eyes and legs is a fun activity for little helpers.
- Simple Ingredients: Made with pantry staples and no flour required makes them naturally gluten free.
- Perfect Party Treat: A festive Halloween dessert that disappears fast.
Ingredients
These cookies start with our 4-Ingredient Peanut Butter Cookie dough and get a spooky upgrade.

See the recipe card below for the exact quantities of each ingredient.
- Peanut Butter: Smooth and creamy for the base of the cookie.
- Egg: Binds the dough together.
- Mini Reese's Cups: Create the spider "body" in the center of each cookie.
- Chocolate Chips: Melted to pipe the spider "legs" and attach eyes.
- Candy Eyeballs: The final touch for fun, edible decorations.
To make this simple recipe easier, you will want a baking sheet, parchment paper, mixing bowl, 1-½ tablespoon cookie scoop and a piping bag (or Ziploc bag).
Variations
- White Chocolate Drizzle: Swap the legs for white chocolate for a lighter look.
- Different Candies: Try malt balls or truffles as spider bodies instead of Reese's cups.
- Extra Flavor: Add a splash of vanilla extract for a sweeter, more classic peanut butter cookie.
- Mini Cookies: Make smaller dough balls for bite-sized spider treats.
How to Make Spider Cookies
These spooky spider cookies come together in just a few steps.
Preheat oven to 375F and line a baking sheet with parchment paper.
Combine peanut butter, white sugar, egg and salt in a medium bowl and mix until smooth.
Using a 1 ½-tablespoon cookie scoop, place dough balls on baking sheet.
Bake for about 11 minutes, until cookies are slightly browned.
While still on the baking sheet, place a mini Reese's upside-down in the center and lightly press down.
Allow them to cool mostly on the cookie sheet, then transfer to a cooling rack.
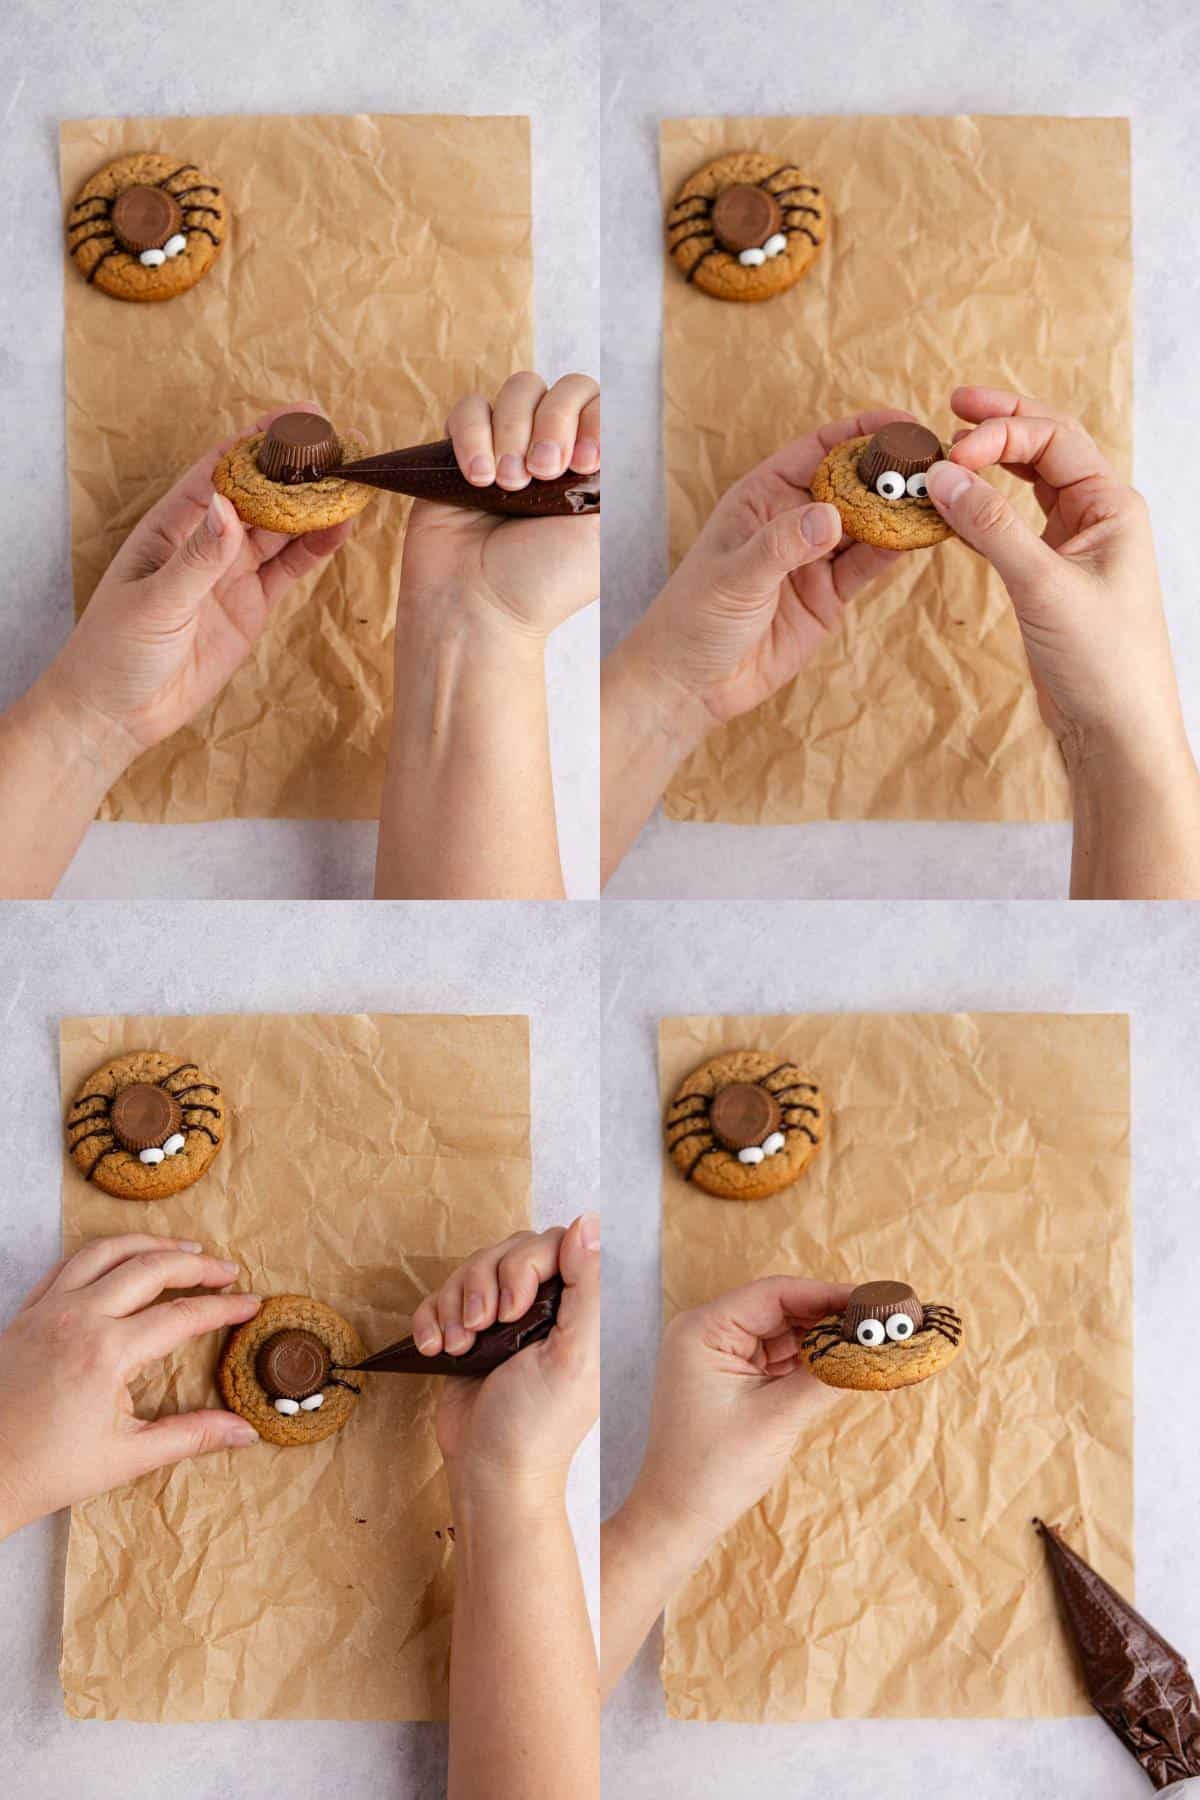
Once fully cooled, melt chocolate in a heat-safe bowl incrementally in the microwave for 30 seconds at a time, stirring between each interval; alternatively, you can use a double boiler. Cool slightly then add to a piping bag or Ziploc bag and cut a small hole in the tip.
Pipe chocolate where the eyeballs will be as "glue" and then 8 legs.
Hint: Press Reese's cups into cookies while still warm so they stick. If you are using already made peanut butter cookies, you can use some of the melted chocolate to act as "glue" to stick them together.

Recipe Tips
- Cool Completely: Let cookies fully cool before decorating or the chocolate can melt.
- Use a Piping Bag: A small round tip or Ziploc bag with the corner snipped makes clean chocolate "legs."
- Room Temperature Ingredients: Helps the dough mix together more smoothly.
- Sharp Contrasts: I like to use dark chocolate not just because it is my favorite, but it makes the spider legs stand out better.
For another festive Halloween cookie to add to your dessert spread, try our Frosted Halloween Sugar Cookies.
More Halloween Recipes


Storage Instructions
- Room Temperature: Store cookies in an airtight container for up to 4 days.
- Freezer: Freeze undecorated cookies in a freezer-safe bag for up to 2 months. Add decorations after thawing for best results. Check out my tip above for how to "glue" your peanut butter cup on cooled cookies.
Serving Suggestions
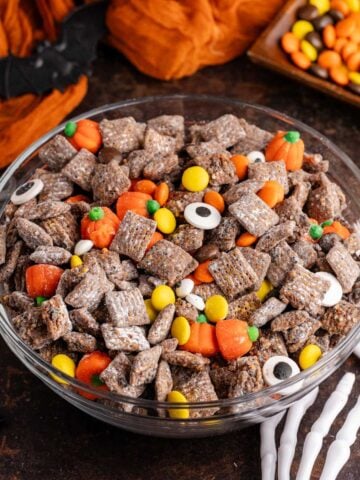
- Halloween Party Table: Pair with Mummy Brownies, Halloween Brownies or Crockpot Halloween Candy.
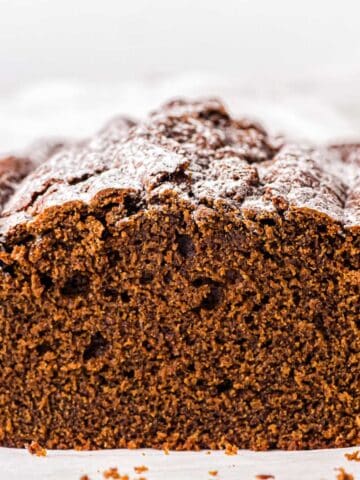
- Dessert Spread: Add to a tray with Banana Chocolate Chip Cookies, S'mores Cookies and Pumpkin Banana Bread.

Spider Cookies Recipe FAQs
No, this dough bakes perfectly without chilling, which makes it faster to prepare.
You can, but the cookies may spread a bit more. A smooth, no-stir peanut butter gives the more consistent results.
Melted white chocolate with a mini chocolate chip in the center makes an easy substitute.
More Recipes
Here are some more recipes you'll want to try!


Ready to get cooking? Save time by having a grocery list automatically generate for you by clicking the "Add to Shopping List" below.

Spider Cookies
Equipment
- Measuring Cups and Spoons
- Mixing Bowl
- Baking Sheet
- Parchment Paper
- 1 ½ Tablespoon Cookie Scoop
- Cooling Rack
Ingredients
- 1 cup smooth peanut butter
- 150 grams granulated sugar about ¾ cup
- 1 large egg
- ½ teaspoon sea salt
- 16 mini Reese's peanut butter cups
- 2- ounce chocolate chips any kind
- 32 candy eyeballs
Instructions
- Preheat oven to 375F and line a baking sheet with parchment paper.
- Combine peanut butter, white sugar, egg and salt in a medium bowl and mix until smooth.
- Using a 1 ½-tablespoon cookie scoop, place dough balls on baking sheet.
- Bake for about 11 minutes, until cookies are slightly browned.
- While still on the baking sheet, place a mini Reese's upside-down in the center and lightly press down.
- Allow them to cool mostly on the cookie sheet, then transfer to a cooling rack.
- Once fully cooled, melt chocolate in a heat-safe bowl incrementally in the microwave for 30 seconds at a time, stirring between each interval; alternatively, you can use a double boiler. Cool slightly then add to a piping bag or Ziploc bag and cut a small hole in the tip.
- Pipe chocolate where the eyeballs will be as "glue" and then 8 legs.
Video
Notes
- Press Reese's cups into cookies while still warm so they stick. If you are using already made peanut butter cookies, you can use some of the melted chocolate to act as "glue" to stick them together.
- Let cookies fully cool before decorating or the chocolate can melt.
- A small round tip or Ziploc bag with the corner snipped makes clean chocolate "legs."
- If you use room temperature ingredients it will help the dough mix together more smoothly.
- I like to use dark chocolate not just because it is my favorite, but it makes the spider legs stand out better.
- Nutritional information includes all of the chocolate but you may have some left over.
Nutrition
If you made this recipe, let us know in the comments! Did you follow it as written or add your own twist?


These spider cookies are THE CUTEST! Looking forward to making them this week with my kids!
Happy baking, Risa!
These are so cute, and my kids loved them! The peanut butter and chocolate combo is so good.
Yay, that is so great to hear! 🙂 Thanks for sharing.
Oh my cute, love these cute spider cookies!
Thank you Abi. They sure are fun to make, the kids love them!
I made these for her Girl Scout meeting and it definitely got them really excited for Halloween! They thought they were so cute and I liked that they are relatively easy to put together.
Oh that is so wonderful to hear. Thank you so much for letting us know. Happy you all loved them!
These are such a fun treat to make. We sometimes use white chocolate and different sized eyeballs to make them look more mummy-like!