Witch Fingers
These Witch Fingers are the ultimate spooky Halloween treat. Made with a buttery almond cookie dough, shaped into creepy fingers, and topped with sliced almond fingernails and realistic red icing, they're equal parts delicious and delightfully eerie. Perfect for Halloween parties, dessert tables, or a fun afternoon of baking with the family.
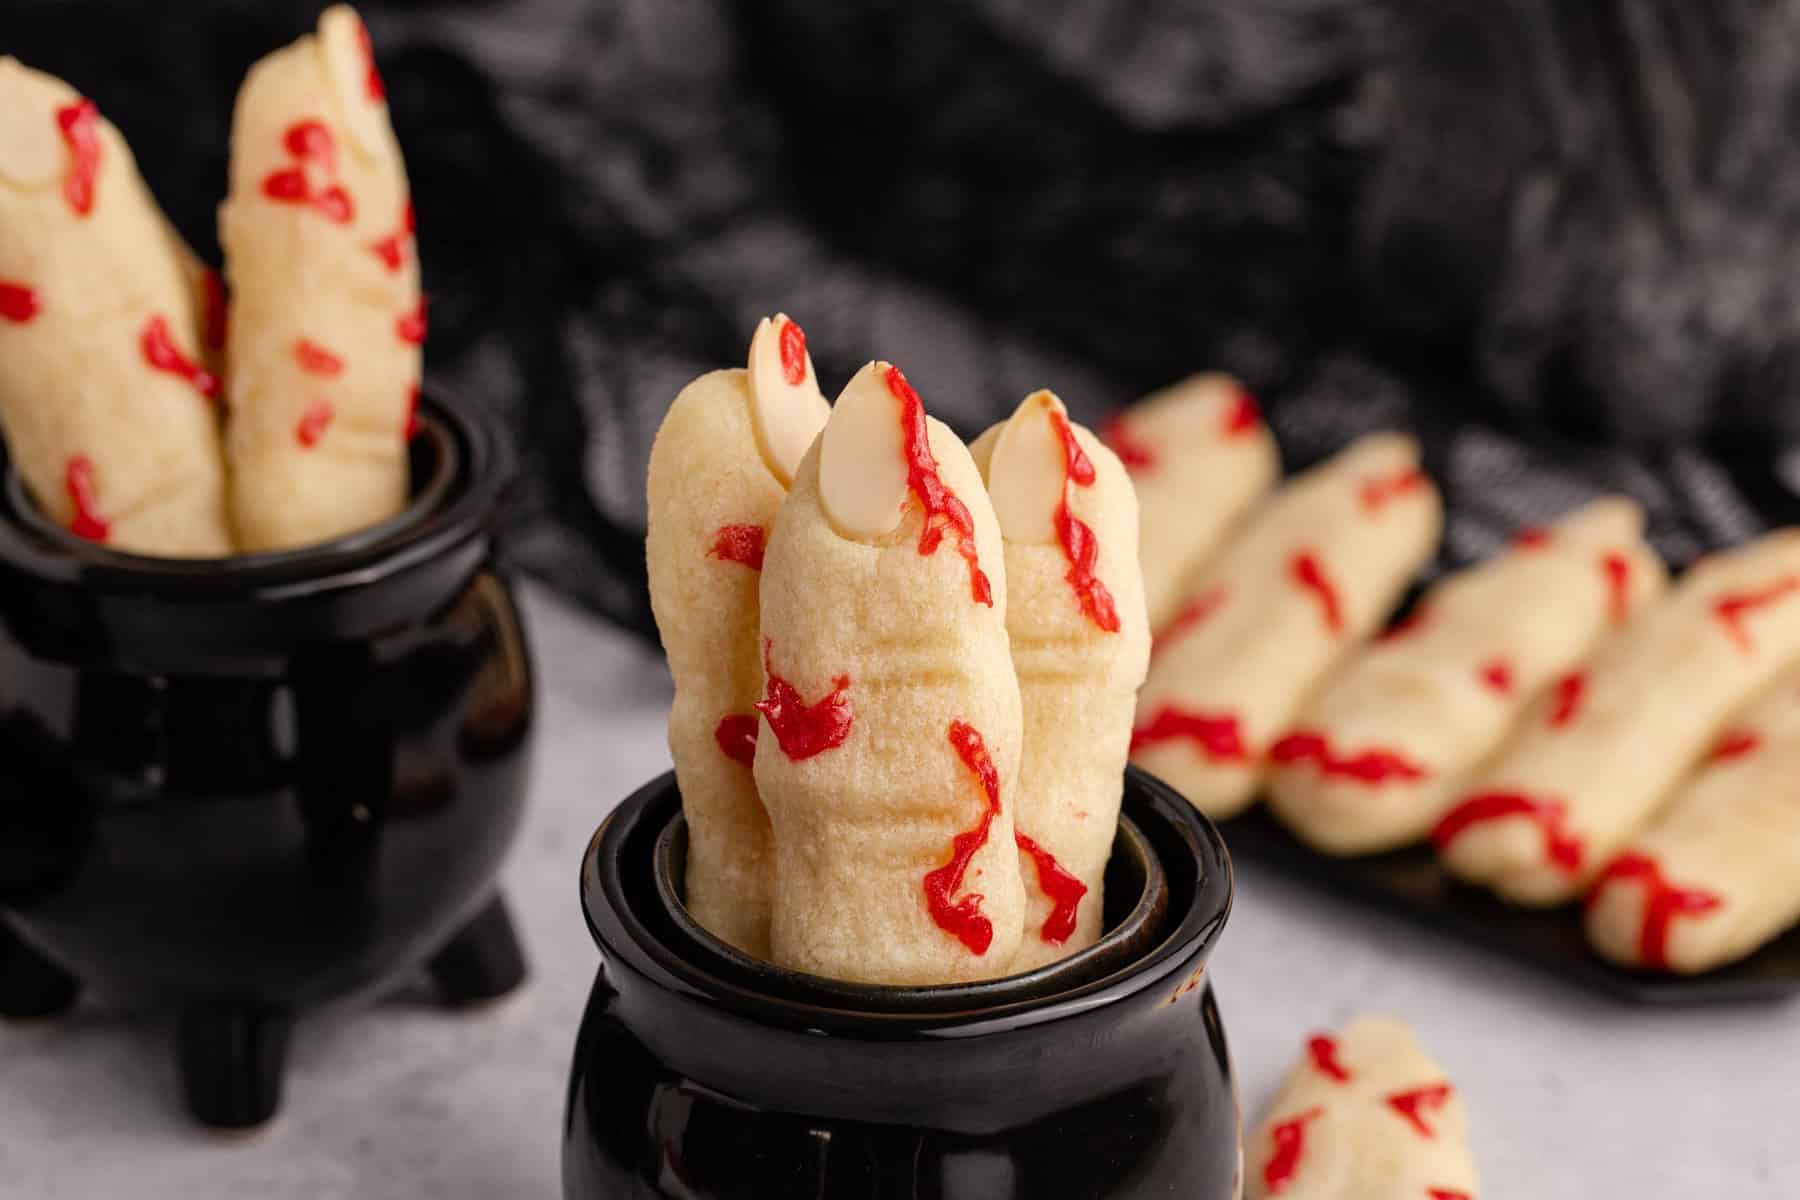
With crisp edges, a tender buttery center, and plenty of creepy details, these spooky witch fingers cookies look like they took hours to make, but they're easy enough for bakers of any skill level. They're the perfect addition to Halloween parties, spooky dessert tables, classroom celebrations, or a fun afternoon of baking with the kids.
Looking for more frightfully fun treats? Be sure to try our Halloween Cookie Bars and Spider Cookies.
Jump to:
Ingredients
This witch finger cookie recipe is surprisingly easy to make using simple ingredients.
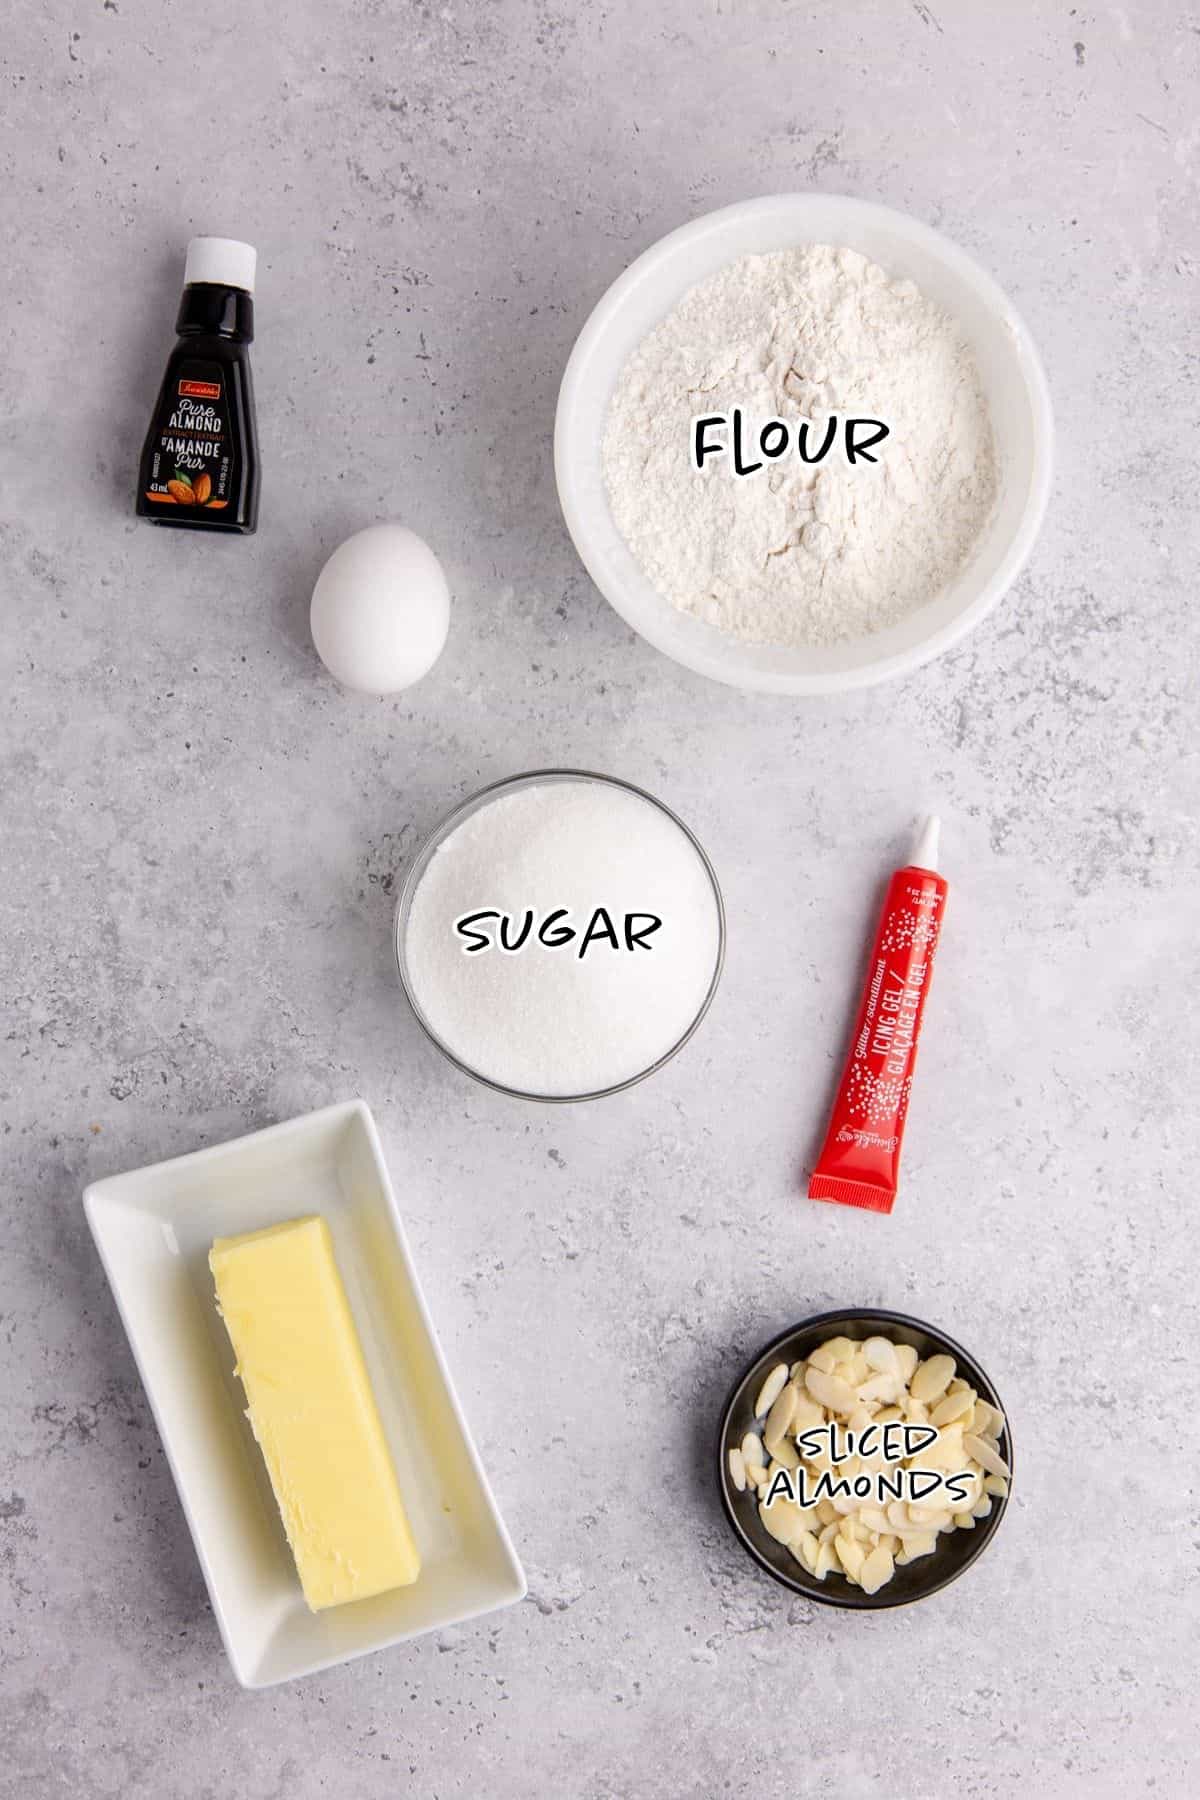
See the recipe card below for the exact quantities of each ingredient.
- Unsalted Butter: Creates the rich, buttery base of these shortbread-style cookies.
- Granulated Sugar: Sweetens the dough while helping create crisp edges.
- Egg: Binds the dough together and adds structure.
- Almond Extract: Gives the cookies their signature bakery-style almond flavor.
- All-Purpose Flour: Forms the base of the cookie dough.
- Sliced Almonds: Create realistic fingernails while adding a subtle crunch.
- Powdered Sugar: Makes a smooth icing for decorating.
- Milk: Thins the icing to the perfect consistency.
- Red Food Coloring: Gives the icing its spooky, bloody appearance.
All you need is a mixing bowl, whisk, measuring cups and spoons, baking sheet, and parchment paper to make these cookies.
Variations
- Extract Swap: Use vanilla extract instead of almond if you prefer a more classic butter cookie flavor.
- Almond Option: Use whole blanched almonds instead of sliced almonds to create larger, more dramatic fingernails.
- Darker "Blood" Effect: Add a tiny amount of black or brown food coloring to the red icing for a deeper, more realistic color.
- Shortcut Decoration: Use red decorating gel instead of homemade icing for a quicker finishing touch.
- Green Witch Fingers: Mix a small amount of green food coloring into the dough to create creepy green witch fingers perfect for Halloween.
How to Make Witch Finger Cookies
Follow these simple steps to impress the guests at your next Halloween gathering.
Prep a baking sheet (or 2) with parchment paper and set aside temporarily
In a mixing bowl, add the butter and sugar, with a hand mixer on low for about a minute mix to combine well for about 90 seconds.
Add the egg and almond extract and mix just until combined.
Fold in the flour with a spatula and work the dough until a ball forms.
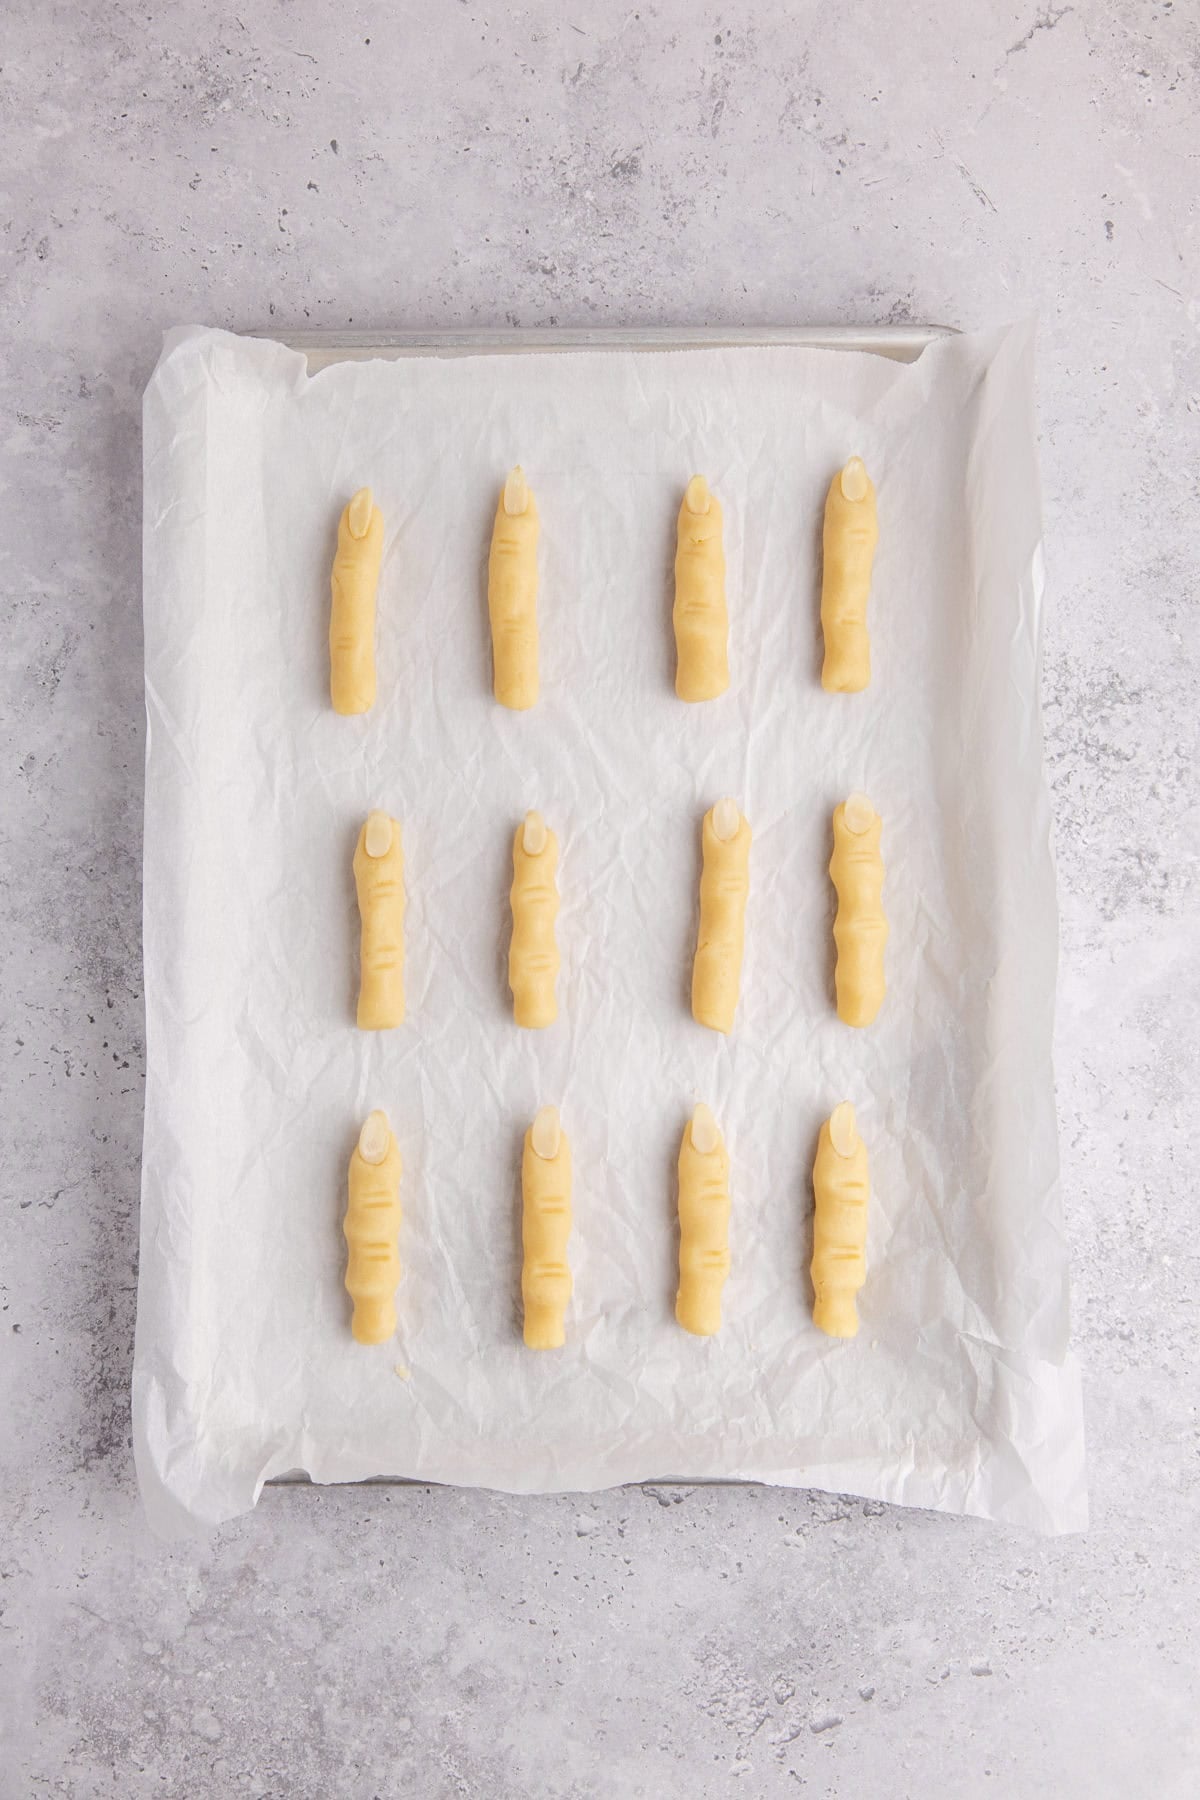
Divide the dough into 24 small balls (about 1 tablespoon in size) then between your hands roll them into logs and place on your prepared baking sheet. They will spread a little so allow about 2 inches between.
Create a thin log with each dough portion to shape them into fingers.
Lightly press 1 almond slice into the end of each finger, and make some knuckle-like indentations on each of the fingers using anything thin and flat like a butter knife or popsicle stick.
Optional: Chill until the fingers feel nice and firm, 30 minutes should plenty, but you can do longer.
Preheat oven to 350F and take the cookies out when ready to go straight into the oven. Bake for about 12 minutes or until the edges of the cookies start to look lightly golden along the bottom edges.
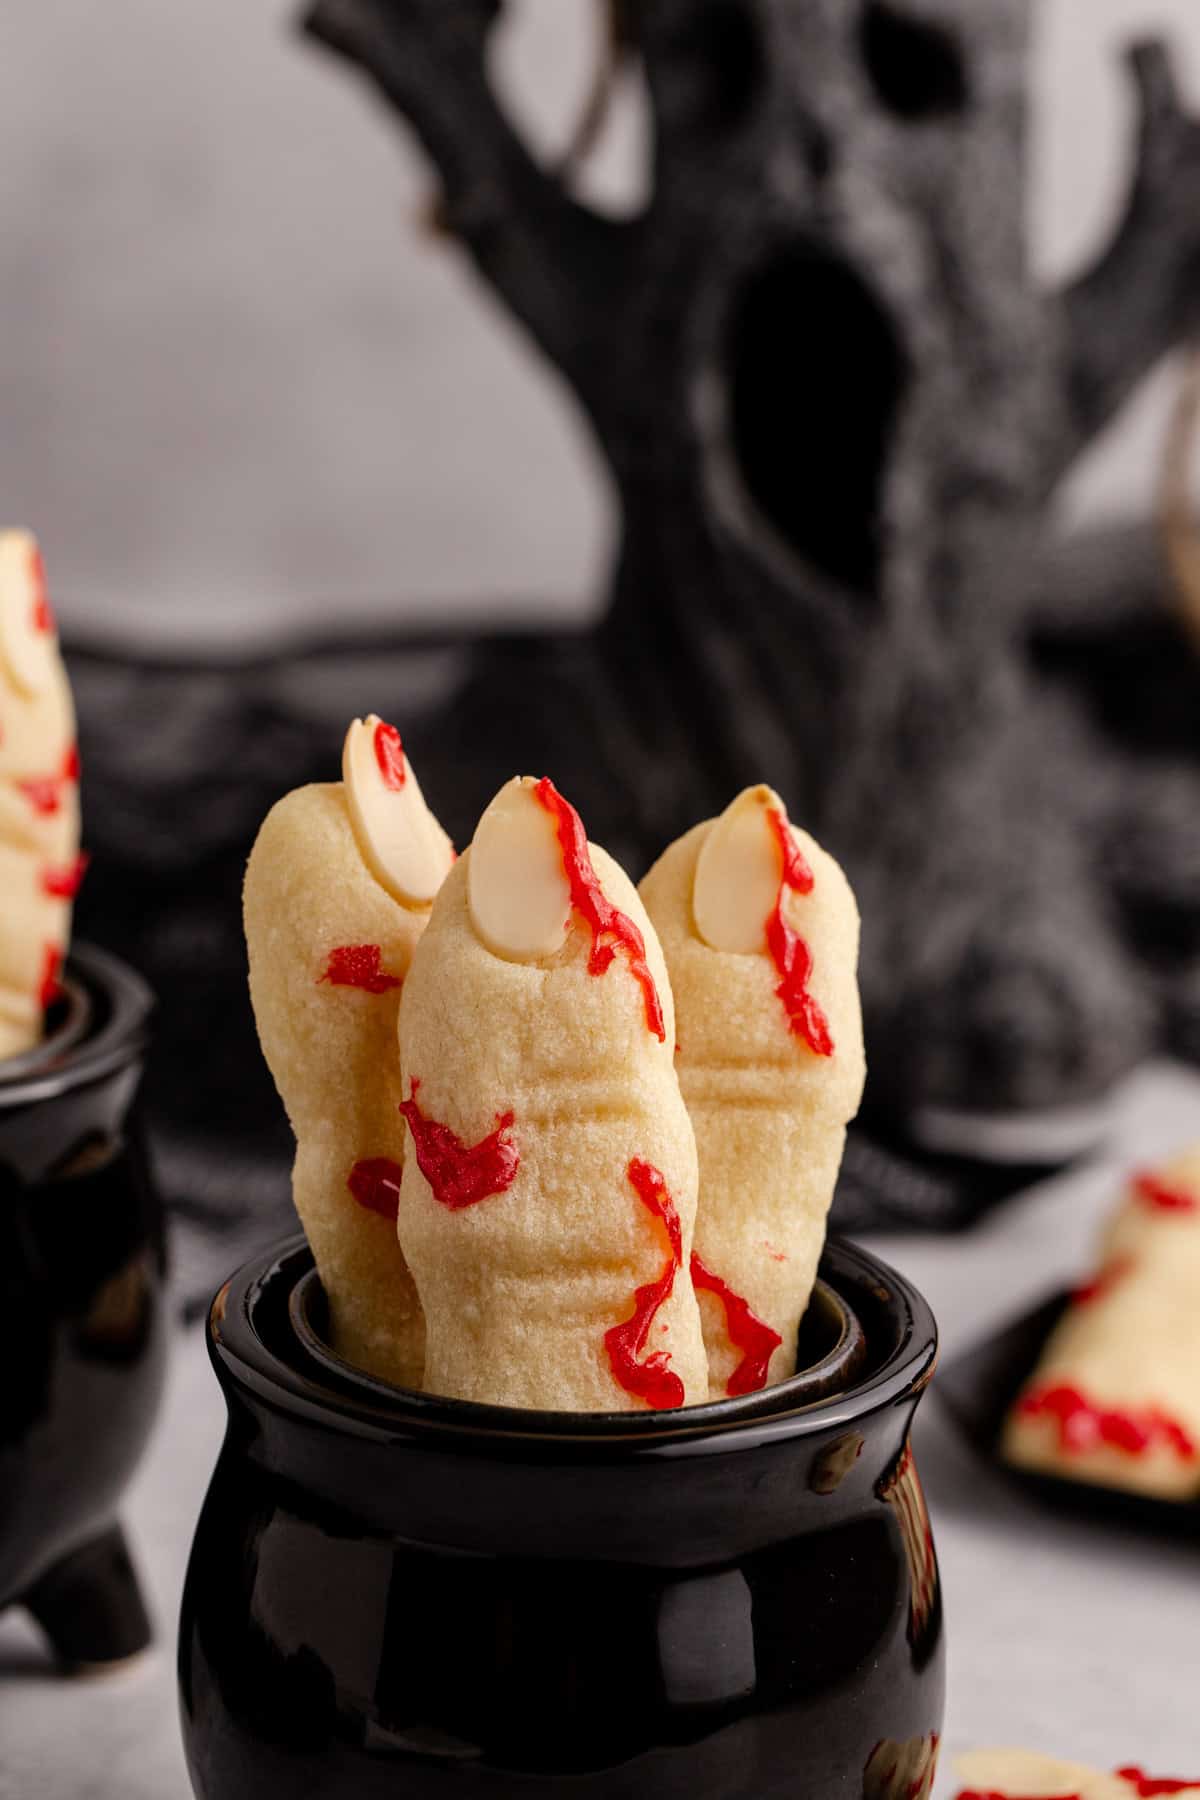
Allow them to cool on the baking sheet for about 10 minutes, then use gel icing to make any blood pattern desired and enjoy.
Optional Homemade Icing: If making your icing from scratch add icing sugar, milk (start with two teaspoons and add more as needed), almond extract and red food coloring to a small bowl and whisk well. Adjust the red to get the color desired, and drizzle on the cookies.
Hint: I like to chill them for 30-60 minutes, but you don't have to if you are working quick enough and the dough isn't too soft.

Recipe Tips
- Leave Space Between Cookies: The cookies spread slightly, so leave a little room on the baking sheet.
- Press the Almonds Gently: Secure the almond fingernails without pressing so hard that the cookie loses its finger shape.
- Decorate After Cooling: Allow the cookies to cool completely before adding the red icing for the cleanest finish.
If you're looking for another festive sweet treat, our Spiderweb Brownies make the perfect spooky pairing.
More Halloween Recipe Ideas



Storage Instructions
- Countertop: Store the cookies in an airtight container at room temperature for up to 5 days.
- Refrigerator: Refrigeration can dry butter cookies out, so only use if needed for about 5 days.
- Freezer: Place the baked cookies in a freezer-safe container for up to 3 months. Thaw at room temperature before serving.
- Make Ahead: The cookie dough can be made up to 2 days in advance and refrigerated before shaping and baking.
Serving Suggestions
- Halloween Dessert Table: Graveyard Dirt Cups, Monster Rice Krispie Treats, Halloween Brownies, Frosted Halloween Sugar Cookies, and Chocolate Cake Mix Cookies.
Witch Finger Cookies FAQs
If the butter is too warm, the cookies can lose their finger shape while baking. Chilling the shaped cookies for 15 to 20 minutes before baking helps them hold their details.
The dough can seem a little crumbly at first. Continue gently kneading it with your hands until it becomes smooth and easy to shape.
Use a butter knife to press shallow lines where the knuckles would naturally bend. Making each finger slightly different in size and shape also creates a more lifelike appearance.

More Recipes




Ready to get cooking? Save time by having a grocery list automatically generate for you by clicking the "Add to Shopping List" below.

Witch Fingers
Equipment
- Measuring Cups and Spoons
- Mixing Bowls
- Baking Sheet
- Parchment Paper
- Whisk
Ingredients
COOKIES:
- 1 stick butter unsalted and softened
- 200 grams white granulated sugar
- 1 large egg
- ½ teaspoon almond extract
- 250 grams all-purpose flour
- 24 sliced almonds
- 1 tube red gel icing sometimes called Sparkle Gel
OPTIONAL HOMEMADE ICING:
- ¼ cup icing sugar
- ¼ teaspoon almond extract
- 2 teaspoon milk
- Red food dye
Instructions
- Prep a baking sheet (or 2) with parchment paper and set aside temporarily
- In a mixing bowl, add the butter and sugar, with a hand mixer on low for about a minute mix to combine well for about 90 seconds.
- Add the egg and almond extract and mix just until combined.
- Fold in the flour with a spatula and work the dough until a ball forms.
- Divide the dough into 24 small balls (about 1 tablespoon in size) then between your hands roll them into logs and place on your prepared baking sheet. They will spread a little so allow about 2 inches between.
- Create a thin log with each dough portion to shape them into fingers.
- Lightly press 1 almond slice into the end of each finger, and make some knuckle-like indentations on each of the fingers using anything thin and flat like a butter knife or popsicle stick.
- Optional: Chill until the fingers feel nice and firm, 30 minutes should plenty, but you can do longer.
- Preheat oven to 350F and take the cookies out when ready to go straight into the oven. Bake for about 12 minutes or until the edges of the cookies start to look lightly golden along the bottom edges.
- Allow them to cool on the baking sheet for about 10 minutes, then use gel icing to make any blood pattern desired and enjoy.
OPTIONAL HOMEMADE ICING:
- If making your icing from scratch add icing sugar, milk (start with two teaspoons and add more as needed), almond extract and red food coloring to a small bowl and whisk well. Adjust the red to get the color desired, and drizzle on the cookies.
Notes
- Leave Space Between Cookies: The cookies spread slightly, so leave a little room on the baking sheet.
- Press the Almonds Gently: Secure the almond fingernails without pressing so hard that the cookie loses its finger shape.
- Decorate After Cooling: Allow the cookies to cool completely before adding the red icing for the cleanest finish.
- Chill if Needed: If the dough becomes too soft while shaping, refrigerate it for 15 to 20 minutes before continuing.
- Countertop: Store the cookies in an airtight container at room temperature for up to 5 days.
- Refrigerator: Refrigeration can dry butter cookies out, so only use if needed for about 5 days.
- Freezer: Place the baked cookies in a freezer-safe container for up to 3 months. Thaw at room temperature before serving.
- Make Ahead: The cookie dough can be made up to 2 days in advance and refrigerated before shaping and baking.
- Nutritional Information will vary based on the icing chosen and amount.
Nutrition
Made this recipe? Share your experience in the comments and don't forget to leave a star rating so others can find it too.