
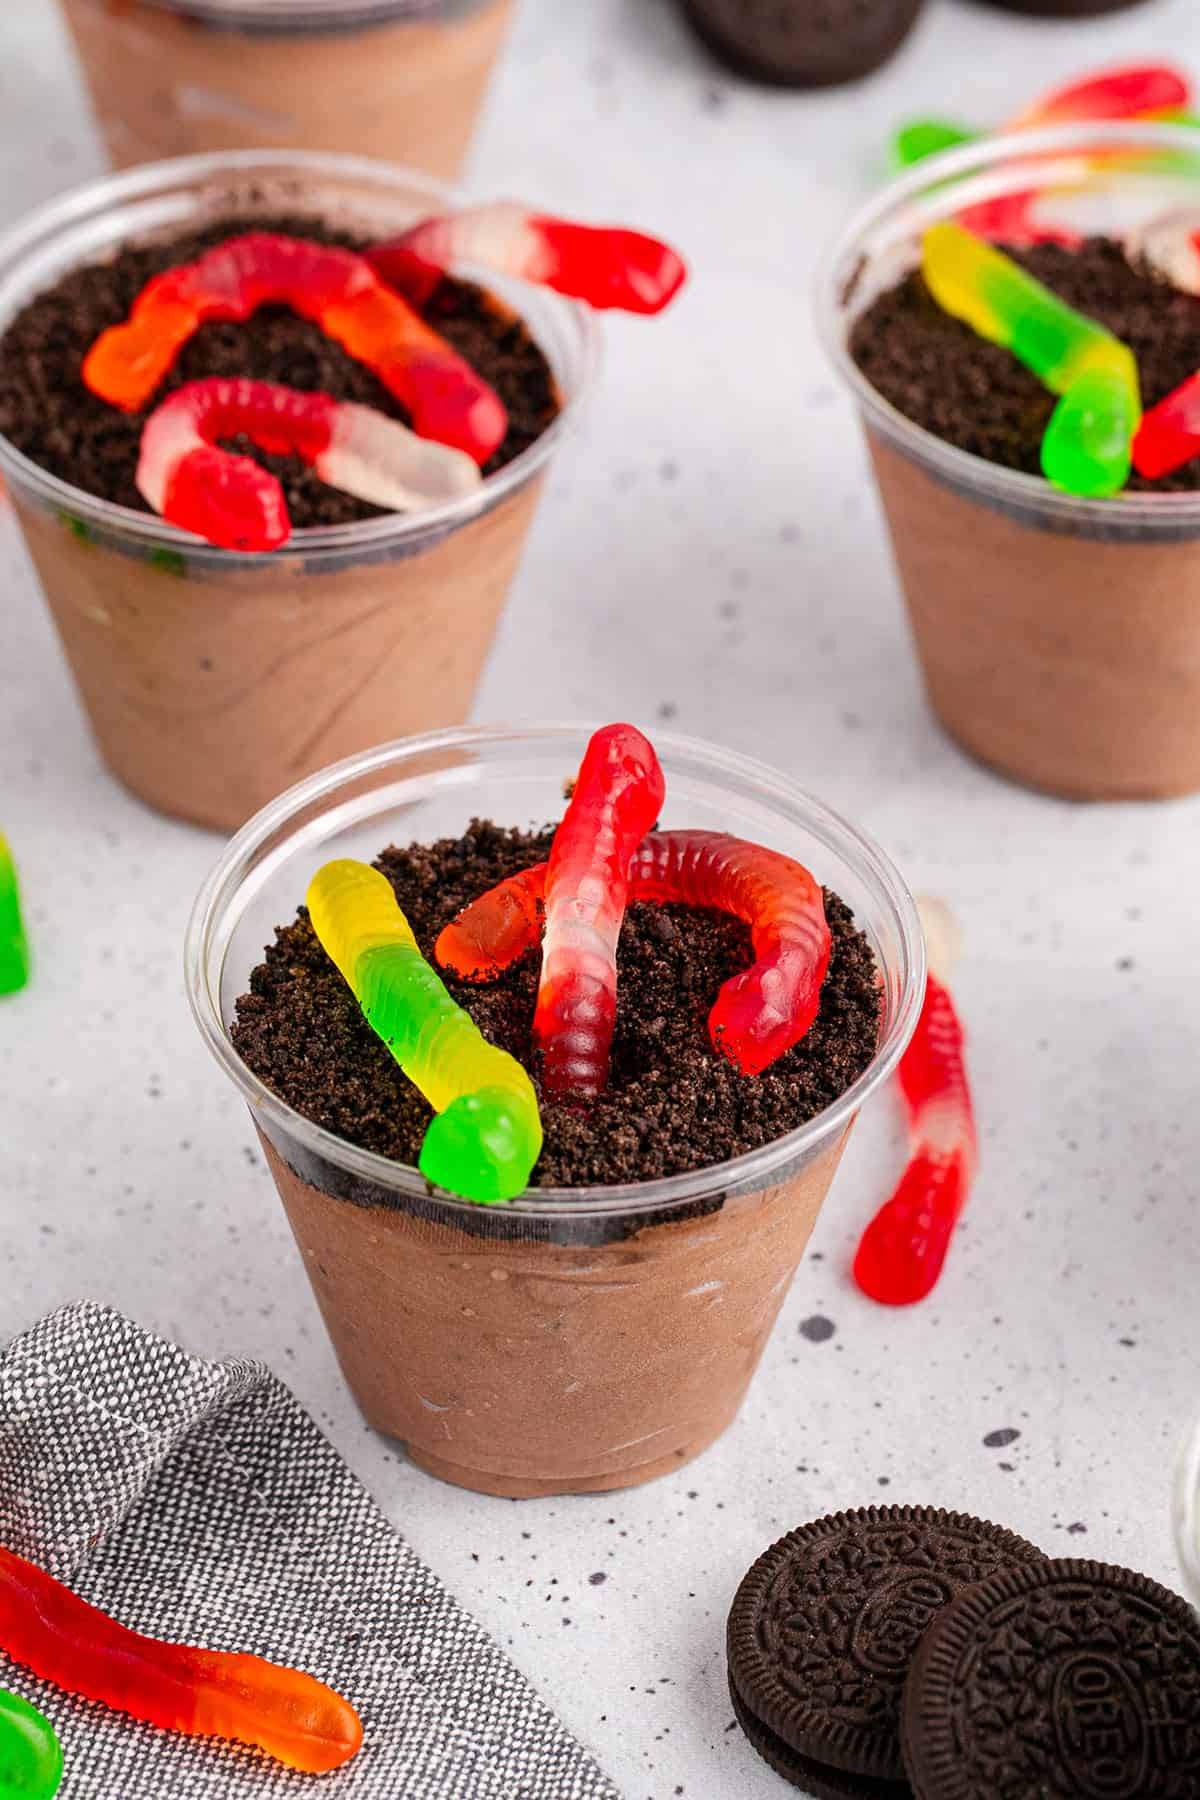
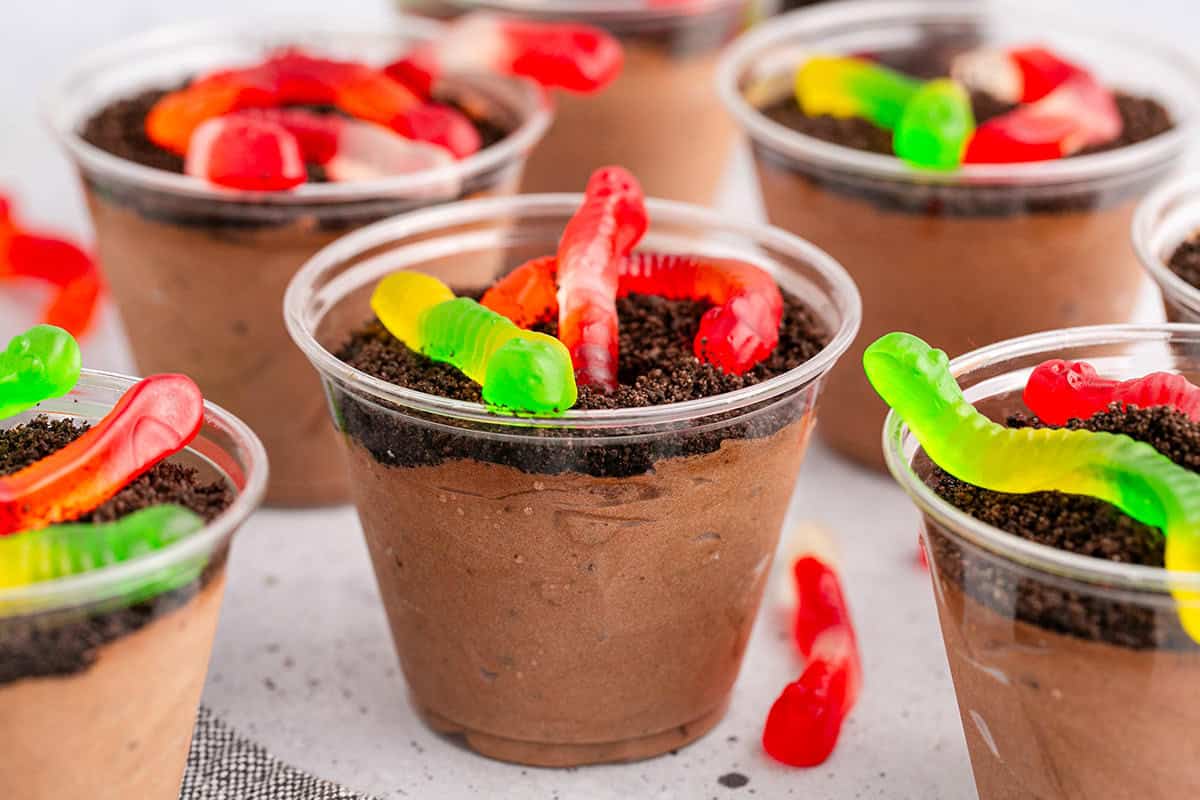
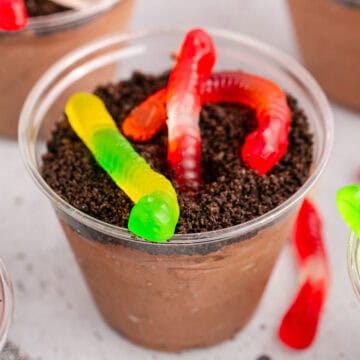
Dirt and Worm Cups
These Dirt and Worm Cups are a creamy pudding layered with crushed Oreo cookies and topped with colorful gummy worms. A fun dessert that's both nostalgic and perfect for kids and adults alike.
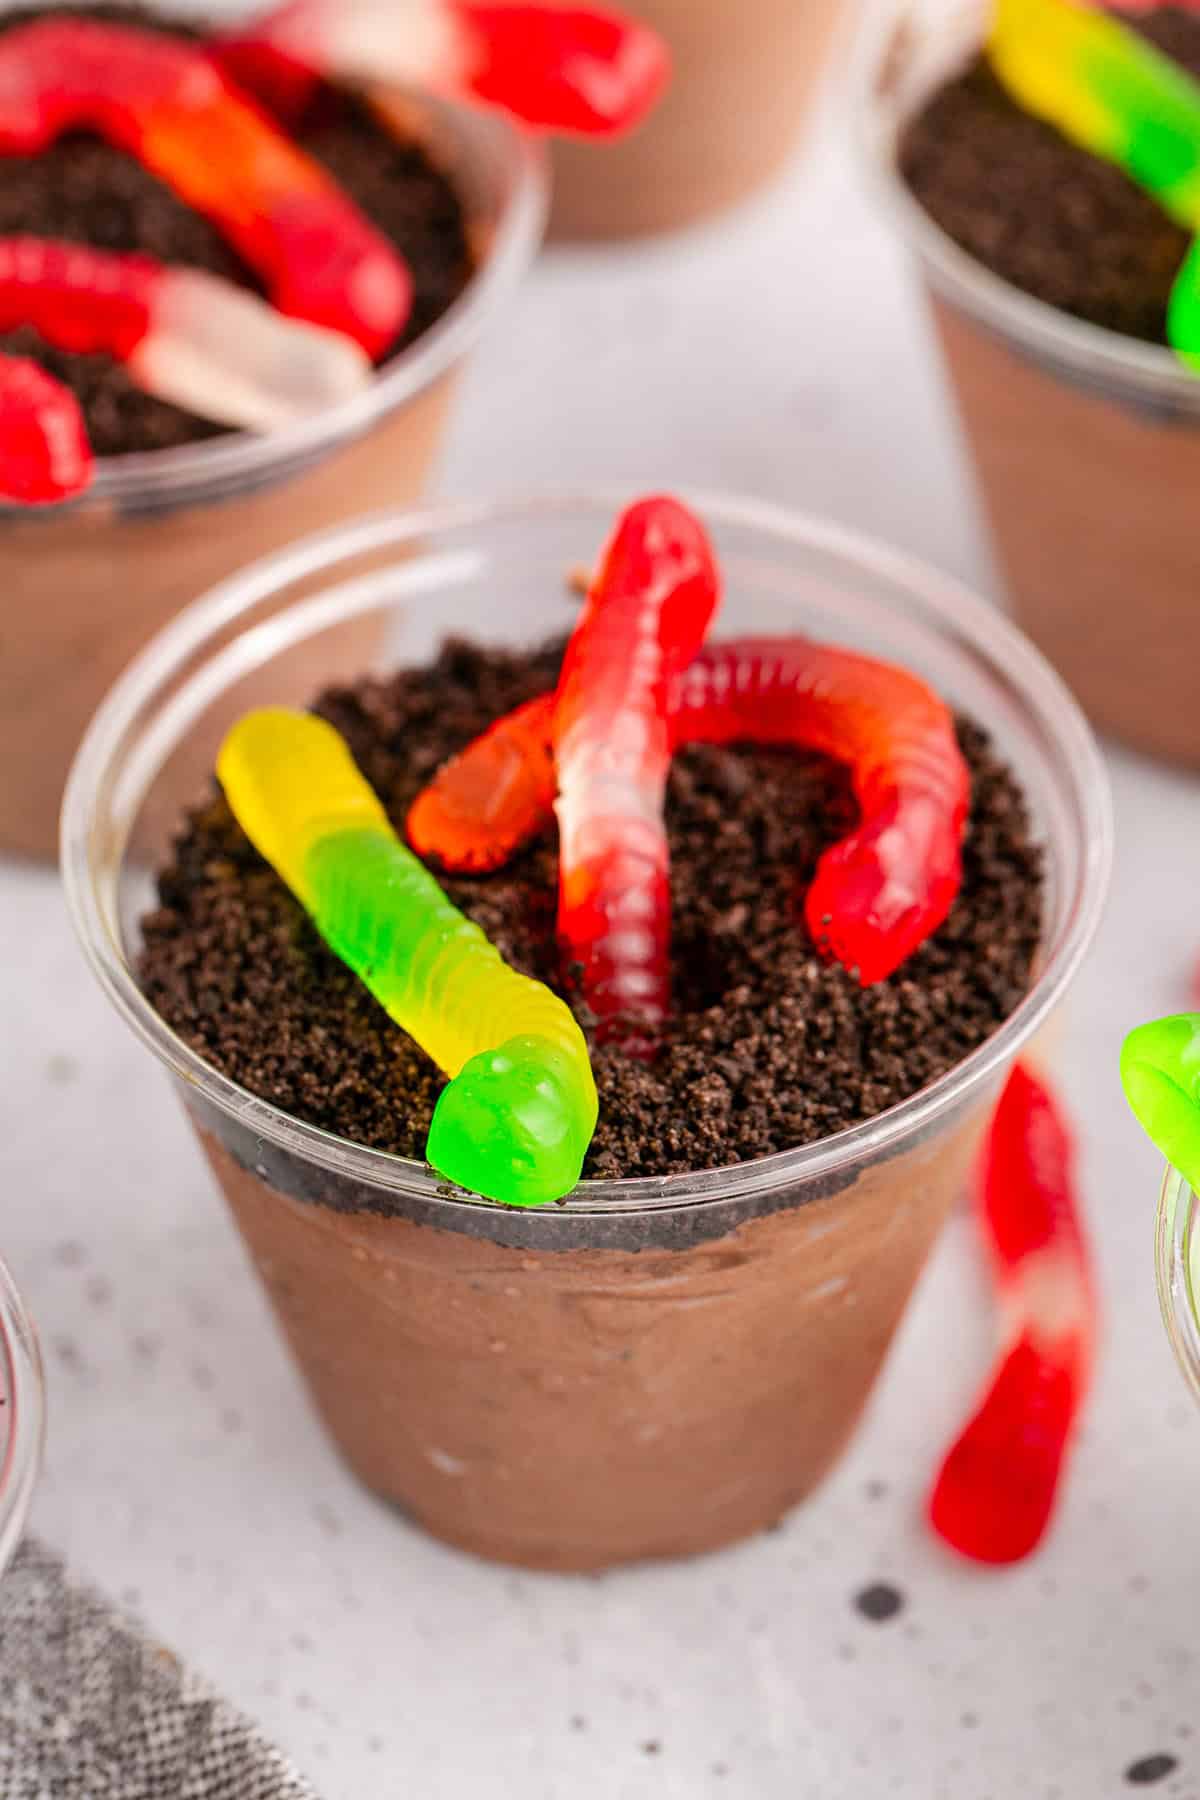
This dirt cup recipe is a classic dessert for birthday parties, Halloween, Easter or anytime you want a playful and easy treat. Made with instant pudding, whipped topping and cookie crumbs, it's a great make-ahead, no-bake dessert that's always a crowd-pleaser.
Here are some of my other favorite easy dessert recipes: Chocolate Chip Cookie Brownie Bars and Easter Bark.
Jump to:
Why You Will Love This Recipe
- Creamy Pudding Texture: The chocolate pudding layer is smooth, rich, and perfectly balanced with whipped topping.
- No Bake: No need to heat up your oven for this easy dessert.
- Great for Kids: Let kids build their own dirt cups and top them with gummy worms, candy or whatever they love most.
- Minimal Ingredients: You will only need to gather 5 ingredients to put together a delicious dessert.
⭐️⭐️⭐️⭐️⭐️ Reader Review
"These were a complete hit with my daughter's Girl Scout trip. They are an even bigger hit for me because how simple they were to put together, but they have no clue."
-Stephanie
Ingredients
This recipe comes together quickly with just a few items.

See the recipe card below for the exact quantities of each ingredient.
- Cold Milk: I prefer whole milk, but any type of milk will do.
- Chocolate Instant Pudding: Instant chocolate pudding mix is the easiest way to start this perfect dessert.
- Whipped Topping: Folds into the pudding for a light, airy texture.
- Oreo Cookies: Crushed into fine crumbs to create the "dirt."
You'll want to have on hand a hand mixer, food processor, clear plastic cups, measuring cups and spoons and large bowl.
Variations
- Cookie Swap: Mix it up with your favorite or whatever suits your dietary preferences. We love using Gluten Free Oreos when needed.
- Vanilla Pudding: Try vanilla pudding or homemade chocolate pudding for variety.
- Smaller Cups: Make individual portions in smaller cups if you want bite-sized treats.
- Holiday Version: Use colorful gummy candies, Easter marshmallows, jelly beans or shredded coconut tinted green for themed celebrations.
How to Make Dirt and Worm Cups
With just a few simple steps, you'll have creamy pudding, crunchy crumbs and gummy worms ready to dig into.
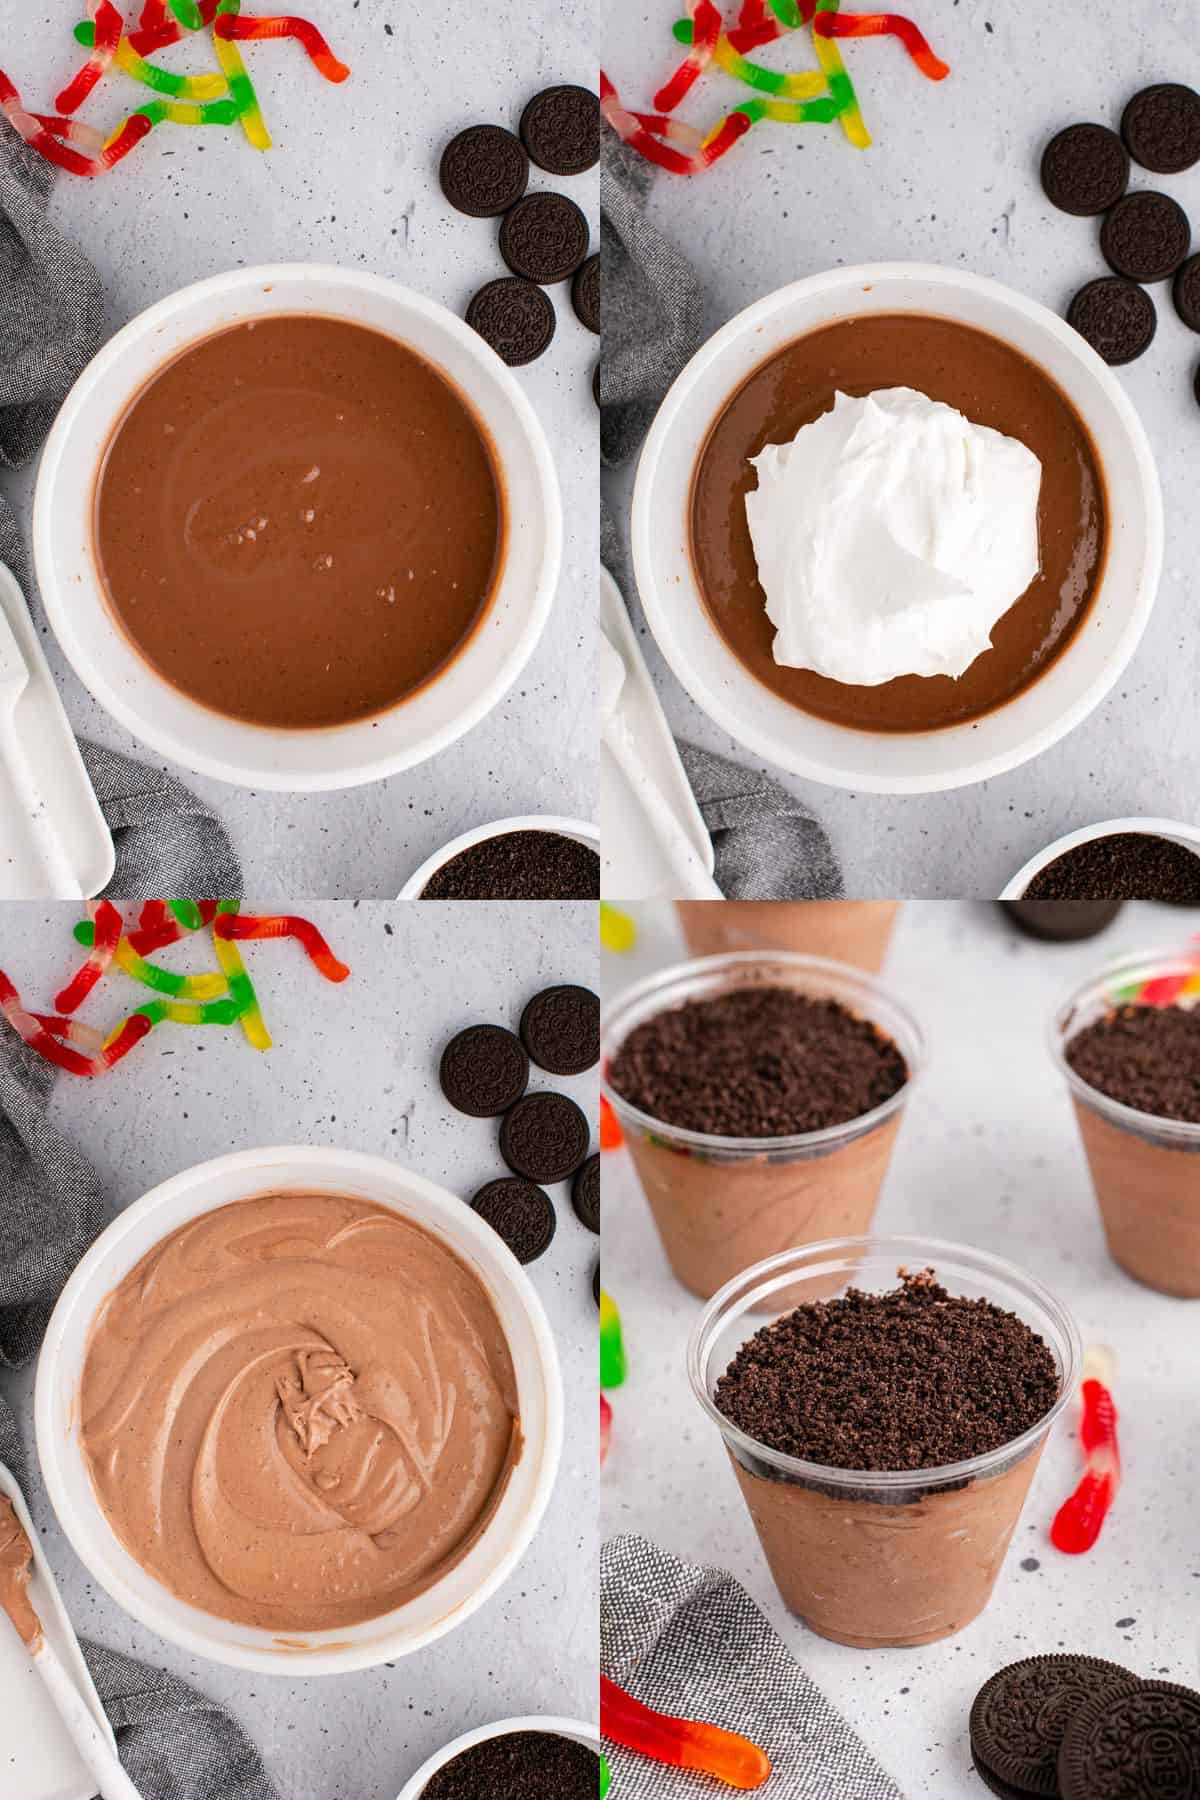
Make the chocolate pudding by vigorously beating the pudding and milk in a large bowl for 2-3 minutes or until it starts to thicken.
Add in 2 cups of whipped topping and mix well.
Divide evenly amongst 8 cups (approximately ¾ cup)
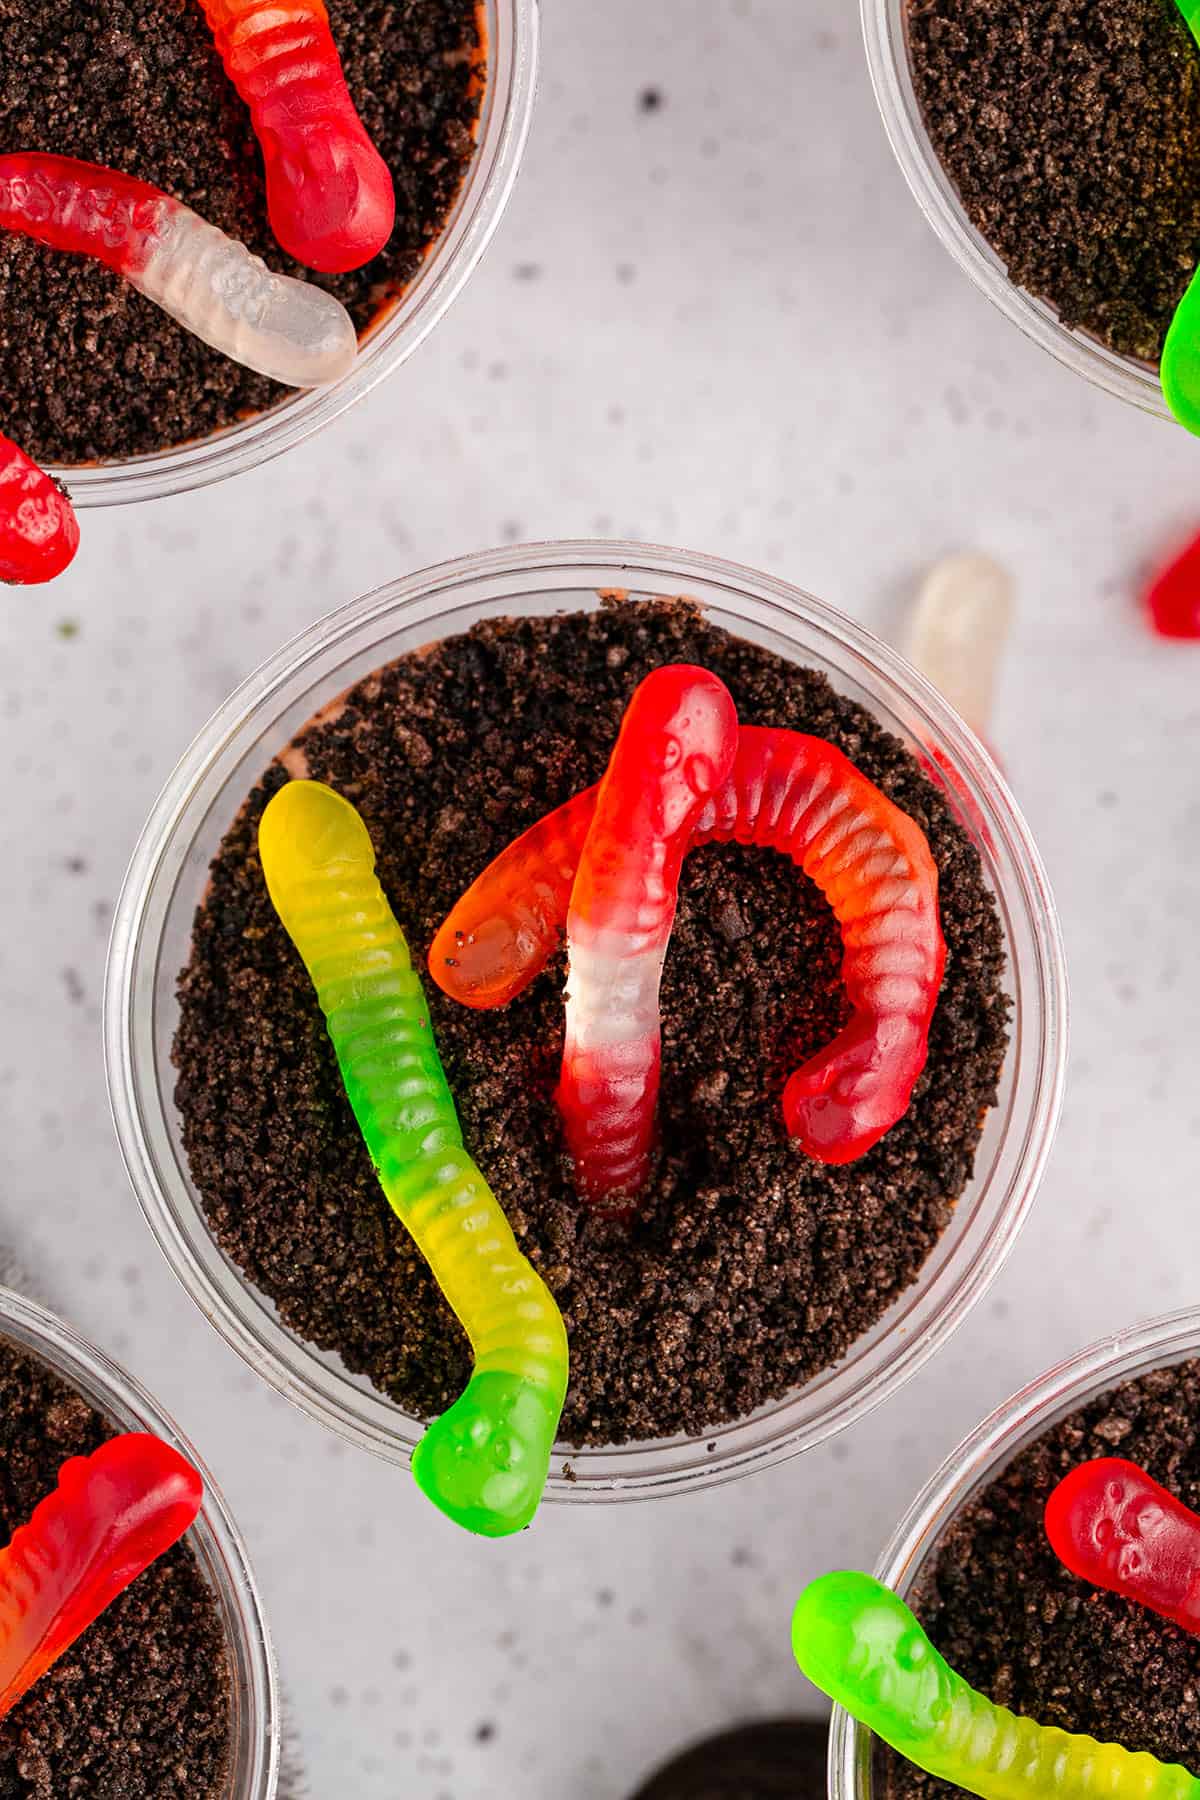
Top with about 2 tablespoons of Oreo crumbs, then set in the fridge for at least 2 hours or until ready to serve. Then add 2-3 gummy worms per cup and serve.
Hint: Use very cold milk so the pudding sets quickly.
Recipe Tips
- Chill Before Serving: This helps the pudding firm up and gives the flavors time to set.
- Crush Cookies Finely: A food processor works great, but a zip-top bag and rolling pin will do the trick.
- Layer for Effect: You can do a second layer of pudding and crumbs if you want a more dramatic "dirt" look.
- Add Candy Just Before Serving: This keeps them looking fresh and prevents them from getting sticky.
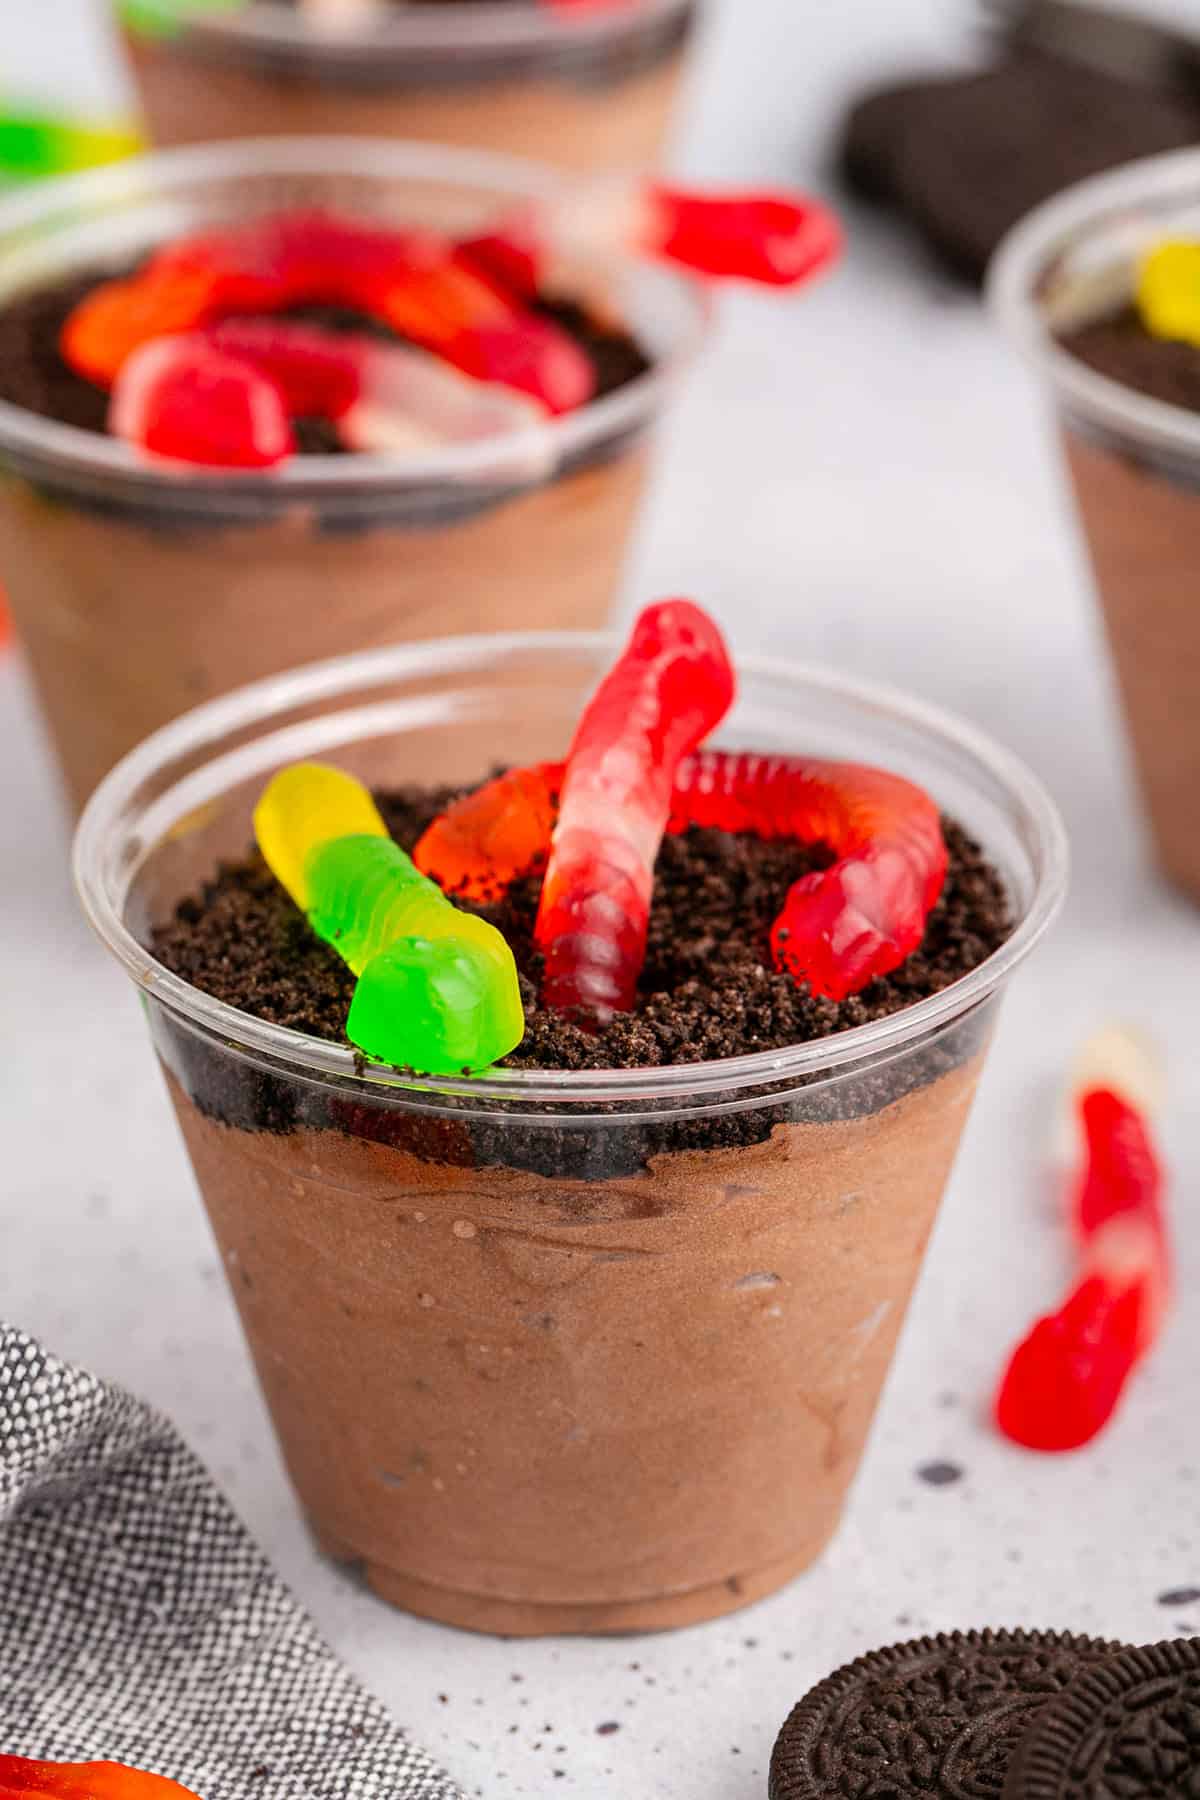
- Clear Cups: Using transparent cups shows off the fun layers and makes for a great visual.
Another simple recipe you have to try is our 4 Ingredient Peanut Butter Cookies recipe.
More No Bake Dessert Recipes You Will Love

Storage Instructions
- Refrigerator: Cover with plastic wrap or place in an airtight container for up to 3 days. The cookie crumbs will start to absorb moisture and can get soft; you may want to add the topping as you serve.
- Freezer: We really do not recommend, as the pudding mixture can separate once thawed.
- Make-Ahead: Prepare the pudding up to 3 days in advance, then garnish with cookie crumbs and candy before serving.
Serving Suggestions
- Halloween Inspired Recipes: Leftover Halloween Candy Cookies, Crockpot Halloween Candy, Halloween Sugar Cookies and Halloween Brownies.
- Easter Recipes: Easter Blondies, Easter Bark, Easter dirt cake and Mini Egg No Bake Cheesecakes.
Dirt and Worms Cups Recipe FAQs
You can substitute homemade pudding in place of the instant pudding if the volume is the same. Be mindful that it will increase total preparation time.
Place Oreo cookies in a zip-top bag, seal it, and crush with a rolling pin until you have fine crumbs.
More Recipes You Will Love
Check out some more of our recipes you will want to try!


Ready to get cooking? Save time by having a grocery list automatically generate for you by clicking the "Add to Shopping List" below.
Dirt and Worm Cups
Equipment
- Hand Mixer
- Food Processor
- Plastic Cups
- Measuring Cups and Spoons
- Large Mixing Bowl
Ingredients
- 2 4- ounce chocolate instant pudding
- 4 cups milk any type, cold
- 2 cups whipped topping
- 10 Oreo cookies crushed
- 1 package gummy worms at least 16
Instructions
- Make the chocolate pudding by vigorously beating the pudding and milk in a large bowl for 2-3 minutes or until it starts to thicken.
- Add in 2 cups of whipped topping and mix well.
- Divide evenly amongst 8 cups (approximately ¾ cup)
- Top with about 2 tablespoons of Oreo crumbs, then set in the fridge for at least 2 hours or until ready to serve. Then add 2-3 gummy worms per cup and serve.
Notes
- Cold Milk: Use very cold milk so the pudding sets quickly.
- Chill Before Serving: This helps the pudding firm up and gives the flavors time to set.
- Crush Cookies Finely: A food processor works great, but a zip-top bag and rolling pin will do the trick.
- Layer for Effect: You can do a second layer of pudding and crumbs if you want a more dramatic "dirt" look.
- Add Candy Just Before Serving: This keeps them looking fresh and prevents them from getting sticky.
- Clear Cups: Using transparent cups shows off the fun layers and makes for a great visual.
Nutrition
Tried this recipe? Leave a star rating and comment below. I'd love to hear how it turned out for you!


These were a complete hit with my daughter's Girl Scout trip. They are an even bigger hit for me because how simple they were to put together, but they have no clue.
Oh wow, thank you so much for letting us know that they all loved them; and you too!
The kiddo and I love making this one together! And eating it together too.
Thanks for the review - it is a fun one to make with kids (the little and big ones)!
Such a simple recipe, and so fun to make with the kiddos! Easy to customize and play around with too. It is actually one of my husband's favorites!