
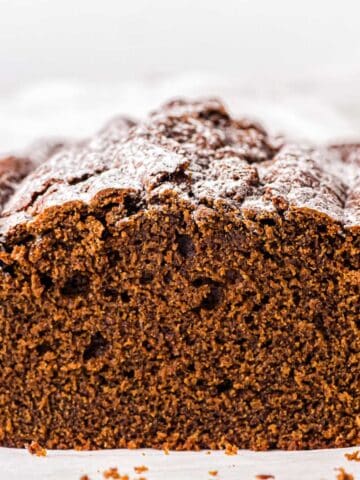
Oreo Bark
This Oreo Bark is rich, chocolatey and perfectly layered, combining smooth dark chocolate, creamy white chocolate and crunchy Oreo pieces in every bite.

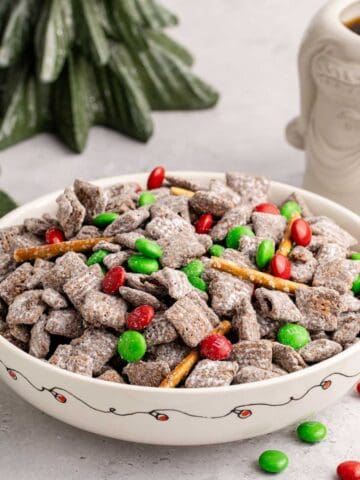
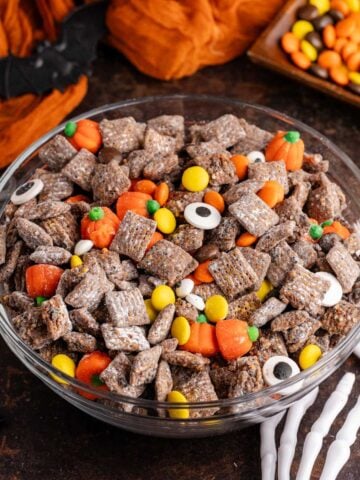
It's an easy, no-bake dessert that works year-round, whether you dress it up with festive sprinkles or keep it simple for everyday snacking, gifting or dessert boards.
For another easy chocolate treat, try our Peppermint Bark or Dark Chocolate Pistachio Cranberry Bark.
Jump to:
Why You Will Love This Recipe
- No Baking Required: A simple no bake recipe is great for any time of year.
- Perfect Texture Contrast: Smooth chocolate with crunchy cookie pieces throughout.
- Easy to Customize: Swap chocolates, Oreos or toppings to fit any occasion.
Ingredients
Just chocolate, Oreos and optional sprinkles, nothing complicated.

See the recipe card below for the exact quantities of each ingredient.
- Dark Chocolate: Forms the rich base layer and balances the sweetness.
- White Chocolate: Adds a creamy contrast and classic bark look.
- Oreo Cookies: Bring crunch and that familiar cookies-and-cream flavor.
- Sprinkles, Optional: Add color or theme without changing the base recipe.
With just a 10x15" baking sheet, parchment paper, a heat-safe bowl, medium saucepan and an offset spatula (or a spoon).
Variations
- Chocolate Swap: Use any combination of, or all semi-sweet, milk chocolate or dark chocolate if preferred.
- Cookie Varieties: Golden, mint Oreos or any favorite cookie options work well.
- Toppings: Try crushed candy canes, chopped nuts, M&Ms or flaky sea salt.
How to Make Oreo Bark
This bark comes together quickly with just a few simple steps.

Line a 10x15 baking sheet with parchment paper and set aside.
Add chocolate to a heat-safe bowl and place over a saucepan, with about 2 inches of water, on low heat. Bring to a low boil stirring regularly once the chocolate starts to melt.
When smooth, carefully transfer melted chocolate to cookie sheet and spread evenly. Cool in the fridge for about 10 minutes or until set (you should be able to touch it and it doesn't transfer to your hand).
Then repeat for the next layer, by spreading the melted white chocolate quickly and evenly (the less you go back and forth the better the layers will stay separate).
Prior to putting in the fridge to set, sprinkle as many chopped Oreos and sprinkles as desired.
Chill in the fridge until set, about 30 minutes. Alternatively, you can allow it to set on the counter, but it will take longer.
Hint: Keep the water gently simmering to avoid scorching the chocolate.

Recipe Tips
- Even Layers: An offset spatula makes spreading much easier; the back of a spoon works too.
- Set Between Layers: Chilling the base briefly prevents colors from blending as you poor the second layer down.
- Clean Breaks: Use a sharp knife for cleaner edges or break by hand for a rustic look.
If you're craving something extra sweet, our White Chocolate Bark is another simple, crowd-pleasing treat to add to your dessert spread.
More No Bake Desserts

Storage Instructions
- Room Temperature: Store in an airtight container for up to 3 days in a cool, dry place.
- Refrigerator: Keeps well for up to 1 week.
- Freezer: Freeze for up to 2 months; thaw at room temperature before serving.
Serving Suggestions
- More Treats using Oreos: Vanilla Oreo Truffles, Dirt and Worm Cups, No Bake Mini Egg Cheesecakes, Mint Truffles and Grasshopper Pie without Alcohol.

Valentine's Day Bark Recipe FAQs
It's recommended for clean layers, but you can skip it if you prefer a marbled look.
This usually happens if water gets into the chocolate or the heat is too high.
Since it is a lot of chocolate I find it best for a very smooth and even melt, but you could use the microwave and heat it in small bursts, mixing in between.

More Recipes


Ready to get cooking? Save time by having a grocery list automatically generate for you by clicking the "Add to Shopping List" below.

Oreo Bark
Equipment
- Parchment Paper
- Heat-Safe Bowl
- Medium Saucepan
- Offset Spatula
Ingredients
- 18 ounces dark chocolate
- 12 ounces white chocolate
- 8 Oreos roughly chopped
- Sprinkles if desired
Instructions
- Line a 10x15 baking sheet with parchment paper and set aside.
- Add chocolate to a heat-safe bowl and place over a saucepan, with about 2 inches of water, on low heat. Bring to a low boil stirring regularly once the chocolate starts to melt.
- When smooth, carefully transfer melted chocolate to cookie sheet and spread evenly. Cool in the fridge for about 10 minutes or until set (you should be able to touch it and it doesn't transfer to your hand).
- Then repeat for the next layer, by spreading the melted white chocolate quickly and evenly (the less you go back and forth the better the layers will stay separate).
- Prior to putting in the fridge to set, sprinkle as many chopped Oreos and sprinkles as desired.
- Chill in the fridge until set, about 30 minutes. Alternatively, you can allow it to set on the counter, but it will take longer.
Notes
- Simmer Gently: Keep the water gently simmering to avoid scorching the chocolate.
- Even Layers: An offset spatula makes spreading much easier; the back of a spoon works too.
- Set Between Layers: Chilling the base briefly prevents colors from blending as you poor the second layer down.
- Clean Breaks: Use a sharp knife for cleaner edges or break by hand for a rustic look.
Nutrition
Made this recipe? Share your experience in the comments and don't forget to leave a star rating so others can find it too.


We love how simple, festive and delicious this is! Great balance of flavors.