
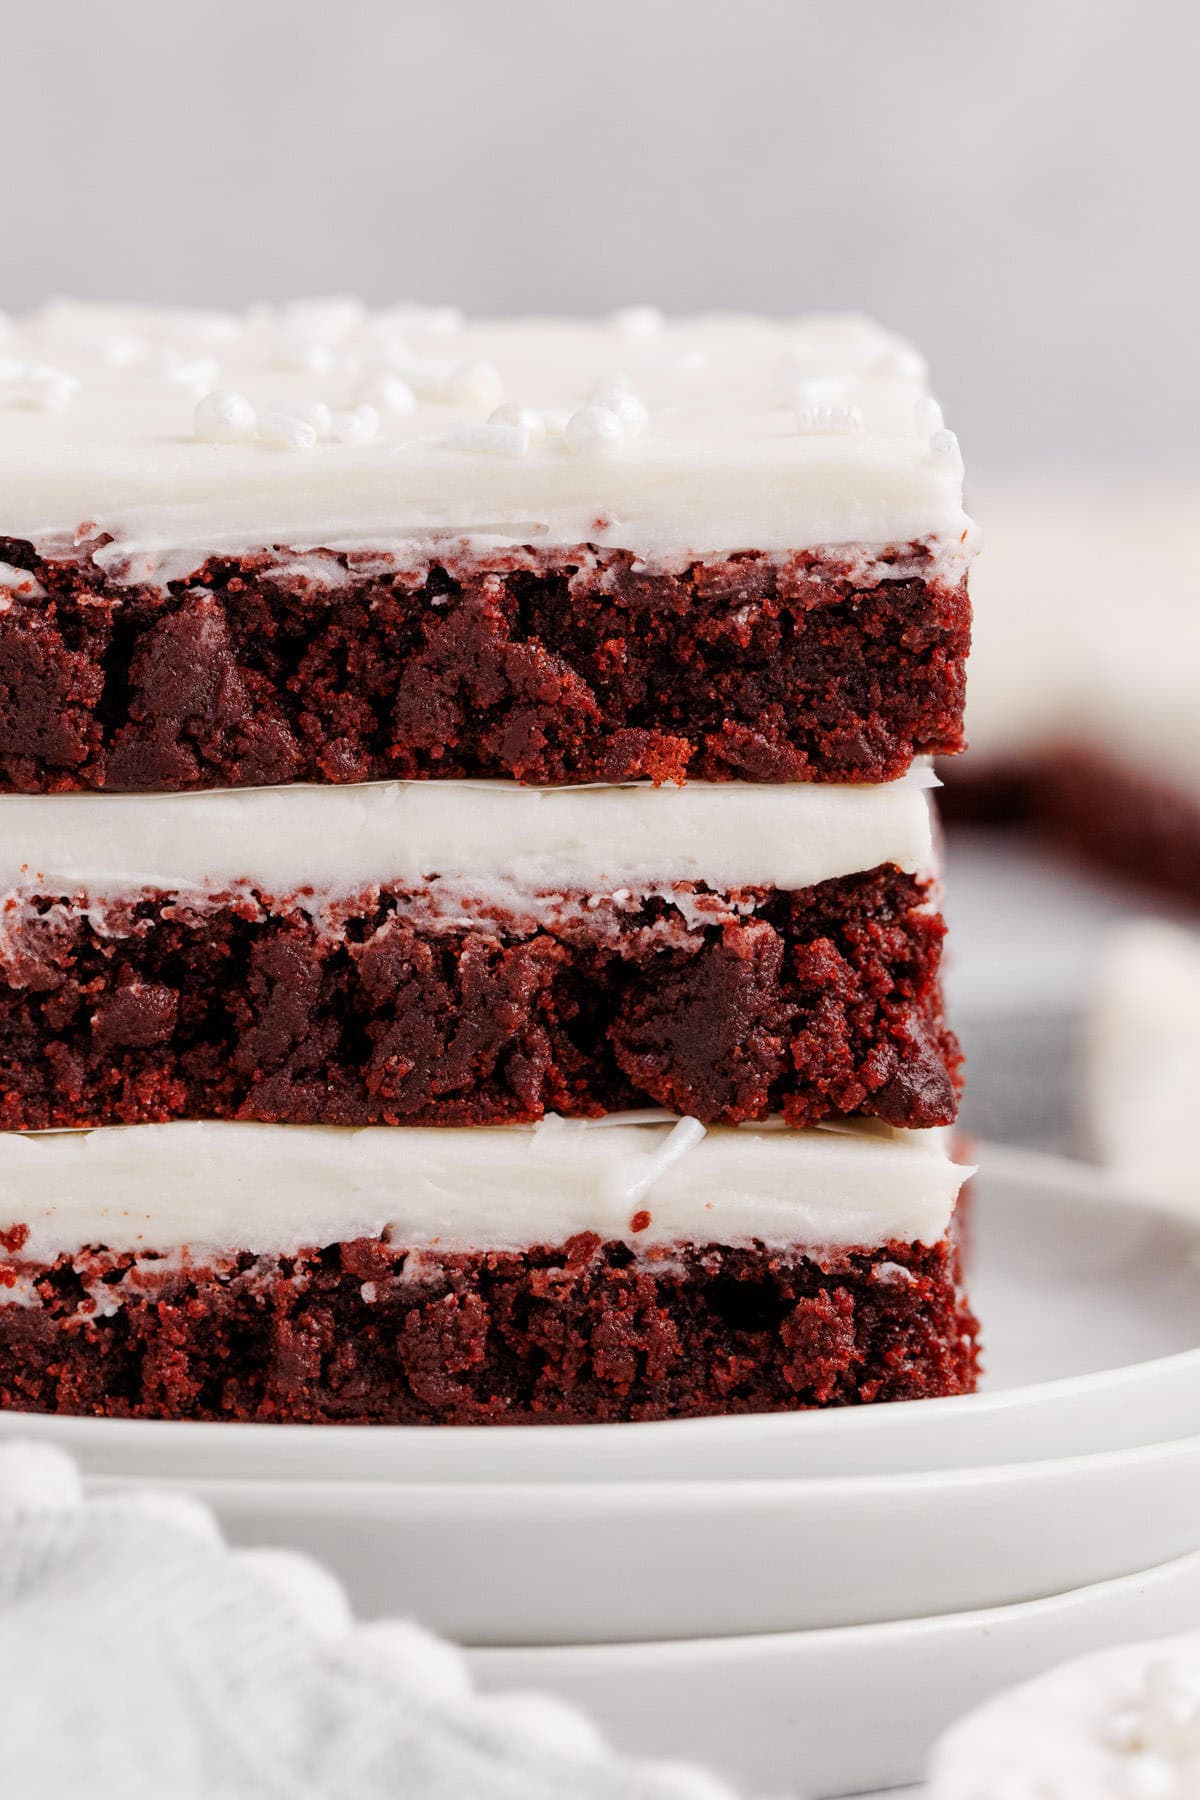
Red Velvet Cookie Bars
These Red Velvet Cookie Bars are soft, chewy and rich with subtle chocolate flavor, finished with a thick layer of tangy cream cheese frosting. They have the classic red velvet color and cocoa depth you expect, but in an easy bar-cookie form that skips the fuss of rolling dough.

Perfect for Valentine's Day, holiday dessert tables, or anytime you want a great treat that feels festive without being complicated. These bars also travel well, making them ideal for parties, bake sales, or sharing with friends when a classic red velvet dessert just feels right.
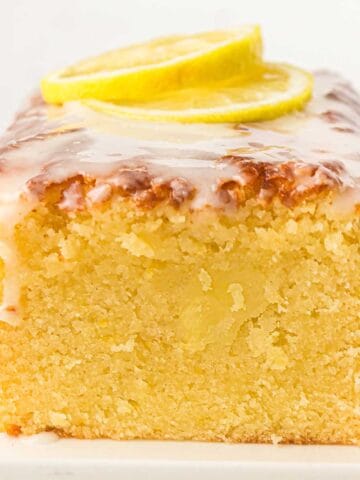
For a chewy dessert with deep cocoa flavor and an easy shortcut, try our Chocolate Chip Cookie Brownie Bars or Cake Brownie from Brownie Mix.
Jump to:
Ingredients
Just classic baking ingredients to whip up these red velvet bars.
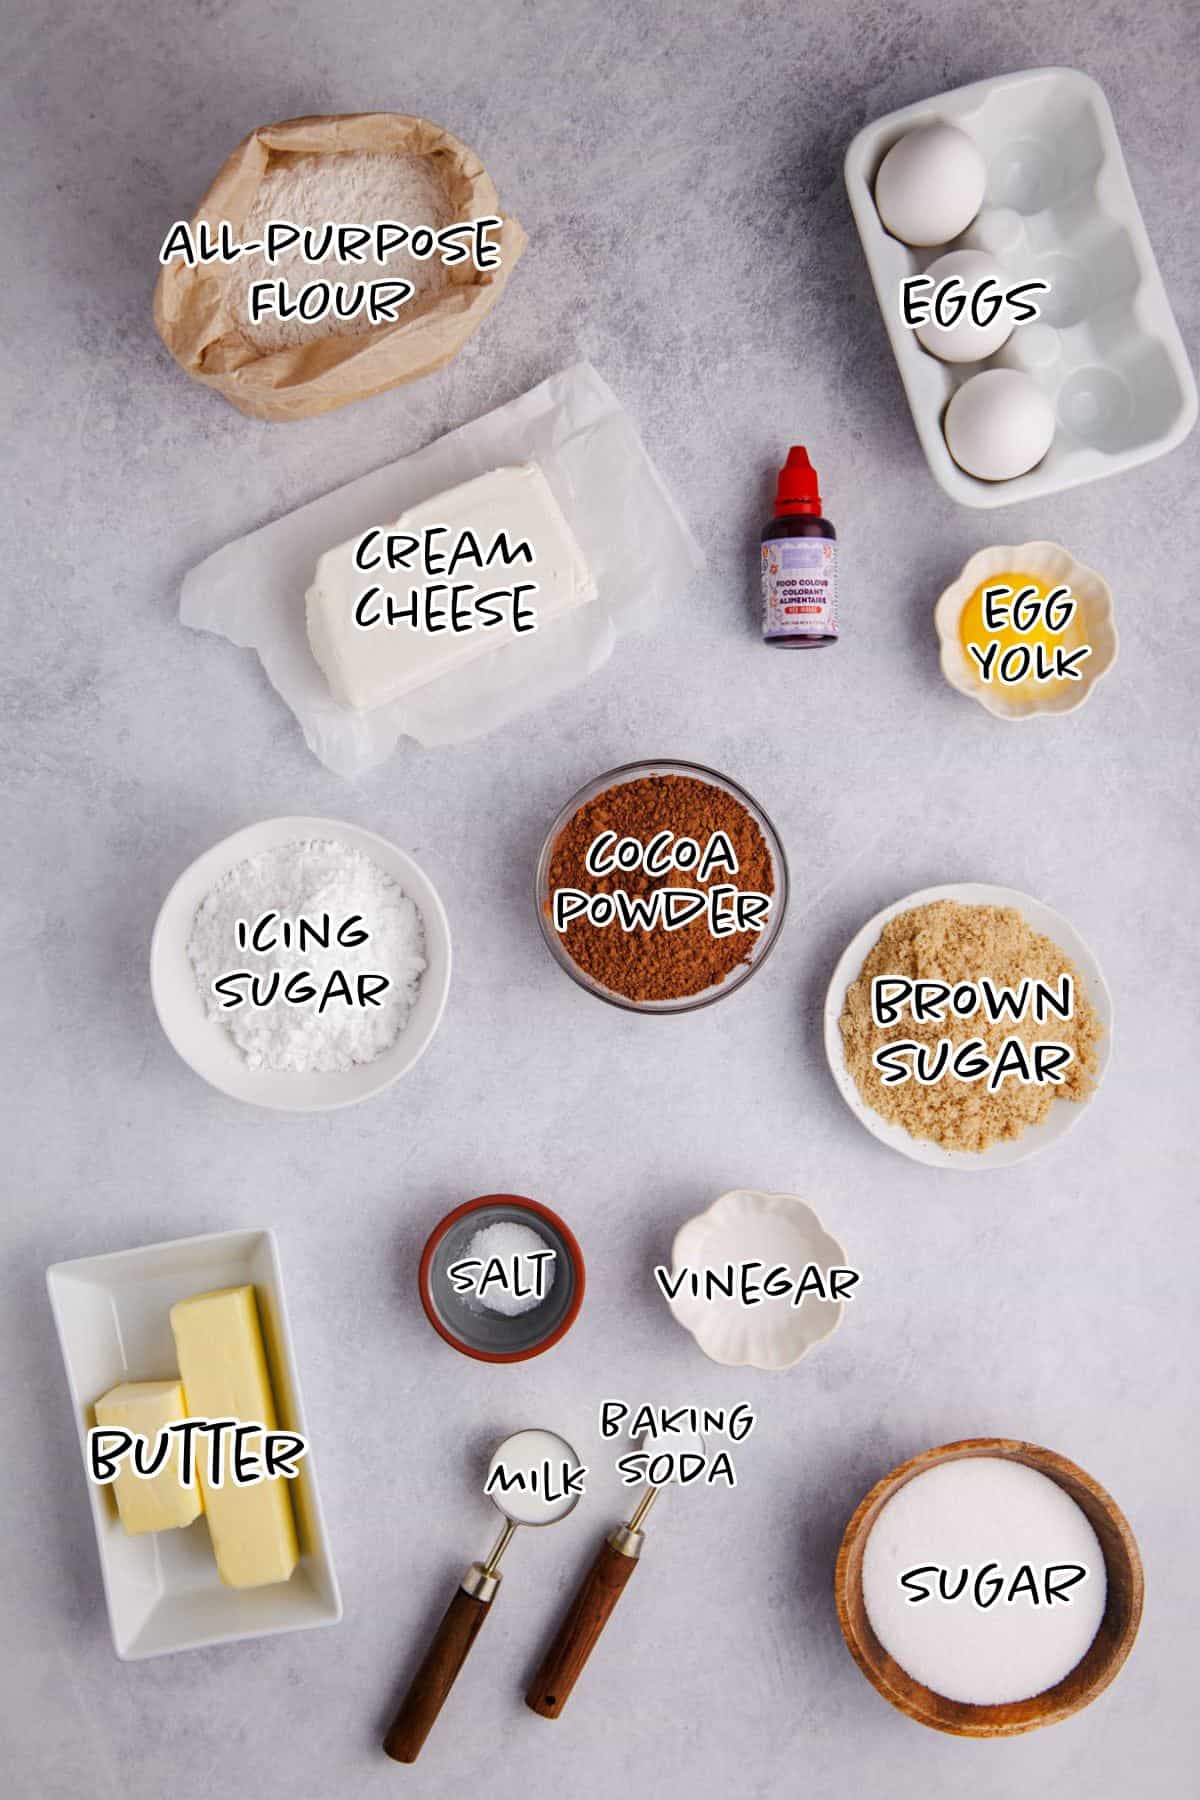
See the recipe card below for the exact quantities of each ingredient.
- Unsalted Butter: Creates a soft, tender base.
- Granulated Sugar: Adds sweetness and helps the bars spread evenly.
- Light Brown Sugar: Brings moisture and chewiness to the cookie texture.
- Eggs and Egg Yolk: Provide structure and richness while keeping the bars soft and chewy.
- Red Food Coloring: Gives the bars their extra red color.
- White Vinegar: Enhances the red velvet flavor and reacts with baking soda for lift.
- Unsweetened Cocoa Powder: Adds subtle chocolate flavor essential to red velvet recipes.
- Baking Soda: Helps the bars rise slightly and stay tender.
- Cream Cheese: The base of the frosting, adding creaminess.
- Powdered Sugar: Sweetens and thickens the frosting for a spreadable finish.
- Milk: Loosens the frosting just enough for easy spreading.
With a 9x13 baking pan, a stand mixer with paddle attachment, measuring cups and spoons and an offset spatula, you will have all you need for these cookie bars.
Variations
- White Chocolate Chips: Fold into the batter for little pops of sweetness.
- Chocolate Drizzle: Finish the frosted bars with a drizzle of dark chocolate.
How to Make Red Velvet Cookie Bars
It is so simple to make these cookie bars.
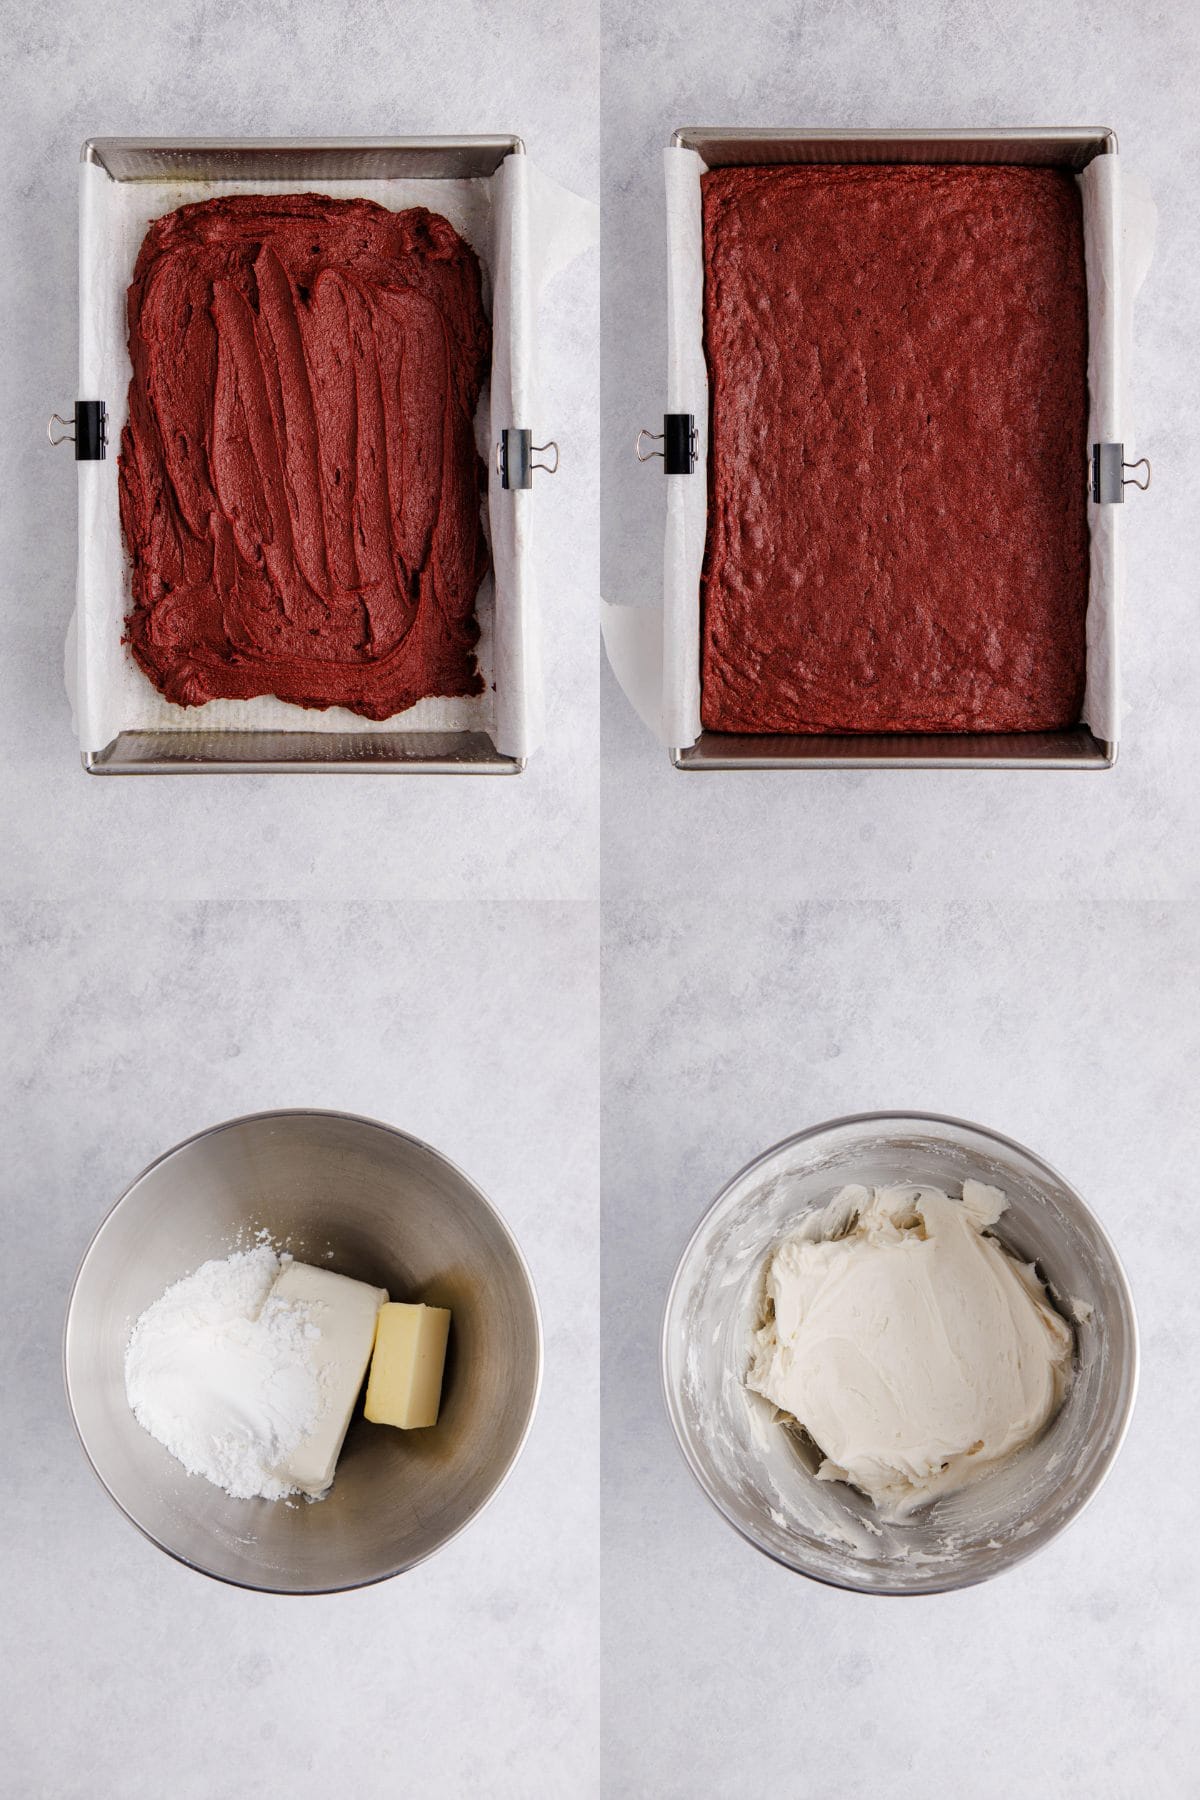
Preheat oven to 325F and prepare an 9x13 metal pan with parchment paper leaving the sides high for easily removal.
Cream together butter and sugars in a stand mixer for about 3 minutes, until fluffy and pale yellow.
Add eggs, yolk, food coloring and vinegar, and run on low for 30 seconds. Scrape down the sides then transfer dry ingredients to the bowl and run on low until combined.
Transfer to prepared pan and don't spread fully into the corners (it will be a very thick batter).
Bake for 30 minutes or until a toothpick has moist crumbs in the center, and cool completely in the pan before removing frosting.
Making frosting by adding 3 cups icing sugar, cream cheese, butter and milk to a stand mixer base, and combine on medium-low speed. As needed, add more icing sugar to get the desired texture and taste.
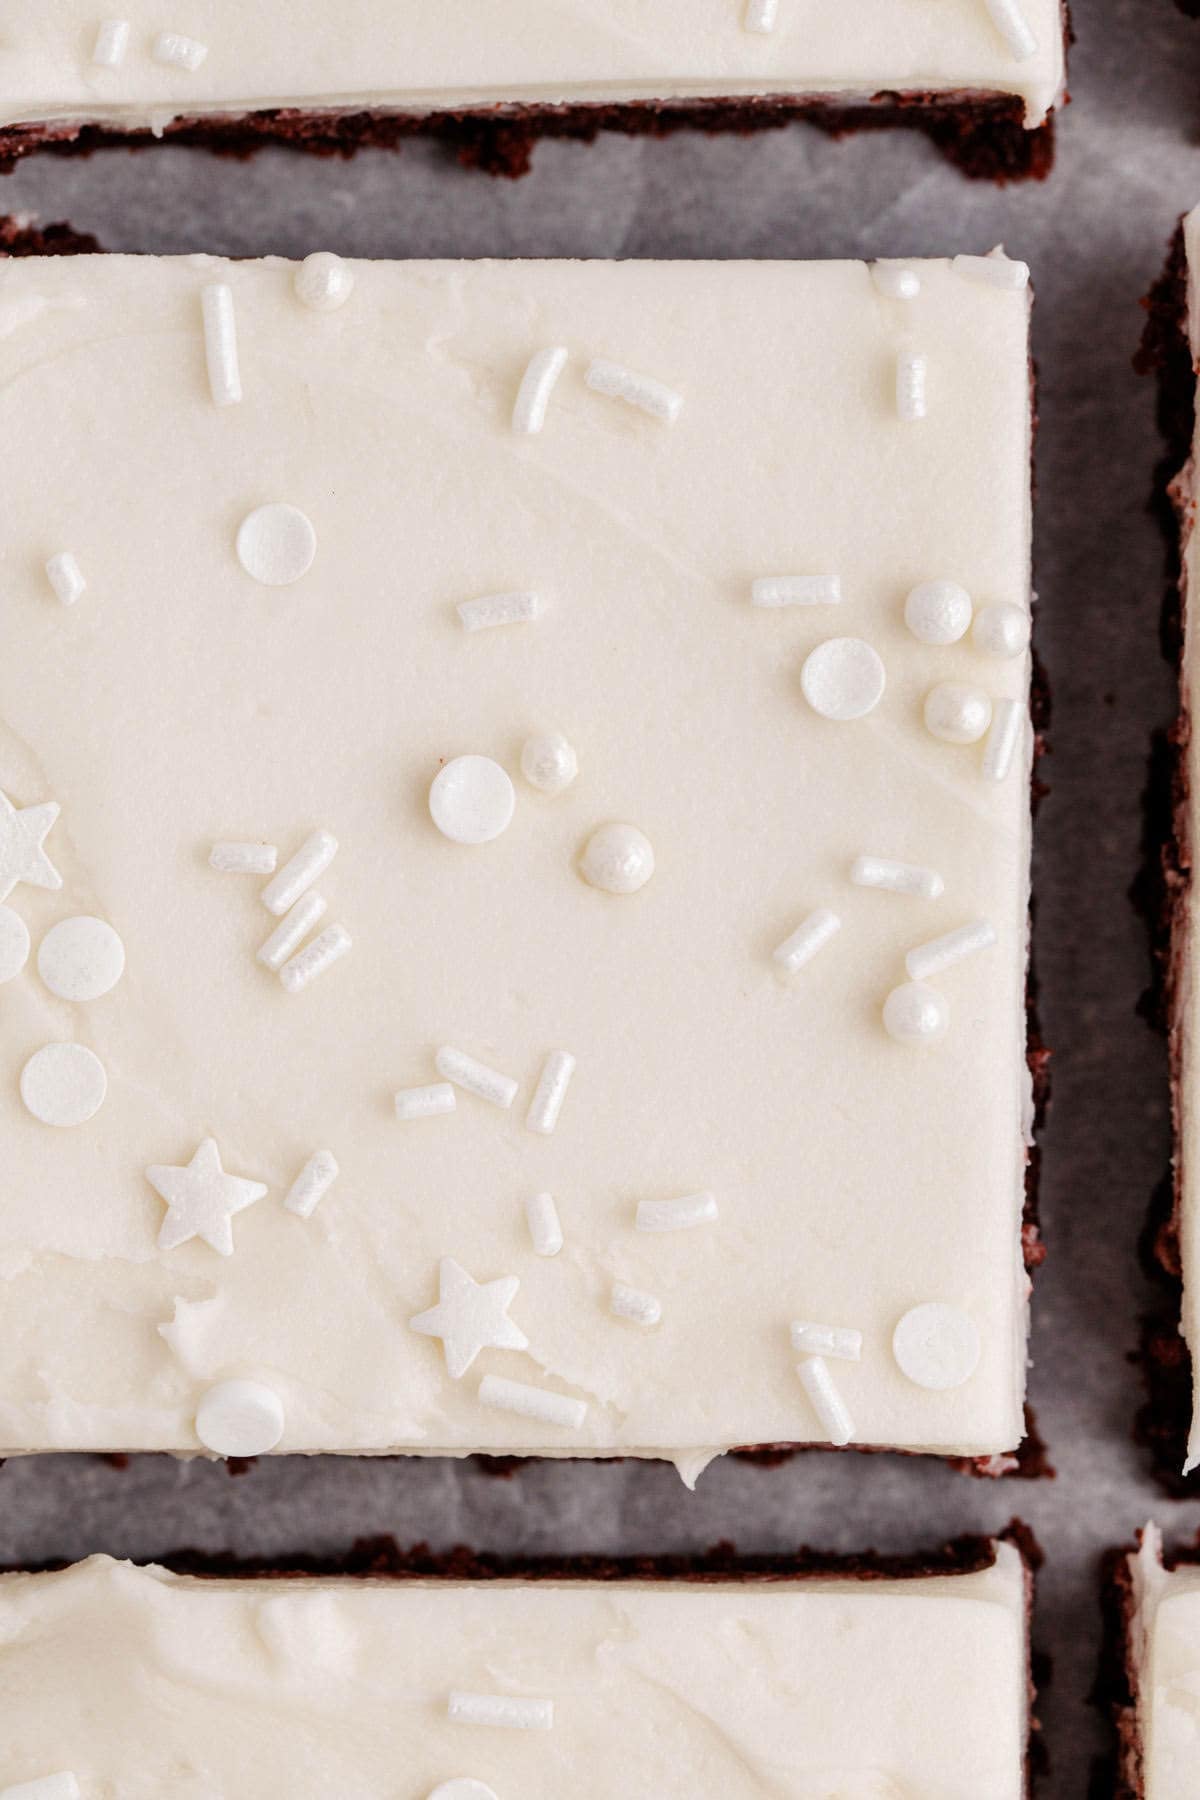
Spread over the cookies with an offset spatula and add any sprinkles as desired.
Hint: The dough is thick, so spread it gently and not all the way to the edges, it will naturally settle as it bakes.
Recipe Tips
- Do Not Overbake: Pull the bars when the center still has moist crumbs to keep them chewy.
- Use Parchment Paper: Lining the pan makes removal and slicing much easier.
- Cool Completely Before Frosting: This keeps the frosting thick and prevents melting.
- Room Temperature Ingredients: Room temperature butter and cream cheese will mix more smoothly.
If you enjoy these cookie bars, you may also like Red Velvet Brownies for a similar flavor and crisp top.
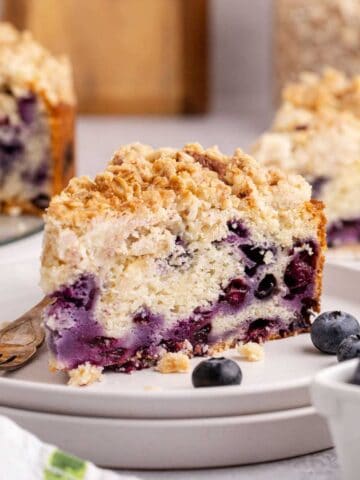
More Desserts

Storage Instructions
- Refrigerator: Store in an airtight container for up to 4 days.
- Freezer: You can freeze bars either frosted or before for up to 2 months. The frosting may sweat when coming back to room temperature however, so it is easier to frost afterward if possible.
Serving Suggestions
Red Velvet Cookie Bars Recipe FAQs
Absolutely. They are nice and sweet, with a chewy cookie vibe, so frosting is not necessary.
Our Red Velvet Brownies get that classic crackly top and a dense fudgy texture, wherever the cookie bars are more soft, chewy and have that almost undercooked vibe.
It enhances the cocoa flavor and helps create the classic red velvet taste and texture.

More Recipes

Ready to get cooking? Save time by having a grocery list automatically generate for you by clicking the "Add to Shopping List" below.

Red Velvet Cookie Bars
Equipment
- 9x13 Metal Pan
- Parchment Paper
- Stand Mixer and Paddle Attachment
- Measuring Cups and Spoons
Ingredients
- 1 ½ sticks butter unsalted and room temperature
- 200 grams granulated sugar about 1 cup
- 200 grams light brown sugar about 1 cup
- 3 large eggs
- 1 large egg yolk
- ½ tablespoon red food coloring
- ½ tablespoon white vinegar
- 156.5 grams all-purpose flour about 1 ¼ cup
- 60 grams unsweetened cocoa powder about 8 tbsp
- 1 teaspoon sea salt
- ¼ teaspoon baking soda
CREAM CHEESE FROSTING:
- 3-4 cups icing sugar
- 6- ounce cream cheese full fat and softened
- 3 tablespoon butter unsalted and softened
- 1 teaspoon milk
Instructions
- Preheat oven to 325F and prepare an 9x13 metal pan with parchment paper leaving the sides high for easily removal.
- Cream together butter and sugars in a stand mixer for about 3 minutes, until fluffy and pale yellow.
- Add eggs, yolk, food coloring and vinegar, and run on low for 30 seconds. Scrape down the sides then transfer dry ingredients to the bowl and run on low until combined.
- Transfer to prepared pan and don't spread fully into the corners (it will be a very thick batter).
- Bake for 30 minutes or until a toothpick has moist crumbs in the center, and cool completely in the pan before removing frosting.
- Making frosting by adding 3 cups icing sugar, cream cheese, butter and milk to a stand mixer base, and combine on medium-low speed. As needed, add more icing sugar to get the desired texture and taste.
- Spread over the cookies with an offset spatula and add any sprinkles as desired.
Notes
- Spread Batter Gently: The dough is thick, so you want to spread it carefully. Also, not all the way to the edges, it will naturally settle as it bakes.
- Do Not Overbake: Pull the bars when the center still has moist crumbs to keep them chewy.
- Use Parchment Paper: Lining the pan makes removal and slicing much easier.
- Cool Completely Before Frosting: This keeps the frosting thick and prevents melting.
- Room Temperature Ingredients: Room temperature butter and cream cheese will mix more smoothly.
- Refrigerator: Store in an airtight container for up to 4 days.
- Freezer: You can freeze bars either frosted or before for up to 2 months. The frosting may sweat when coming back to room temperature however, so it is easier to frost afterward if possible.
Nutrition
I'd be so grateful if you left a rating and review after trying this recipe, it helps me and helps other readers discover it!
Such a great recipe, so chewy with a perfect amount of frosting!